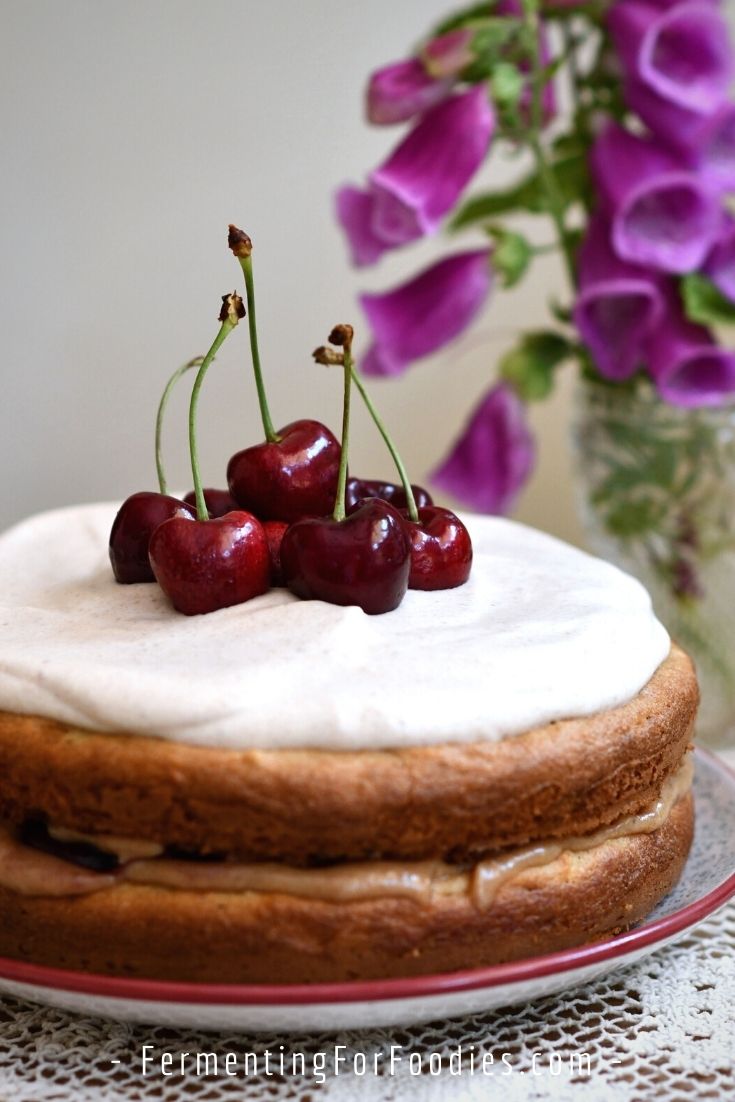
This gluten-free buttermilk cake is moist and flavorful. It is low in sugar, made with whole grain gluten-free flour, and delicious. Perfect for your favorite cake flavors. See the section above the recipe card for suggestions.
I originally wrote this recipe to celebrate the first year of Fermenting For Foodies, and my family’s first year of eating ferments. It was quite a year! There were many, many benefits to adding fermented foods to our diet. Here were two of the BIGGEST benefits:
- With my weird concoctions and bubbling brews, I slowly transformed into a fairytale witch. I started stashing ferments in every corner of my house. I even mastered the art of growing mold!
- Our digestion magically improved. (See… I am a witch!) Max went from having a sulfite allergy (as diagnosed by an allergist) to being able to eat what he wanted without any of that pesky eczema cropping up. And Una got over her egg allergy.
I realize that it could be luck… maybe it just took time for their digestive systems to kick into full gear? But I can’t help but feel that a daily dose of probiotic foods may have been at play.
Adding Flavor and Fun to your Cake
This gluten-free buttermilk cake is based on a basic white cake recipe. Letting the whole grain gluten-free flour soak for at least 15 minutes hydrates the flour, improving the moisture and texture of this cake.
Here are a few ways to flavor this very simple cake.
- Very Vanilla Cake: Add 1 Tbsp of vanilla extract, or vanilla beans scraped from one pod.
- Confetti Cake: Toss 1/2 cup of sprinkles with 1 Tbsp of starch, then stir into the batter right before pouring into the prepared cake pan.
- Simplest Chocolate Cake: Swap the starch for cocoa powder, and use the full amount of sugar to ensure it has a balanced sweetness.
- Citrus Zest Cake: Add the zest from a lemon or an orange. It adds a hint of flavor without overwhelming the cake. (Orange zest with vanilla extract is my favorite flavor. It reminds me of my childhood cakes).
- Old-fashioned Seed Cake: Add 2 tsp of caraway. It sounds strange, but it’s actually quite tasty!
- Spice Cake: Add 1 tsp cinnamon, 1/2 tsp ground cardamom, 1/4 tsp ground cloves, and 1/8 tsp ground nutmeg.
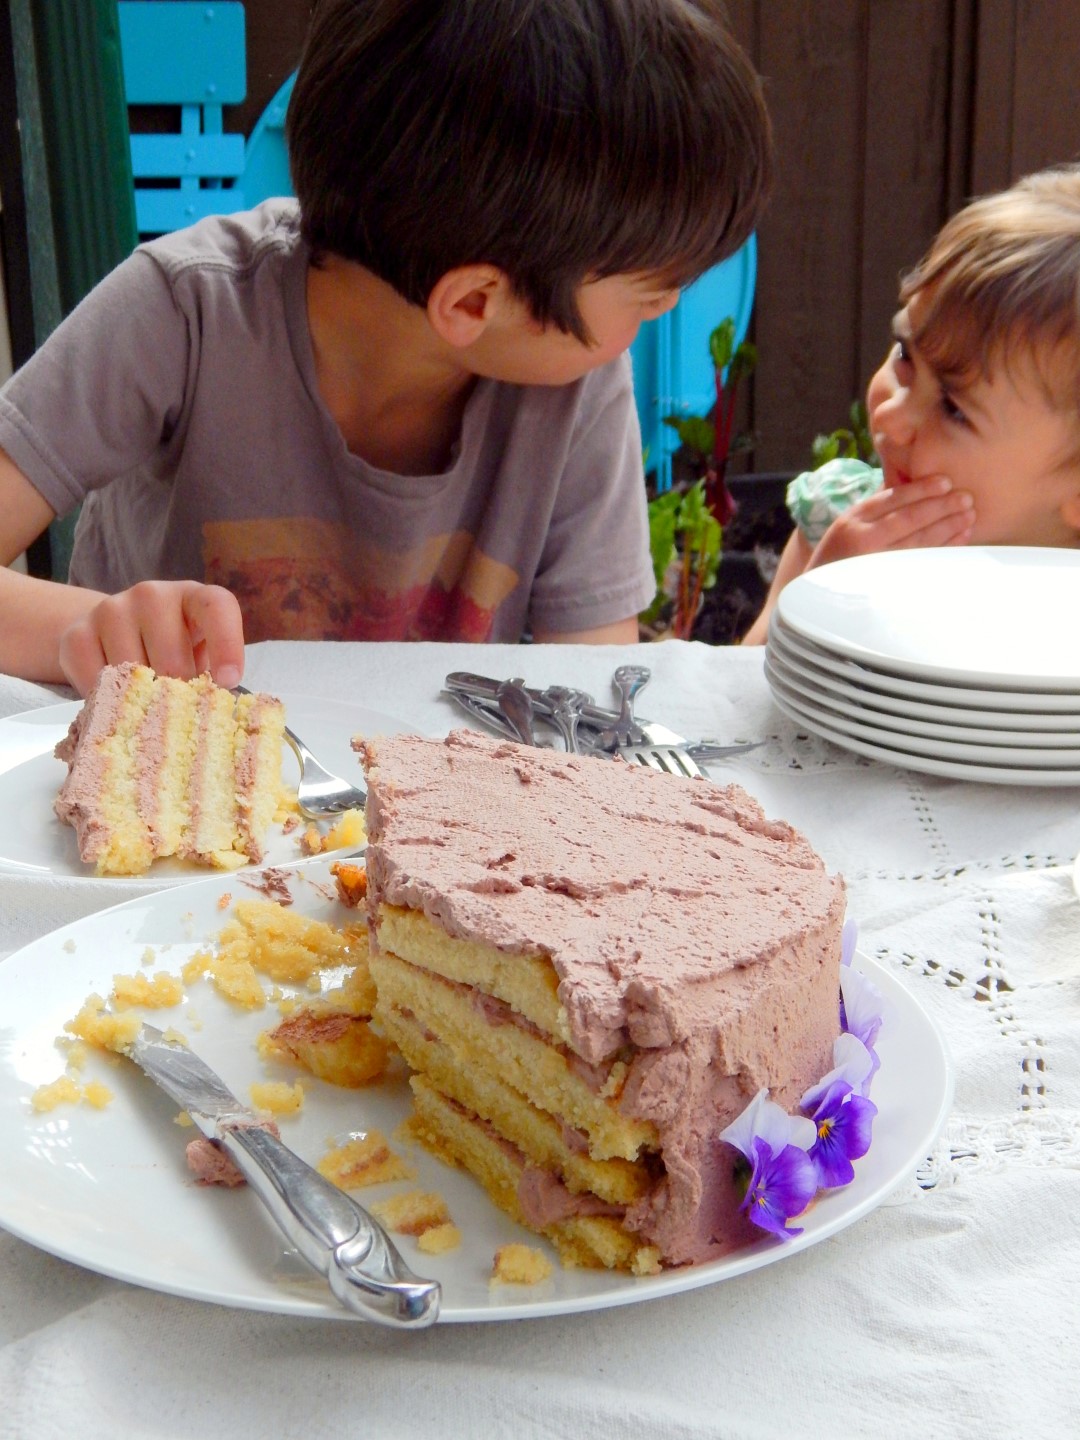
Fun with Frosting
Over the years, I’ve made this cake with several different frostings. I am not a buttercream, fancy frosting sort of person. I like frostings that add flavor, even if they aren’t good for making roses or piping onto a cake.
- My go-to cake frosting these days is my date-sweetened caramel sauce. To turn it into a frosting, I simply add more whipping cream until I get to the desired consistency. It’s really firm and reliable.
- I also love my jam-sweetened cream cheese frosting.
- This chocolate ganache frosting only has two ingredients and is also a favorite!
Gluten-Free Buttermilk Layer Cake
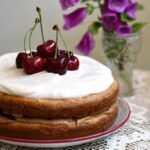
This gluten-free buttermilk cake is moist and flavorful. It is low in sugar, made with whole grain gluten-free flour, and delicious. Perfect for your favorite cake flavors. See the section above for flavor suggestions.
- Prep Time: 15 minutes
- Cook Time: 25 minutes
- Total Time: 40 minutes
- Yield: 6” cake 1x
- Category: Dessert
- Method: Fermented
- Cuisine: American
- Diet: Gluten Free
Ingredients
Soak
- 1 cup whole grain gluten-free flour (see notes)
- 1 cup buttermilk (unflavored milk kefir or yogurt)
Remaining Cake Ingredients
- 1/3 cup butter
- 1/4 to 1/2 cup sugar
- 3 eggs
- 1 tsp vanilla extract
- 1/4 cup gluten-free starch (more if needed)
- 1 tsp xanthan gum
- 1 tsp baking powder
- 1/2 tsp baking soda
- 1/4 tsp salt
- Flavors (see section above for options)
Instructions
- Mix the whole-grain flour and the buttermilk in a glass container. Cover it with a tea towel and leave it to soak on the counter for at least 15 minutes. The texture will be better if it’s left to soak for at least 2 hours and up to 12 hours.
- When you are ready to bake, preheat the oven to 350 F (180 C). Grease and flour two 6-inch round cake pans.
- Cream the butter and sugar together in a medium-sized bowl. If you want an extra fluffy cake, feel free to beat the egg whites separately, then fold them into the final cake batter. Otherwise, beat in the eggs and vanilla extract.
- Stir in the starch, baking soda, baking powder, and salt. Then add the pre-fermented flour mix. Stir everything to mix well. Divide the batter between the two cake pans.
- Bake at 350 F for 30-35 min (until a toothpick comes out clean).
- See the section above for frosting suggestions.
Notes
- White rice flour is extremely dry. Switching to whole-grain flour for this cake will result in a more moist and flavorful cake. My favorite flour is gluten-free oat flour, but any whole-grain flour (brown rice, quinoa, millet) will work.
- I use whatever starch is the most affordable in my grocery store. Feel free to use tapioca starch, potato starch, or corn starch.
This cake was delicious. Thanks for sharing the recipe.
Thanks!