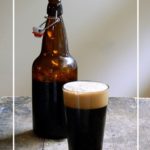

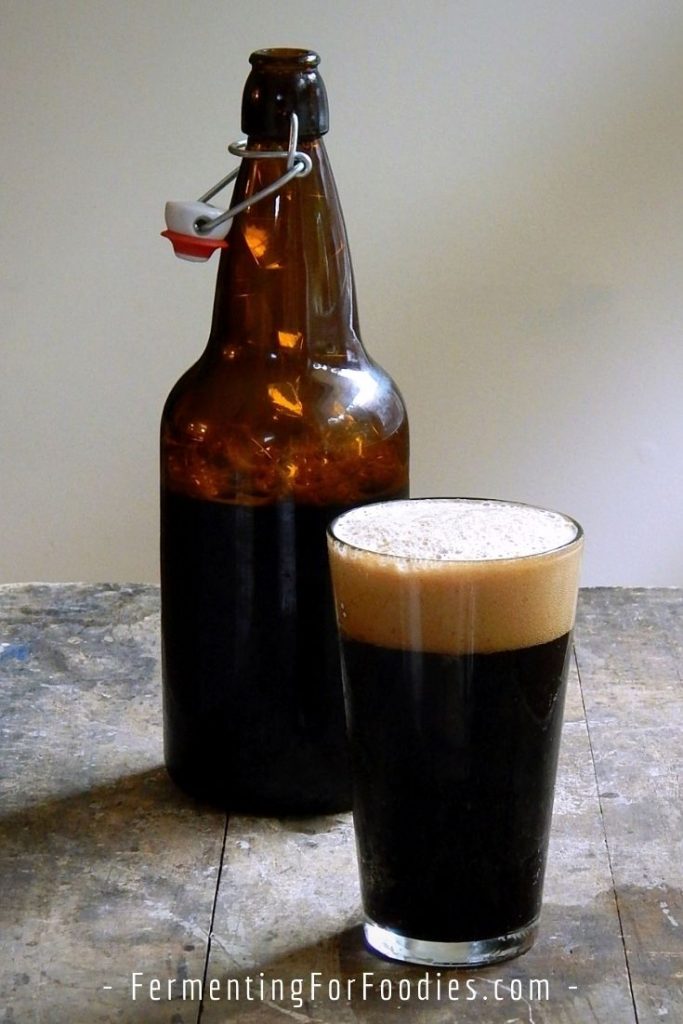
There is something about winter that demands warmth and comfort, hearty flavors, and earthiness. It is the perfect season for brewing a nice dark oatmeal stout.
While generally, I brew wholegrain beer, this recipe uses a combination of malt extract and malted grains.
Dark beers require more malt to achieve higher alcohol levels and deep taste and color. In an average homebrewing mash tun (like my homemade mash tun) there just isn’t enough space to hold all the grain required to make a good strong wort.
Note for beginners
This recipe assumes that you have basic experience with homebrewing.
If this is your first time brewing beer, then I recommend reading all about how to brew beer at home. It goes over everything from what equipment you need, to the ingredients and the basic techniques.
Flavoring Stout
The best part of homebrewing is experimenting with flavor. Anyone who drinks craft beers knows that beer now comes in all sorts of wonderful flavors… everything from chocolate to gingerbread.
There are two ways to add flavor: during the boil or during the secondary fermentation.
Personally, I like adding flavors to the secondary fermentation because:
- You only have to commit one carboy to each flavor. Perfect for experimenting!
- Boiling certain flavors can reduce their potency.
- Primary fermentation can also reduce the potency of added flavors.
How to add flavors during the second fermentation
The only trick to adding flavors during secondary fermentation is that there is a risk of contaminating the beer with outside yeasts and bacteria.
So always rinse the flavor ingredients for 30 seconds to remove most of the surface bacteria and yeasts. By the time you rack to the second carboy, the alcohol levels of the stout should be high enough to prevent contamination.
Here are some flavors that go well in an oatmeal stout:
- Coffee: Brew a strong shot of espresso (or extra-strength coffee). Add 1/2 cup of espresso per gallon of stout when transferring to the secondary fermentor.
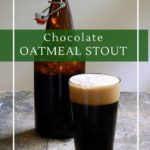
- Chocolate: Add 2 Tbsp of chopped cocoa nibs or cocoa powder per gallon of stout.
- Fruit: Prunes, raisins, and dried cherries complement the rich flavors of stout. Only add 2 prunes or 1 Tbsp of raisins to 1 gallon of stout. You don’t want to introduce too much extra sugar or it will restart the fermentation.
- Vanilla: Add 1 or 2 whole vanilla beans to a gallon stout. Split the vanilla beans in half before adding them to the carboy.
- Spiced: Add 1 1/2 tsp of ground spices per gallon of stout. For gingerbread use an equal mix of ginger and cinnamon. For chai use a mix of ginger, cinnamon, cloves, and anise.
Classic Oatmeal Stout
Oatmeal stout is earthy and rich. This simple recipe is a perfect base for experimenting with flavor. See the section above for adding fruit, spice, chocolate, or coffee.
- Prep Time: 2 hours
- Cook Time: 1.5 hours
- Total Time: 0 hours
- Yield: 18 Litres 1x
- Category: Beverages
- Method: Brewing
- Cuisine: European
Ingredients
- 5.2 lbs light malt Extract
- 1.2 lbs Pale 2-row malt
- 0.8 lb. flaked oats
- 0.4 lb. wheat malt
- 0.6 lb. roasted barley
- 0.2 lb. chocolate malt
- 0.6 lb. crystal malt
- 1 ounce Northern Brewer hops
- Wyeast #1084 Irish ale yeast
- 3/4 cup dextrose (to prime the carbonation)
Instructions
- Heat 4 gallons of water to 160F (71C). Pour over the grains and malt in the mash tun and allow to steep for 45 minutes.
- Drain wort and rinse grains with another 1 gallon of water at 158F (70C). There should be about 5 gallons of liquid in your brew pot at this point.
- Add in the malt extract and bring to boil.
- Once it’s boiling, add hops, cover, and maintain the boil for 60 minutes.
- Cool to 20C. Once it’s cool, pitch the yeast.
- Ferment at approx. 66F (19C) for 1 week.
- Rack to clean jugs for secondary fermentation. If you want, you can add in extra flavors at this point. See the section above for details and suggestions.
- Ferment for 1 more week before bottling.
- Mix the dextrose into the beer and bottle. I usually just divide the dextrose evenly between the carboys before bottling.
- Allow beer to mature at room temperature for another 4 weeks. Enjoy!
- I recommend drinking this preservative-free beer within 3 months of bottling.
Notes
- The inspiration for this recipe comes from Beer Recipes.org with some adaptations to suit our smaller boiling pot.
We tried the coffee flavour, worked out just right; not coffee enough to notice but complimented the beer nicely. We were worried about getting the batch down in temperature quick enough (we made it in the summer and had to babysit it throughout the night since it was way above average temp where we were), but this beer was quite forgiving.
Not cooling quickly enough does add risks. Glad it worked out for you!
I made all the Malts from wheat. Couldn’t get the color. In the end the wart isn’t clear and there is a lot of segregation at the bottom. I have pitched the yeast and now waiting for the result. Is it common (segregation at the bottom, starch probably) or I did some major mistake?
Wort*”
Did you make your own malted grain? Also, beer is typically made with malted barley because it just has the right combination of starch and enzymes. However, I’m not sure about segregation. Do you mean sediment? That could be the hops, though it typically floats. Regardless, sediment shouldn’t be an issue as you’ll rack it a few times before bottling. Good luck!
Quick question:
I see that this recipe uses both grain and malt extract, which makes me think its some sort of hybrid between all-grain and extract brewing. In this case, is the grain used only for flavoring, or do you mash it and use it to contribute to the overall sugar content of the mash?
Looking forward to trying this recipe soon 🙂
*sugar content of the wort
The grain definitely contributes to the sugar content. However, the smaller mash tun accessible to most homebrewers is not large enough to get the full required sugar from the grain for a stout. This hybrid recipe aims for the flavour of wholegrain beer while using the malt extract to boost the sugar content for stout. Enjoy!
Makes sense, thanks for the response.
I love the look of this! Would anyone be willing to share their target gravity with me (or any other notes from the brew log)? Thanks!
Sorry, just checked my book of brewing notes, and I don’t have it. I’m not really great at remembering to test specific gravity. Maybe someone else will share?
Hey I’m looking to try this recipe and was wondering what the original gravity usually is for you. Maybe you said above and I just missed it?
I’m sorry! I’m really bad at remembering to check… even more so with brewing because we tend to do it with friends and forget. It should be around 1.06 and finish at 1.01. Please let me know if you remember to check. I would love to include that detail in the recipe. Thanks!
No problem! I just bottled and my numbers were 1.051 to 1.012. I typically struggle to hit OG though so I wouldn’t be surprised if it really should be coming in closer to 1.060. Thanks
Thanks for sharing!
I just racked to my secondary fermenter and my number was 1.012. I wonder after a week if it will drop a bit more.
It will ferment just a little bit more… enough to carbonate, but not that much.
Hi,
For secondary fermantion, do you need to add another yeast?
Secondary fermentation*
No, it will ferment with the yeast left from the primary fermentation. Adding the sugar when bottling is just to prime the carbonation… still with the initial yeast. Enjoy!
Thank you very much! This is my first brew and I really loved making it. Can’t wait for the results