
Fermented vegetables are perfect for a simple and delicious snack. I particularly love fermented radishes because they are packed full of flavor, and milder than fresh radishes.
The other reason why I love fermented radishes is that they are a really reliable ferment.
Radishes are part of the cabbage and broccoli family, and just like cabbage, they naturally ferment. However, unlike cauliflower, they don’t become pungent or stinky. They just turn into a deliciously flavored pickled vegetable. Perfect for school lunches, picnics, and barbecues!
Types of fermented radishes
All types of radishes will ferment nicely. So use whatever you find in the grocery store, farmers’ market, or garden! The only trick is to cut them into small enough slices for them to ferment nicely. Don’t pack whole radishes into a jar unless they are very small.
Here are some suggestions for preparing fermented radishes:
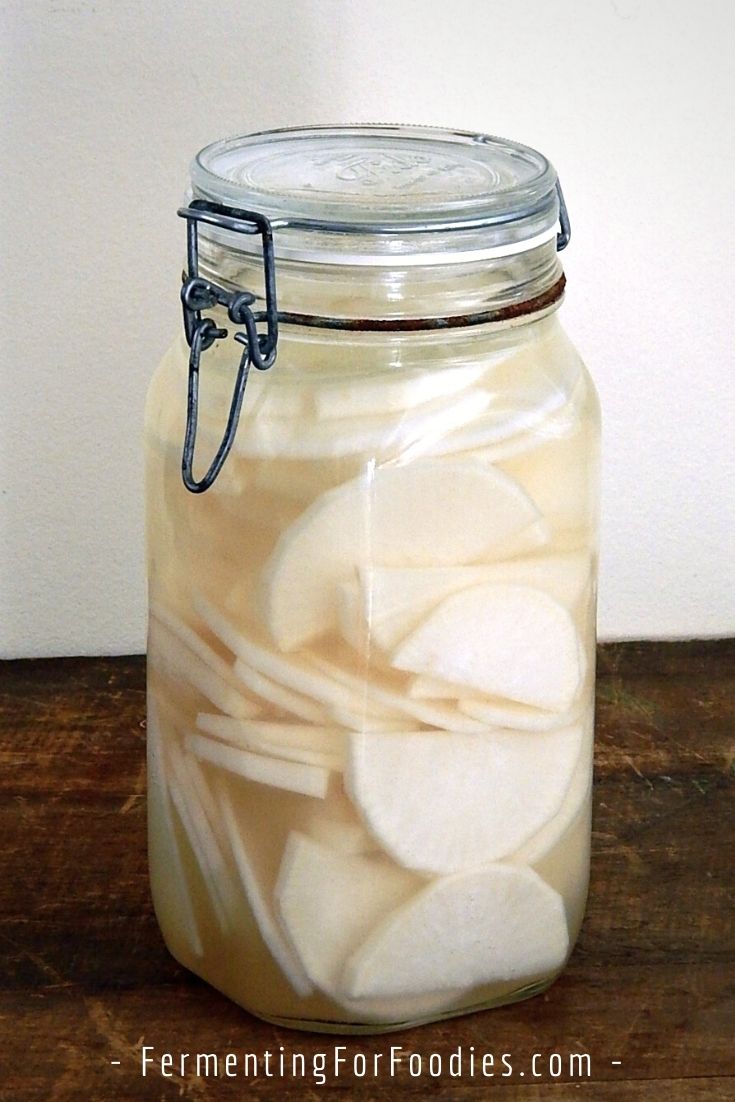
- Daikon radish: I love making fermented daikon radish pickles. Whenever I’m shopping for kimchi, I pick up some extra daikon radish to turn into pickles. Peel and slice them into 1/4″ thick rounds or sticks. (See picture below)
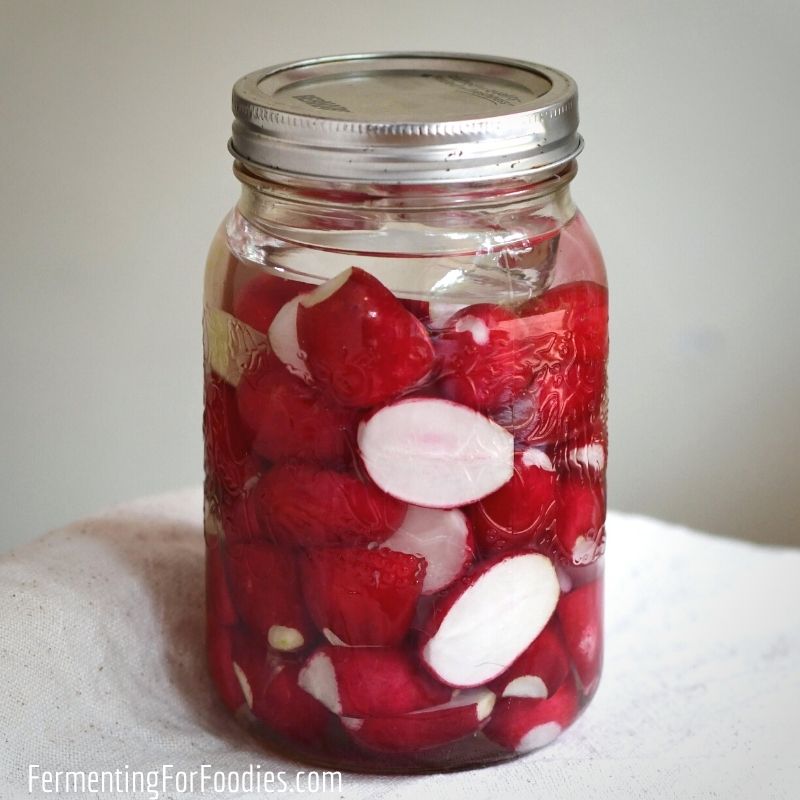
- Small radishes: These are what people usually grow in their gardens. Whether it’s Easter egg radishes or French breakfast, there’s no need to peel them before fermenting. Simply cut them in halves or quarters before packing them in the jar.
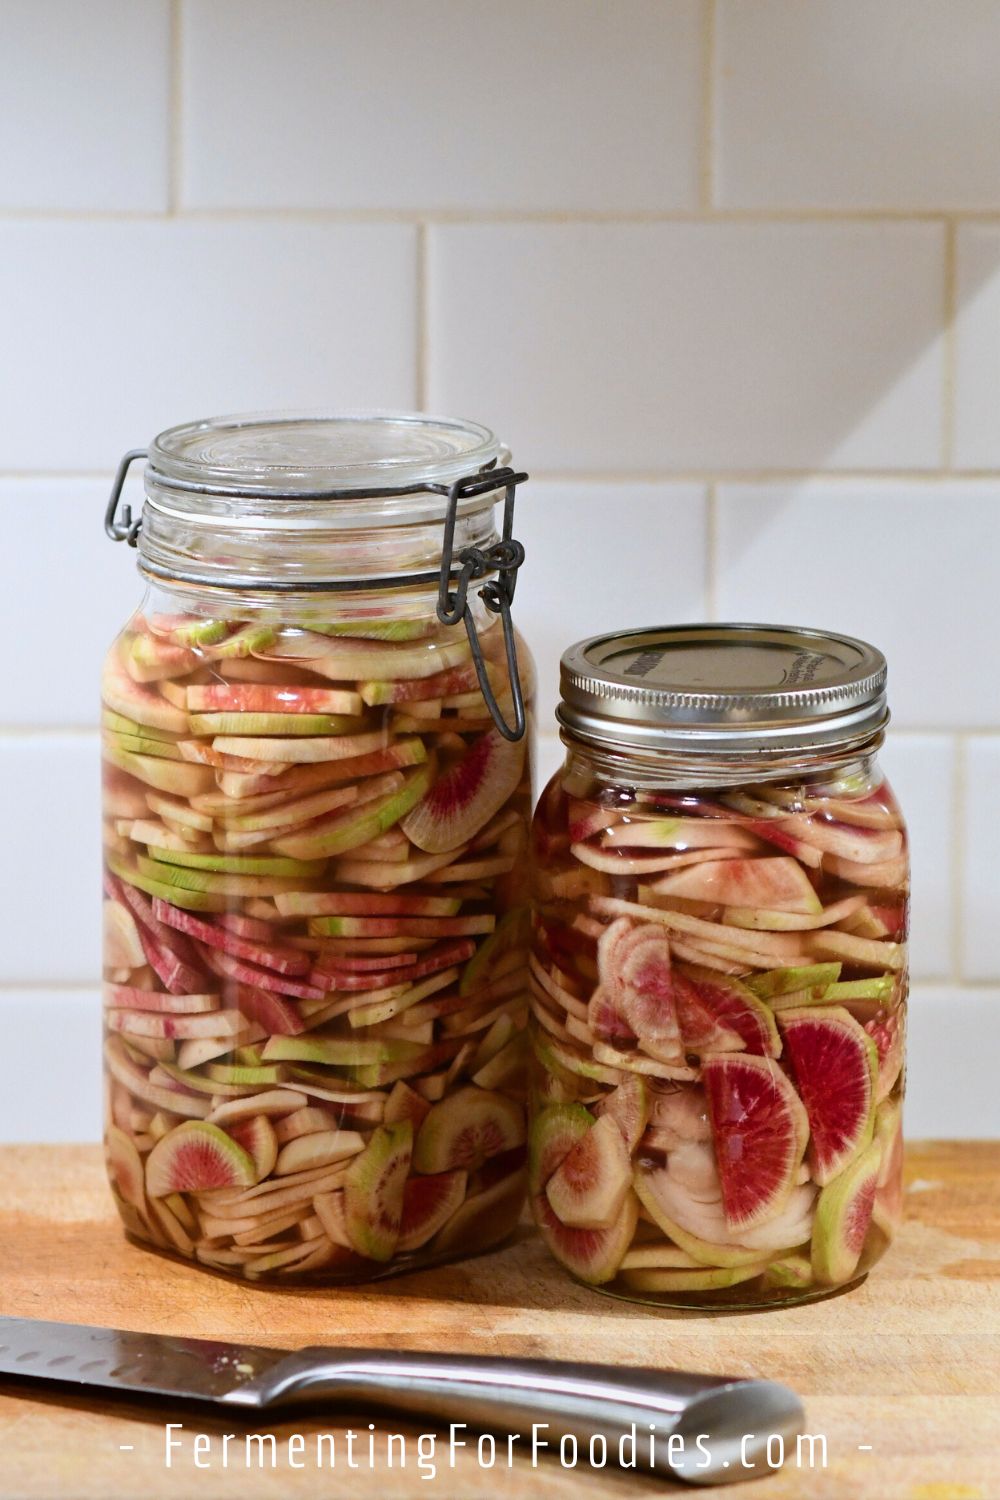
- Large round radishes: There are several large heirloom varieties of radishes including watermelon radishes and black radishes. You might want to peel them depending on the thickness of the skin. Then slice them into 1/4″ thick rounds or sticks. (See picture below).
Flavors!
I love experimenting with flavor. It’s the best part about making your own fermented pickles! While radishes are packed full of flavor all on their own, it is fun to add some other flavors to the batch.
Here are a few suggestions:
- Dill pickle: Add 1 clove of garlic and a sprig of dill.
- Kimchi: Make a kimchi-like pickle by adding a slice of onion, a clove of garlic, a bit of freshly grated ginger, and 1 tsp of chili flakes. This is particularly delicious with a mix of carrots and radishes.
- Pink beet and radish: Add slices of beet to the mix for bright pink radish pickles.
- Spicy: Add 1 jalapeno pepper sliced in half along with a few slices of onion.
- Onion: A few slices of onion is an easy way to add flavor.
- Mediterranean: Add 2 bay leaves and a clove of garlic for a Mediterranean flavored pickle.
Fermented Radishes

Fermented radishes are a nutritious and delicious snack. They can be made from small, garden radishes or large daikon radishes. See the section above for 4 flavor options!
- Prep Time: 10 minutes
- Total Time: 10 minutes
- Yield: 3 cups 1x
- Category: Sides
- Method: Fermented
- Cuisine: Traditional
- Diet: Vegan
Ingredients
- 2 cups of water (chlorine-free)
- 2 tsp salt (non-iodized)
- 3 cups of prepared radishes (see the section above for details)
Instructions
- Mix the salt into the water in a quart-sized (1 L) jar to make a brine.
- Wash and prepare the radishes as described in the section above. Depending on the type of radishes, they may need to be peeled or diced.
- Pack the radishes into a quart jar, making sure that the radishes are 1 inch below the top. Add any additional flavors to the jar. See the section above for 4 flavor options.
- Use a weight to keep the radishes from floating above the brine. Cover with a tea towel or cap with a lid that will allow gas to escape. Radishes really bubble!
- Place the jar of radishes in a dark location (a kitchen cupboard is perfect). Let them ferment for 1 to 5 days. They will become softer the longer they are left to ferment. See notes for details on the recommended fermentation time. Store the jar in the refrigerator to curb the fermentation and enjoy within 1 month.
Notes
- Radishes are really good at fermenting. So they don’t require a vegetable starter. However, if you have leftover brine from another vegetable ferment, feel free to use that in place of the brine in this recipe.
- Pretty red or Easter egg radishes will lose their colors as they ferment. So I usually like to serve them after fermenting for 24 hours. Firmer radishes, like daikon, are better after fermenting for at least 3 days. If I have a ton of radishes ready all at once, I pack them in Fido jars for long-term storage. Properly fermented radishes will last for months in your pantry. Here’s more info on how to use fermentation for long-term food storage.
This is a great snack! It’s fast to make, though I have to wait to eat it.
🙂 Patience is certainly part of fermenting. Thanks for sharing.