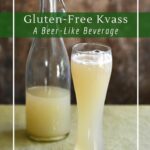
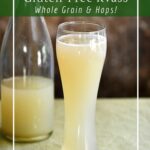
Gluten-free kvass is a beer-like beverage made from puffed cereals. Feel free to drink it fresh and sweet or let it ferment until it is a stronger brew. Personally, I enjoy it both ways!
I’ve been gluten-free for a long, long time. And I’ve never much bothered with gluten-free beers. However, I’m good friends with the Thirsty Writer, so when he came to visit us on our island property, he brought along a selection of brewery-made gluten-free beverages.
The alcoholic kombucha was nice. But it was the hops-flavored soda water that really caught my attention. It was the most beer-like thing I’d drunk in years. And I was inspired to make my own, gluten-free, beer-flavored beverage!
My husband, Brad, frequently makes traditional bread kvass, so gluten-free kvass seemed like a simple option for a beer-like gluten-free beverage.
What Type of Cereal?
Are you excited to make your first batch of gluten-free kvass? The key is in having the right type of cereal.
- Traditional bread kvass is probably the precursor to beer. It’s a beverage made from malted sugars in toasted bread.
- I tried making kvass out of gluten-free bread and it was a huge failure. GF bread just doesn’t have the structure to stand up to brewing.
- After a few experiments, I found that puffed gluten-free cereal was a perfect alternative. As a bonus, it’s also a lot more affordable than GF bread!
- The key is to use puffed whole grains. These are sometimes sold like a snack (puffed sorghum). However they are more often sold like breakfast cereal (rice, millet, quinoa). The key is to make sure they are just 100% puffed grain. No added salt, sugar, or preservatives.
- If you can’t find any of these options, you could use homemade popcorn, but the flavor won’t be as beer-like.
- A lot of the flavor comes from the grain, so feel free to try different varieties or use a mix of cereals!
What type of yeast?
Yeast is what turns sugars into alcohol and bubbles. However, there are TONS of different strains of yeast. Each strain will thrive on a particular type of sugar. For example, wine yeast prefers fruit, beer yeasts prefer malted barley.
Here are a few options for your gluten-free kvass:
- I recommend using instant bread yeast (or fresh baking yeast). It’s great at consuming simple sugars and will ferment to around 8% ABV.
- Brewers yeast really does prefer malted grain, specifically barley. Gluten-free bread just might not have what is needed.
- Distillers’ yeast tends to come with all the necessary nutrients, and will quickly create a very alcoholic beverage. I don’t recommend using it, as the ferment will go too quickly which will impact flavor development.
- A gluten-free sourdough starter will be able to ferment to about 2% ABV. However, it contains bacterial cultures as well as yeast. So the resulting drink will be like sour beer, with a potentially funky flavor.
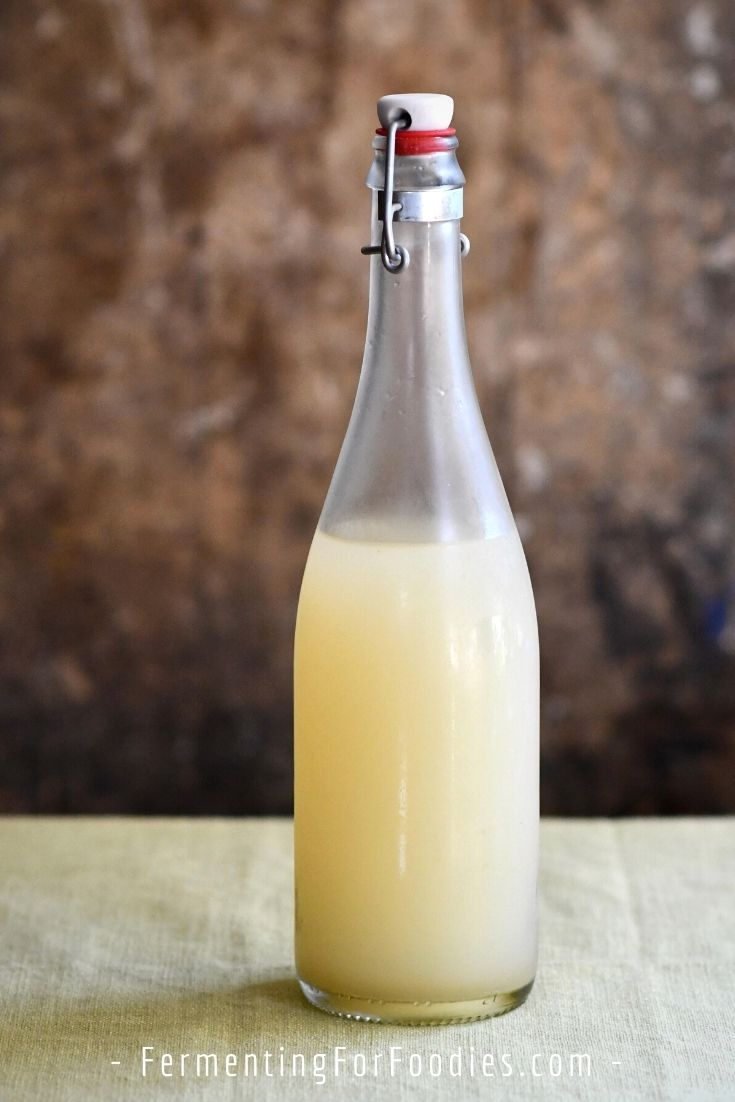
Gluten-Free Kvass
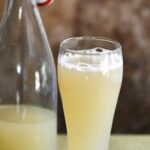
Gluten-free kvass is a beverage brewed from puffed cereal grains! Served fresh it’s a sweet and lightly alcoholic beverage. If left to ferment for longer, it will become a stronger, beer-like drink.
- Prep Time: 10 minutes
- Cook Time: 30 minutes
- Total Time: 40 minutes
- Yield: 2 L 1x
- Category: Beverage
- Method: Fermented
- Diet: Gluten Free
Ingredients
- 4 cups of puffed GF cereal (see section above for details for options)
- 8 cups (2 L) of chlorine-free water (divided)
- 1/3 cup of sugar for brewing, plus 2 tsp for bottling
- 1/2 tsp instant bread yeast or 3/4 tsp of fresh yeast
- 1 tsp dried hops pellets (optional, for flavor and preservation)
Instructions
- It’s important to use 100% whole grain gluten-free puffs. You don’t want a cereal that contains salt, sugar, or preservatives. I used puffed rice, however, there are other options. See the section above for more details.
- Measure 4 cups of cereal into a bowl or a large measuring cup.
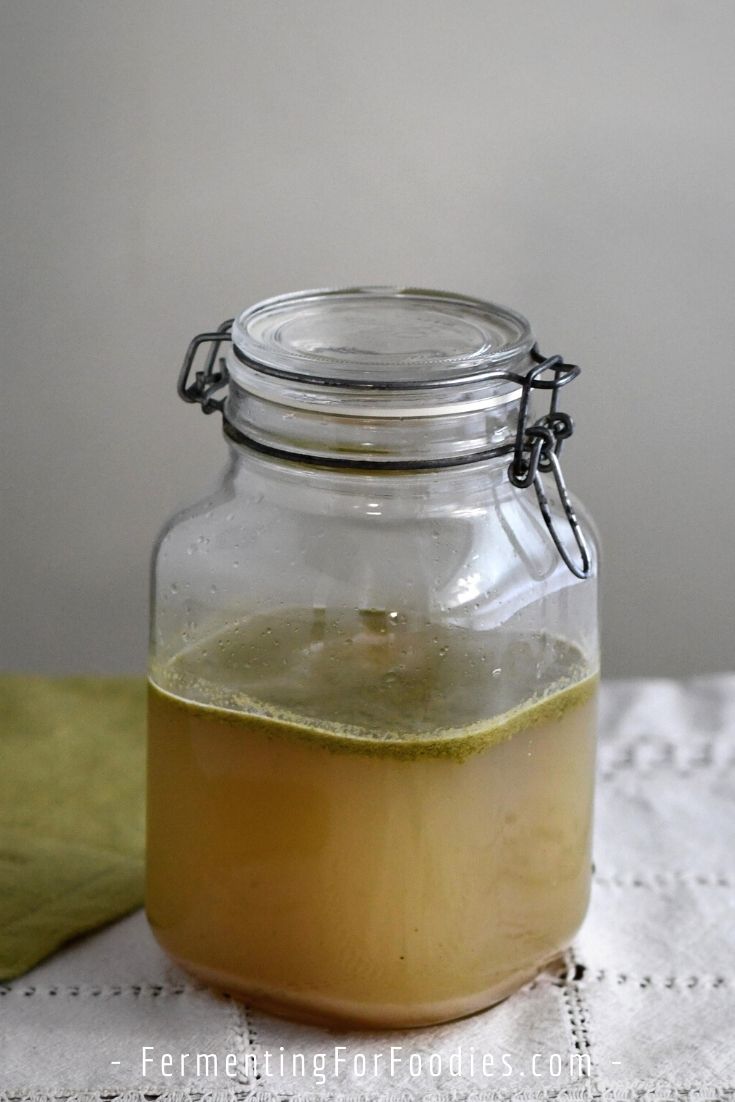
- Bring 4 cups of water to a boil. Pour the water over the cereal. Cover with a tea towel to keep out any pests. Let the cereal soak for at least 30 minutes and up to 4 hours to extract the sugars into the water.
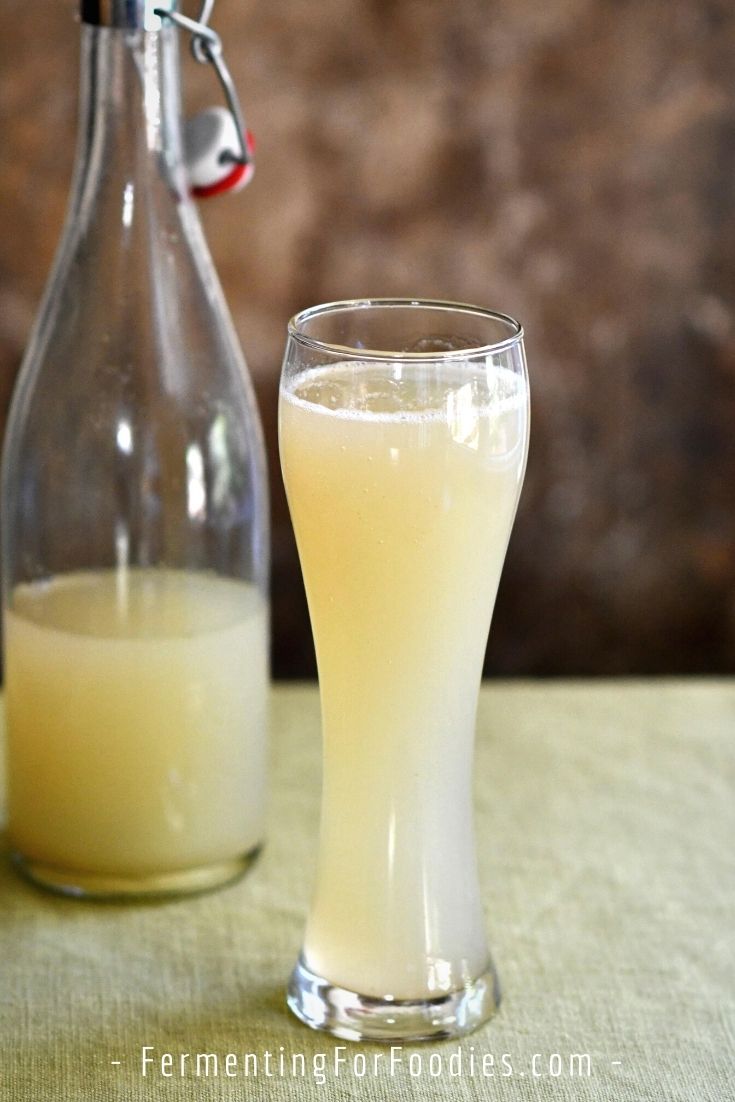
- Strain liquid into a container for fermentation (see notes for options). It will bubble a lot, so make sure to use a container with lots of extra room. I recommend pouring the liquid through two layers of cheesecloth, then wringing the wet cereal to get as much liquid out as possible.
- Mix in an additional 4 cups of filtered water, along with sugar, yeast, and hops.
- Place the kvass in a dark closet or cupboard. It will start to foam and bubble significantly after 6-12 hours. Leave it to ferment for 7 days.
- After a week, stir in an additional 2 tsp of sugar to prime the carbonation. Then strain the kvass into swing-top beer bottles or plastic pop bottles. Store the kvass in the fridge. It will continue to ferment and will build up pressure, so use bottles that can handle the build-up of pressure, and pop the lid every few days to check on the carbonation.
- The kvass will be carbonated and ready to drink after 3 days in the fridge. However, it will continue to ferment for another 1-2 weeks until all the sugars have been consumed by the yeast. For a sweet drink, enjoy it within the first 3 days after bottling. For a dry beverage let it ferment for at least 7 more days.
Notes
- This recipe took me several months of trial and error to develop. It’s really unique… so unlike most recipes, it isn’t just a variation of something your grandparents made. Please share your successes and failures so I can fine-tune it to make sure it works for everyone. Thanks!
- To prevent contamination, ferment the kvass in fido jars or carboys with airlocks. If you want to store the kvass for longer than 2 weeks, I recommend sanitizing the equipment before brewing to prevent potential mold or bacterial contamination.
- If you don’t have a container that can handle the pressure of active fermentation, then just cover the kvass with a loosely tightened lid so that the CO2 can escape as it ferments.
- If you’re not a fan of hops, feel free to replace it with the zest from one lemon for a fresh flavor.
Leave a Reply