
Cheesemaking is one of those things that feels complicated but is actually a whole lot easier than you expect. I like to think of it this way; if a medieval farmer could make cheese in an unsophisticated kitchen… then we can too! Here is an overview of everything you need to know about how to make cheese.
Cheesemaking 101 – Basic Information
Cheesemaking can be as simple or as complicated as you want.
If you’re an absolute beginner I recommend starting with labneh or queso blanco, which don’t require any specialized equipment or ingredients.
However, if you’re interested in trying something more complicated, then I recommend making sure you have the right supplies.
Here’s what you need to know:
- Equipment: Most of the equipment needed for making simple cheeses is probably already in your kitchen. However, advanced cheeses require temperature regulation, cheese forms, and a press. Here is an overview of the specialized equipment involved in cheesemaking, including DIY options.
- Ingredients: Most cheese is made from milk, culture, calcium chloride, and rennet. Check out this post on cheesemaking ingredients if you’re interested in learning more about the different types of cultures and what kind of milk is best for homemade cheese.
How to Make Cheese
This step-by-step guide is for more advanced cheeses. As I mentioned above, there are several super-simple kinds of cheese that don’t require any specialized skills or equipment.
Here are the 9 basic steps involved in cheesemaking. If you are uncertain about any of the steps I recommend reading the related posts, linked in each of the steps. They go into depth providing a lot more detail.
1. Sanitize
Start by sanitizing all the equipment and your kitchen counters. This is particularly important for making hard cheese or mold-ripened cheese.
2. Inoculate
Many kinds of cheese are cultured with bacteria prior to setting the curd. This reduces lactose and acidifies the milk. It also gives the cheese a lot of its flavor.
Acidification is a necessary part of cheesemaking, and non-cultured cheeses are acidified with vinegar, lemon juice, or citric acid instead.
Inoculate milk by mixing it with a bacterial culture. Keep the milk at the temperature necessary for culturing while the milk acidifies (usually around 30 minutes, but can vary based on the type of cheese).
In general:
- Mesophilic cultures like temperatures of 90 F (32 C)
- Thermophilic cultures like temperatures of 91.5F (33C)
However, it’s always best to work from a recipe and use their temperature guidelines.
Want more details, check out this post on how to inoculate milk.
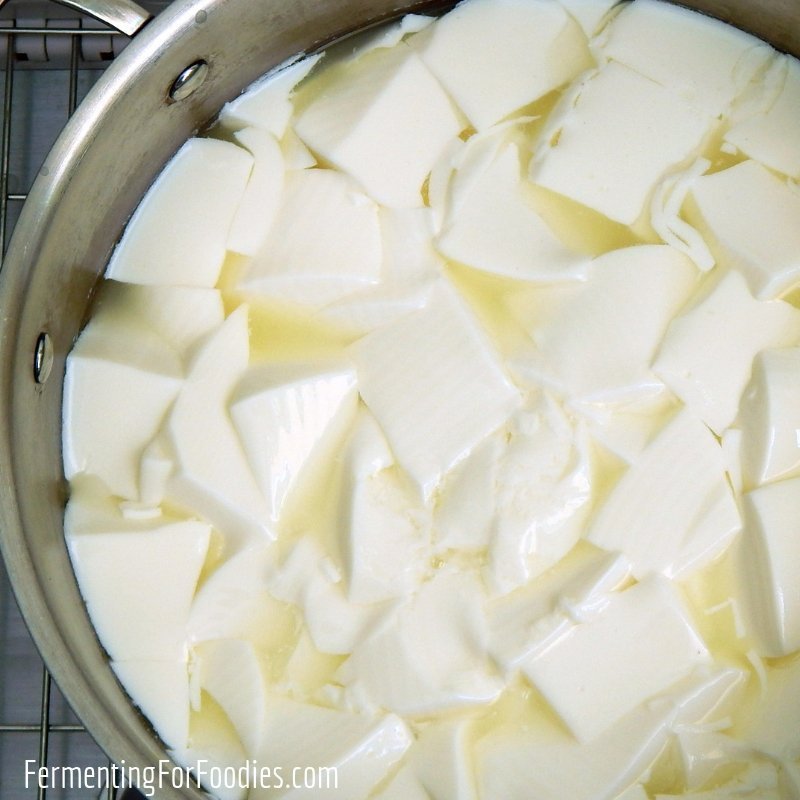
3. Set the curds
Once the milk has reached the desired acidity, rennet is added. After that, it usually takes about 30 minutes for the curd to set.
4. Cut the curds
Check for a clean break. Using a long knife or curd knife, cut the curds.
5. Heating the curds
There are a number of different types of cheese that require the curds to be heated. This helps to remove extra whey and firm up the curds.
- Feta curds are poached in whey.
- Cheddar curds are cooked after the whey has drained. A process that is called cheddaring.
- Cottage cheese curds are cooked with warm water, which washes away the extra lactose for a creamier cheese.
- A number of fresh cheeses, like cream cheese, don’t require any additional cooking.
Want more information? Here is a detailed post on the different ways to prepare curds.
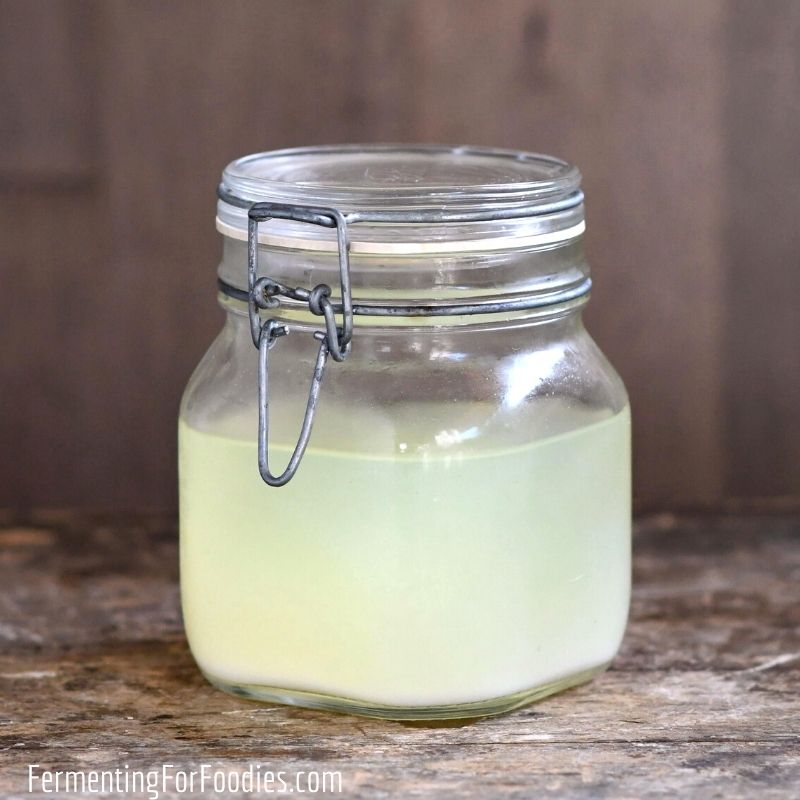
6. Drain the whey
Line a colander with several layers of butter muslin (not cheesecloth. It isn’t fine enough). Then drain the whey from the curds. I recommend saving the whey because it is packed with protein and nutritious.
Here’s how I use my leftover whey.
7. Salt the curds
Salt is usually added prior to packing the curds into a cheese mold. Flavors, like herbs and spices, can be added at this point as well.
The salt will help draw out more whey. It also acts as a preservative for aged cheese.
8. Press the cheese
There are a few different ways to fully drain the whey from cheese.
- Soft cheese can be hung in butter muslin to slowly drain.
- Firm cheese is pressed in a mold lined with butter muslin.
- The amount of weight used will determine how firm the cheese is.
9. Age the cheese
Fresh cheeses are usually finished as soon as they are removed from the mold. However, hard cheeses need to develop a rind as part of the aging process.
There are three methods for aging hard cheese:
- Waxed cheese is air-dried and then coated in cheese wax.
- Bandaged cheese is covered in butter muslin and coated in fat. The bandage grows mold, but it doesn’t usually penetrate the cheese.
- Washed cheese is regularly whipped down in salty brine.
If you are planning on making aged cheese, I recommend reading the full post on aging hard cheese.
Recipes and More
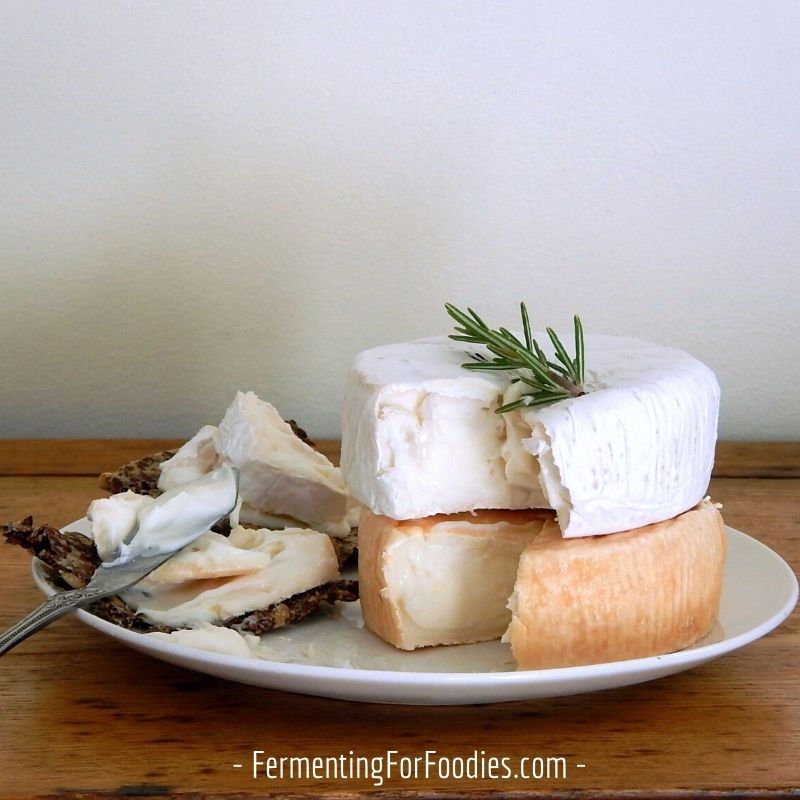
Ready to try cheesemaking?
- Fresh cheeses are perfect for beginners since they don’t require quite the same amount of precision as hard cheese. Here are 10 different recipes for fresh cheese that you can make at home.
- This list of 12 recipes includes everything from feta to farmhouse cheddar.
- Here are some common cheesemaking problems and how to solve them.
I would like to learn how to make cheese from you. Thank you
Thanks for the compliment! At the moment I don’t teach online courses. Perhaps there’s someone who offers cheese-making classes near you? Cheers, Emillie
Hello. I am from Pakistan. Its not easy to get rennet here. So what can I use in place of that ?
Do you have a good dairy culture (yogurt/kefir)? You can make acid-based cheeses with dairy cultures. Even vinegar and lemon juice will curd milk for cheese. Here are some recipes: https://www.fermentingforfoodies.com/homemade-fresh-cheese/
Wow, what an awesome article full of incredible knowledge! I like how it’s laid out and straight to the point. I can’t wait to explore more of this site and try the recipes. I made my first batches of American mozzarella and brunost yesterday but they need improvement which is how I stumbled across your page. Thank you for sharing and making it easy for us beginners.
Great! I’ll admit that I haven’t successfully made Mozzarella, and I always wondered if it was because I only have access to homogenized milk. How did it work out for you? I’m keen to try again! It’s been on my list for a few years (after two failures). Cheers, Emillie