

Wondering about how to make miso? It’s actually easier than you expect. Homemade miso is so tasty that you will want to eat it straight from the jar. It’s really easy and reliable, perfect for beginners!
How to Enjoy Your Miso
Homemade miso is a tasty all-purpose seasoning. Honestly, it’s so delicious you may even want to use it as a dip, straight from the jar!
If you aren’t quite sure what to do with miso paste (beyond making traditional miso soup), here are a few ideas:
- Soups: Add it to chicken soup or a Japanese noodle bowl.
- Vegan Foods: Miso is a great way to add a bit of umami to vegan foods. Use it to add flavor to gravy or a creamy pasta sauce.
- Salads: It adds depth and flavor to a simple salad. Try a quick 3-ingredient salad dressing or a carrot miso salad.
- Culturing other fermented foods: One of my favorite ways to use miso is as a culture for beans and nuts. For example, you can use it to ferment hummus, cashew spread, or white bean dip.

Fermentation Containers
Miso can be made in pretty much any type of container, including wooden barrels or ceramic crocks. There really are no rules. However, I do recommend avoiding plastic containers as the long fermentation time and high salinity may cause the plastic to breakdown.
Here are a few options for the home fermenter:
- Crocks: It is traditional to use large crocks with a weight. Cover the crock with a tea towel to keep insects out. Since this is such a long ferment, I recommend avoiding crocks with uncertain origins. Some glazes contain heavy metals, which may leach during 12 months of use.
- Fido Jars: Miso is primarily an anaerobic ferment, so it’s fine to use a fermentation-specific container like fido jars.
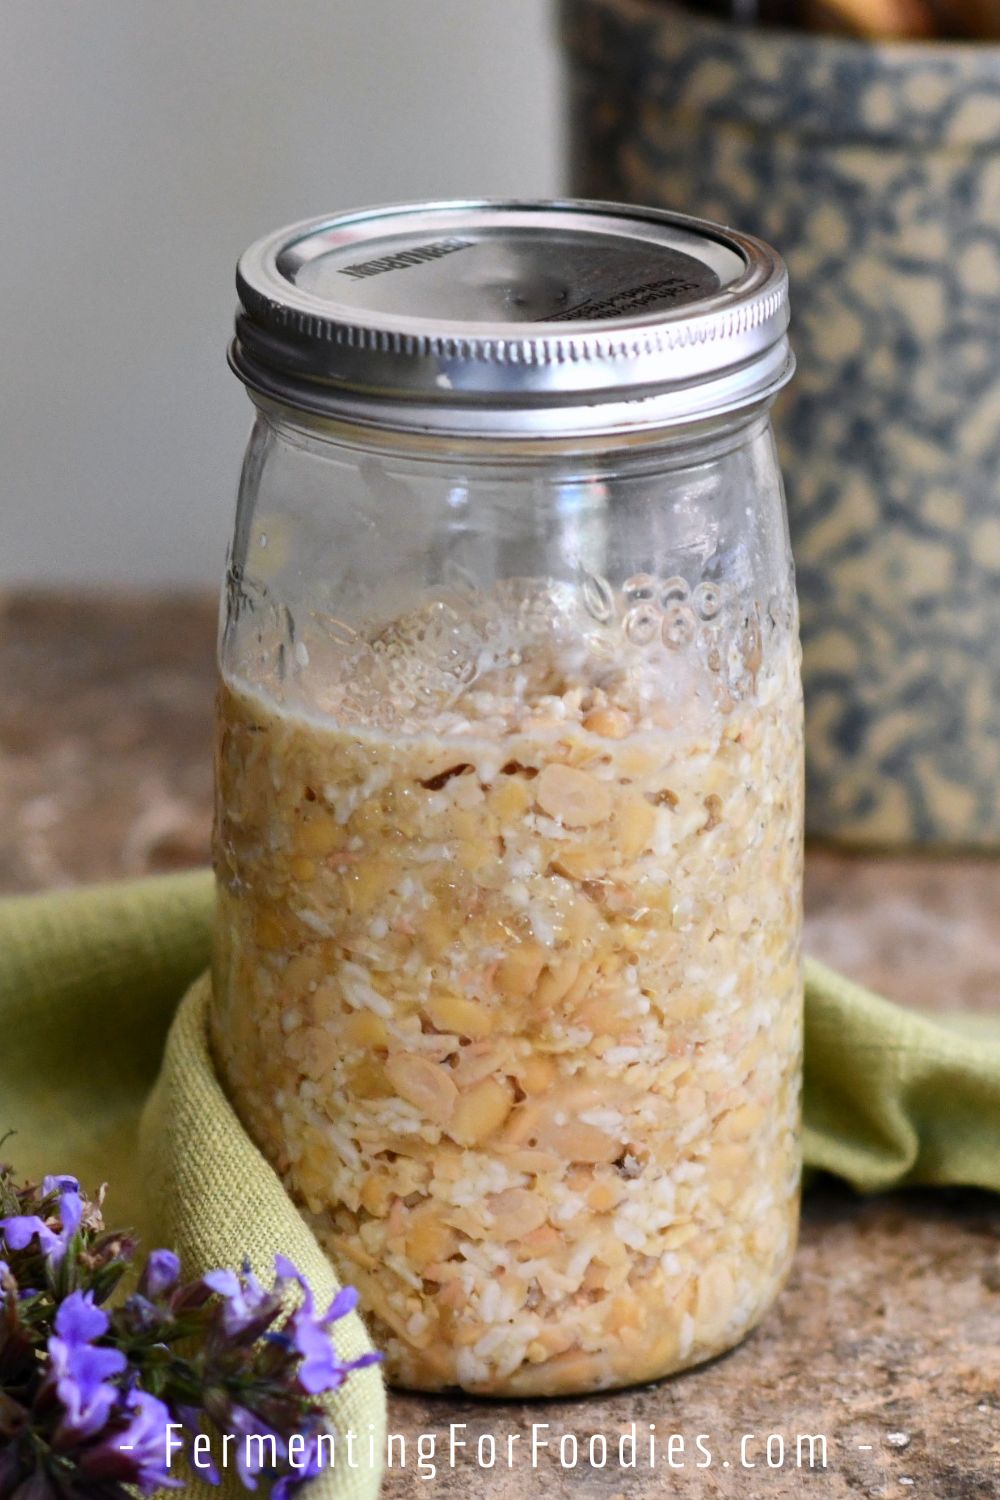
- Regular Mason Jars: I usually make miso in regular mason jars, because they’re the right size for everyday use. I divide the batch between two quart-sized jars so that I still have a batch to continue fermenting after I impatiently dive into the first jar!
- Weights: Commercial glass weights are available. However, I have also used rocks set inside small jam jars. If you want to use rocks, just boil them for 5 minutes to completely remove any risk of contamination.
A few notes on the recipe
To be honest, miso is not as quick and simple as other fermented foods. However, it is easy and reliable, which makes it perfect for beginners.
If it’s your first time making miso, here are a few things to consider:
- The most difficult part is waiting for it to finish fermenting. It is ready between 6 and 12 months. Though I’m often impatient and open a jar after just 3 months. Young miso is sweeter and not as richly flavored.
- The flavor and color of miso are influenced by the ingredients, fermentation time, and culture. Check out this post on the types of miso to find out more.
- I also like using chickpeas, split peas, and beans to make miso. It’s a bit quicker than using soybeans, but definitely not as traditional.
- The recipe below can be made with white koji rice, brown koji rice, or koji barley.
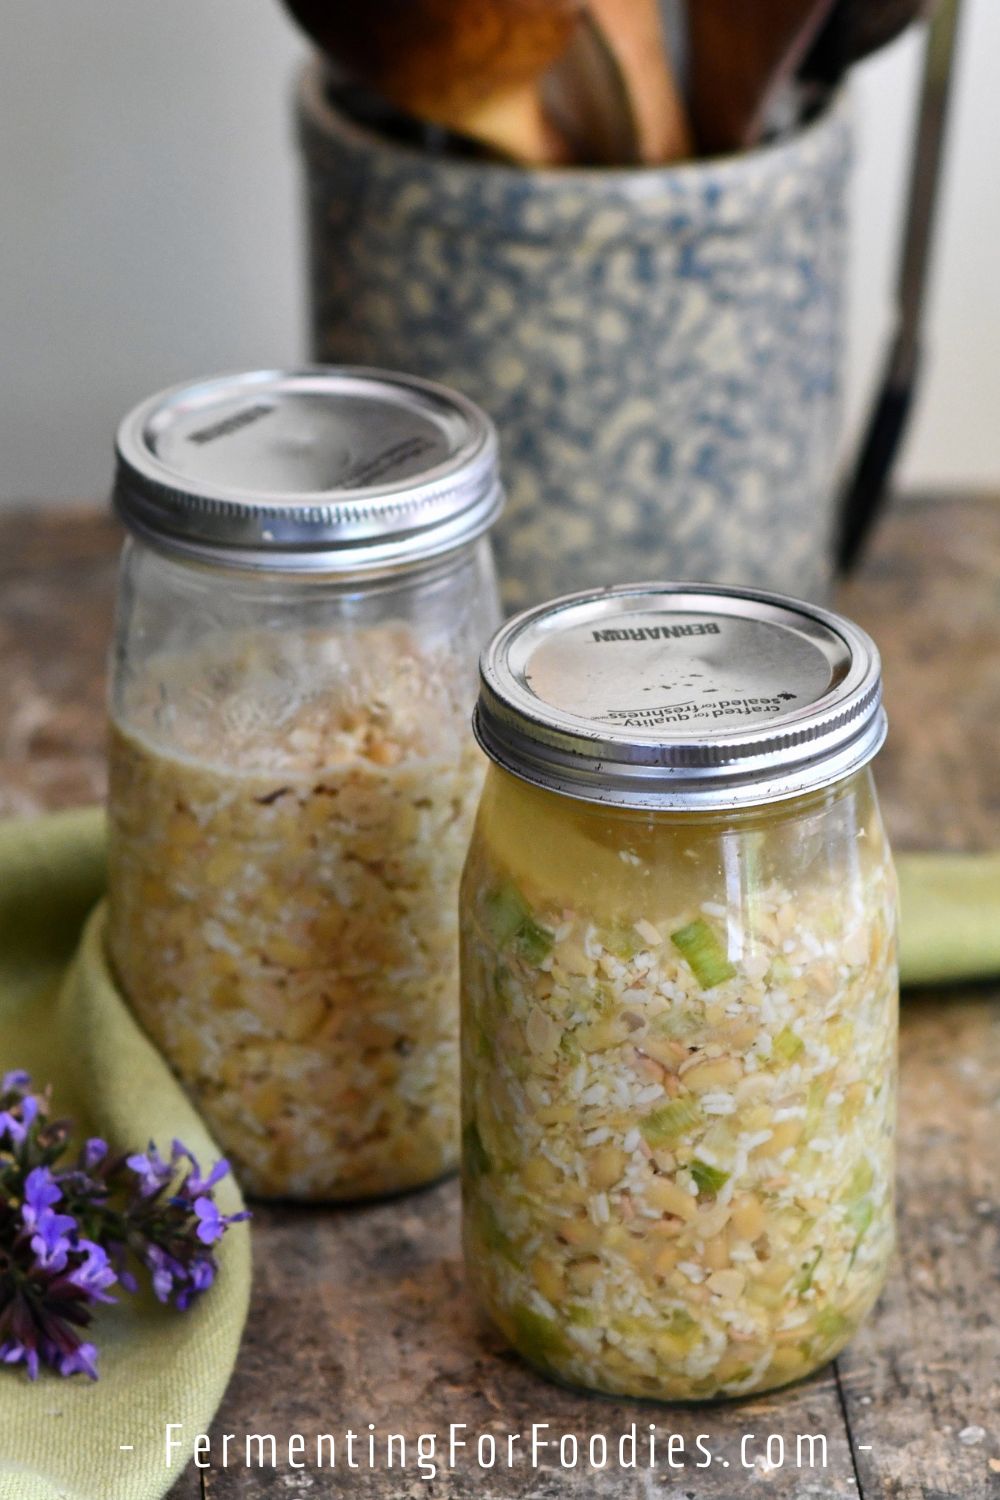
- Feel free to add up to 1/2 cup of raw vegetables or herbs for flavor. This is a very robust ferment, so feel free to experiment! (My favorite flavor addition is finely diced leeks – see photo above).
Here’s a short video of the steps involved with making miso.
How to Make Miso
Homemade miso is so delicious that you will want to eat it straight from the jar with a spoon! While it takes a long time to ferment, the process itself is actually very simple.
- Prep Time: 20 minutes
- Cook Time: 2 hours
- Total Time: 2 hours 20 minutes
- Yield: 1 quart jar 1x
- Category: Condiment
- Method: Fermented
- Cuisine: Japanese
- Diet: Vegan
Ingredients
- 2 cups dried soybeans
- 2 cups koji rice or koji barley
- 1/2 cup sea salt (non-iodized)
- 1 Tbsp mature fermented miso (optional – see notes)
- 1 tsp of sea salt (not mixed into the ferment)
Instructions
- If this is your first time making miso, see the sections above for details on the right type of container, how to vary the recipe, and other tips.
- Soak the soybeans in 4 cups of water for at least 8 hours or overnight. Drain the water then put the soybeans into a pot with 4 more cups of water. Bring the water to a boil, reduce the heat, and simmer until the soybeans are soft, about 2 hours.
- Drain the beans, reserving 1 1/2 cups of the cooking water. Leave the soybeans and the reserved cooking water to cool to room temperature.
- When the beans are cooled, place them in a large mixing bowl with the koji rice, 1/2 cup of salt, and the reserved cooking water. (I have a video showing all the steps to making miso in the section above).
- Mash everything together by hand or with a potato masher. You want the rough texture of hand mashing, so don’t be afraid to get your hands dirty. Pack the mashed beans and rice into a jar or crock. I typically divide the mixture between two 1-quart jars. Make sure you have at least 1 inch of the headroom at the top of the jar because the miso will bubble up during the fermentation.
- Sprinkle another teaspoon of salt on top of the pack of beans and rice. Cover the miso with a piece of parchment paper or plastic wrap.
- Use a weight to keep everything weighed down during fermentation. It will slowly produce a layer of dark brown liquid called tamari. This can be drained off after fermenting to be used like soy sauce. (Yum!)
- Place the fermentation container in a cool, dark location to ferment for 3-24 months. A basement or closet is perfect.
- Store the miso in the fridge once you start using it. It should last for several years.
Notes
- The secret to ensuring that everything ferments nicely is to sanitize the fermentation container(s) prior to use. I usually fill them with boiling water which is enough to kill any surface bacteria and mold.
- Miso is a mold, yeast, and bacterial ferment. Adding a bit of mature miso provides the necessary yeast and bacterial culture. When making your first batch, it’s fine to use store-bought miso. Look for brands that are refrigerated as they will be unpasteurized and alive. If you can’t find raw store-bought miso, then it’s fine to skip that step. The bacteria and yeast should naturally find their way into your miso.
- Want to get deep into the world for fermenting? Try making your own koji rice!
I do lactofermented veggies. I find that the totally anaerobic environment in a Fido jar works great. I want to try Miso. Most recipes seem to suggest a covering that will allow oxygen in. How did your Fido jar miso turn out? Did it work well in a totally anaerobic environment?
It worked fine, though I will admit that my fido jar is old, and probably not completely anaerobic. Also, it did bubble over quite a bit. I have trouble with mold ferments (they give me sinus issues during the fermentation stage from the mold in the air) so I always try to keep my mold ferments somewhat sealed. I believe that miso is a combination of aerobic yeast and anaerobic bacteria, and that (provided you leave some air in your jar) the aerobic bacteria should be fine.
I make my mushroom-spawn jars aerobic-but-sporeproof by drilling 5mm holes in the lid of jam jars, and epoxying a snippet of surgical mask over the holes (on the outside!). You want to press firmly so the glue seeps through all layers of the mask *around* the holes where it’s stuck to the metal, but the mask over the hole should not have glue on it. They stand up fine to being sanitized in a pressure cooker.
For a ring-type canning jar you could probably just stretch a mask over the jar mouth instead of the metal plate and screw the ring down over it.
I followed your recipe including how to make koji rice, taking also advice from several books and a general practice of fermenting veggies for a good long while. It is very interesting and I cannot wait to taste this first miso! Thanks for your site, except for the insistence to sterilise everything, which is not in my opinion necessary, I really like it!
Except for beer, wine and cheese, I’m actually not that clean myself… 🙂 But I don’t want anyone to give themselves food poisoning, so I always talk about sterilization.
That explains! I am delighted by my first miso and surprised by how much it has expanded in the fido jar!
The colour of miso depends on what went into it. My miso is rice and soy. It does darken but not as much as some darker store-bought miso. Does it appear to have fermented? I wouldn’t worry too much about the colour.
Hello, Thank you for your quick reply, I don’t seem to be able to reply to your comment directly underneath. I made various mix: soy and koji rice, chickpeas and koji rice, soy and barley koji. And yes, they have all nicely fermented on top of my closet in our bedroom. They expanded a bit in the jar and i shake them from time to time to make them go down, no sign of mold or anything like that. I can’t wait to taste them! Thanks again!
It sounds like they’re fermenting well! I can never wait much longer than 6 months to start eating miso. 🙂
Hello,
Most DIY miso recipes stress the importance of letting miso ferment through cold, warm and hot weather. They also direct to stir the miso once a month and remove mold. You skip all those steps and simply direct to “place in a cool, dark location to ferment for 6-24 months,” which for most places could only be in a refrigerated environment. Would you please comment on that? Thanks!
You shouldn’t ferment in a refrigerator. By a cool location, I mean a garage or closet. Just not somewhere warm (like near a heater). Also, I’ve never had mold on my miso. And I don’t think miso should mold, instead it should form a little bit of brown liquid, which is delicious and can be used like soy sauce.
Thanks, Emillie. So no stirring necessary during all those months?
No stirring. Miso doesn’t need airborne lactic bacteria or anything. It’s best to leave it alone.
Great! Thanks! I’m going to try that. It’s really tempting to leave it alone as opposed to other methods that involve hot environments and mold removal. When I make sauerkraut I don’t get mold either. This is my first time making miso so I’m grateful for your reassurance.
how wet/pasty should the muxture be when you put it in the crock? mine was crumbly due to using dried koji. will this work or do i need to add extra water?
Hi Emillie, Am a little confused. You said that the miso is fermented by anaerobic and aerobic bacteria/yeast. I made some chickpea miso and the first 8 months, it did not ferment. I had a small dish on top of the miso and took that off as I noticed it was browning slightly around the edges and tasted fermented only there. I also poked a few holes to the bottom to allow oxygenation. After another few months, it fermented and turned a little darker in color throughout the entire gallon container (it was glass). Making my second batch now and have the same dish on top. Am thinking to save ferment time I should remove the dish and just leave a salt layer on top as the chickpea paste is a fine dough and apparently oxygen helps with the ferment. Do you agree? Thanks
Hi Emillie, Forgot to add that for the last few months of ferment, I removed the dish on top to allow oxygenation. So, why do most places recommend a weight pressing down on the top of the miso paste, maybe it is not necessary if the paste is a doughy consistency and is only needed for a very “chunky” type of miso, is that correct?
Hi John,
I’ve learned a few things about miso since 2016! The mold in miso is aerobic and the bacteria is anaerobic. The weight is used to protect from contamination from free-range mold and yeast. However, it doesn’t prevent the koji mold from growing. Miso is a slow ferment, more about flavour development than a quick outcome. The change in colour that you’re seeing isn’t likely a sign of fermentation as much as oxygenation. Some miso is white, others are tan (like my recipe) others are dark brown. The colour is mostly about the combination of grains used.
If you want a particular flavour, then I recommend mixing some of that type of miso into your batch. It’s a way of seeding the anaerobic bacteria, which may give you the flavour you’re looking for.
Cheers, Emillie
Hi Emillie
Wondering if you’ve experimented with lower sodium levels or if you think it’s possible to scale back the salt in this recipe?
Cheers
I haven’t made a low-sodium miso. However all my recipes that call for miso all use the miso for a lot of the salt as well as flavour. So you could always reduce the salt of the recipe (soup or other) when you cook with miso.
If you really want to try a low salt version, I recommend being sure to culture it with a properly fermented miso (to kick start the bacteria) and still use the sprinkling of salt on top to protect the ferment. Good luck!
Thank you!
What do you usually use to weigh it down? In the picture, I do not see any weight inside the jar.
In that fido, I used a glass weight. My current batch of miso is in regular quart canning jars. I’m using jam jars with sterilized rocks sitting in them as weights. 🙂 I took photos… but it’s not very pretty. Not sure if I’ll post them to the blog. 🙂 I sterilized the rocks by boiling them for 5 minutes.
Can Miso be made in vacuum sealed bags? I’ve read its an anaerobic process that doesn’t need oxygen. I have a commercial grade chamber vacuum sealer and this would be far easier for me to do large batches, then just stack them with a weight on top.
Actually, I’m pretty sure that miso is aerobic, so I don’t recommend using a vacuum-sealed bag. If you want to make a lot, then I recommend using a large crock. Sorry! The bag idea would be pretty easy.
What other beans can you use besides soy or chickpeas?
Probably any bean would work. However, I’ve honestly only used soybeans. If you use something else let me know how it goes!
Hi,
Once you’re finished with your ferment and happy with the flavour, how would you store the miso to retain the level of flavour? Also after that, how long does it last?
Thanks,
Sam
I have two batches of miso right now. They were made at the same time… but I’m eating the first one now (after 6 months) because I’m impatient. 🙂 I store the one I’m using in the fridge in the container I used to ferment (a mason jar). When it’s gone, I’ll start the second jar. Until then, the jar is sitting in a closet continuing the fermentation process. I like making smaller jars because I can eat through them within a year. However, I made a large jar once and it took me about 3 years to finish it. 🙂 I’ve never had miso go off, so I guess it lasts a long time!
If you make this with store bought miso, without the koji rice?
Mame miso is made with just soybeans. But I haven’t tried it, so I don’t know the process. Did a quick google search and couldn’t find an online recipe for mame miso. It might be a bit complicated for homemade miso. Also… just had a few comments pop up. I’m sorry you’re having posting issues. I’m going to let my web admin know right now. Cheers!
Hi there, this is great information and I’m excited to try making miso. I’m curious about adding the mature fermented miso… the koji doesn’t provide all the necessary microbes? I did see your note, so maybe i just need better understanding of the koji? Thanks!!
Hi Kathy, Koji rice is a mold ferment. If you only use koji, the resulting miso will be sweeter. Adding a bit of miso from a previous batch adds bacterial cultures for more savory miso. Enjoy!
Hi there, I’m totally new to fermentation.. in fact it kind of freaks me out. But I LOVE store bought miso and tamari so this is a must try.
Koji Rice… just to be clear you cook it and then add the cooked rice to the mixture?
Thanks!
Miso generally is considered a more complicated ferment, because of the length of time, the heating, etc. However, if you love it, then it’s a good place to start! 🙂 The koji rice is not cooked or heated. It’s added to the cooked soybeans.
While koji rice may seem like uncooked rice, it’s actually been steamed and fermented. It should be in the freezer section at your local Japanese grocery store because it is alive, and not shelf-stable. You don’t want to cook the rice because it will kill the culture. Cheers, Emillie
Thank you for the reply! Good to know!