
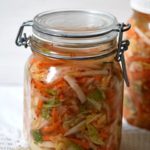
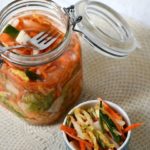
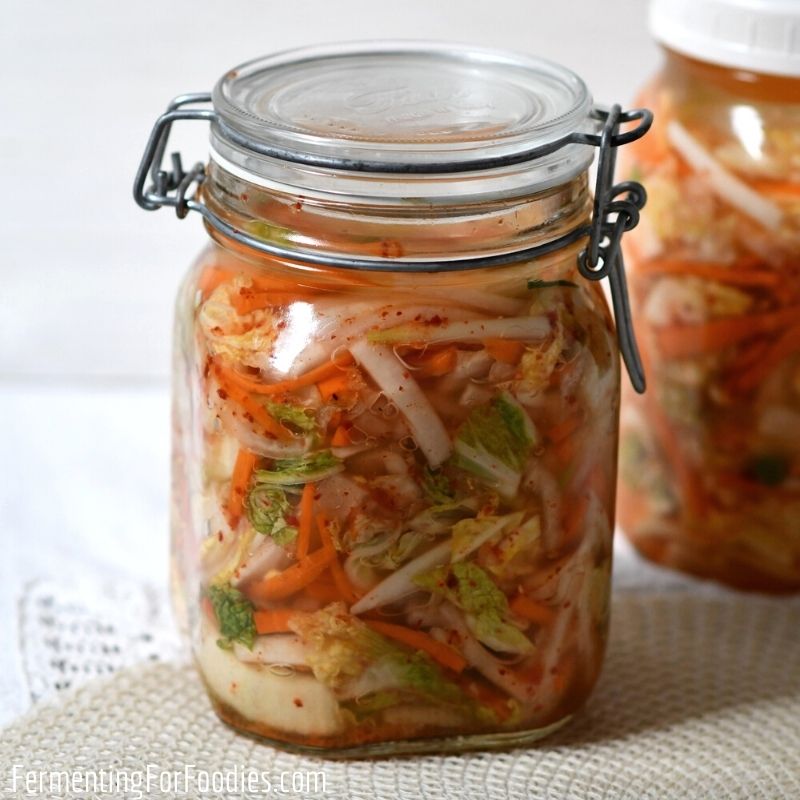
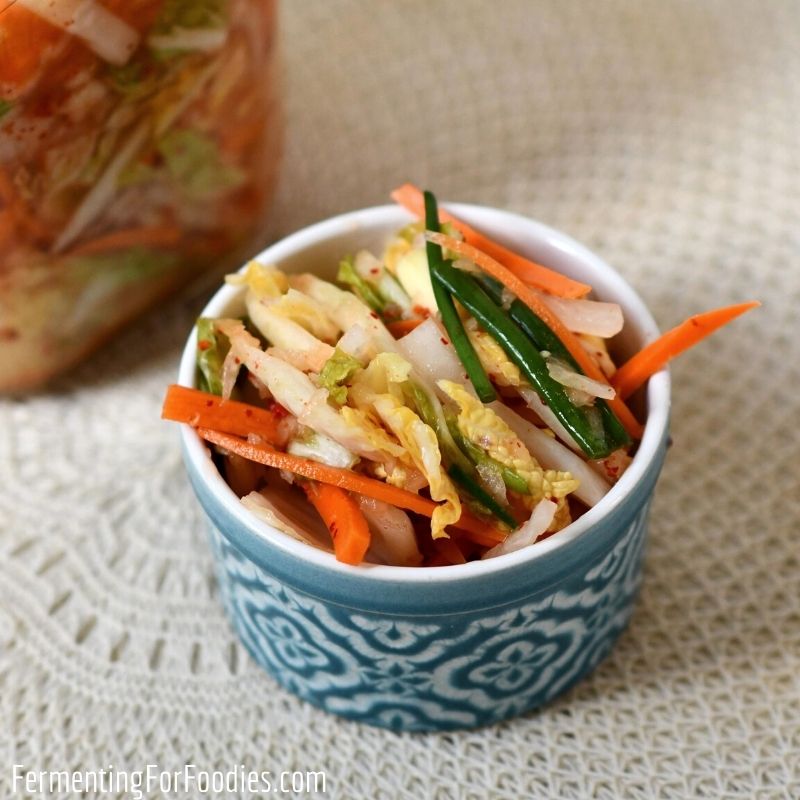
Kimchi is hot, salty, and pungent. A staple in Korea, it is eaten at nearly every meal. This simple vegan kimchi is packed full of flavor. It’s a delicious condiment regardless of whether it’s eaten fresh or sour.
Traditional kimchi is made with raw squid, oysters, and/or fish sauce. Like all traditional foods, the exact recipe differs from region to region and from house to house. It also varies based on the availability of ingredients and personal taste.
Since my husband, Brad, is allergic to shellfish we always make vegan kimchi. If you want to make more traditional kimchi, then I recommend exploring Maanchi.com.
And check out this video: How to Make Kimchi: according to my Kun Umma for an entertaining look at kimchi and Korean-Canadian immigrant life.
What can you do with kimchi?
Kimchi is a tasty all-purpose condiment. Fresh kimchi (only 3 to 7 days old) is sweet and sparkling. It is typically served alongside meals, like a salad or pickles.
My daughter, Una, LOVES fresh kimchi. She eats it by the forkful as a healthy afterschool snack.
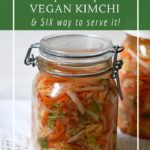
As kimchi ages, it becomes sour and is more suited to flavoring other dishes and meals. Sour kimchi is delicious, probiotic, and perfect for making quick, Asian-inspired meals. Here are six delicious ways to serve sour kimchi.
- Serve it as a trendy hot dog or hamburger topping.
- Kimchi fried rice is my kids’ favorite way to eat kimchi.
- Use kimchi to make a rich and delicious noodle bowl (not a vegetarian recipe, but you can use tofu for protein instead.)
- This quick and easy vegan kimchi soup only takes 15 minutes to make.
- Try a traditional, not vegetarian, pork belly kimchi soup.
- Add kimchi to an Asian-inspired Buddha bowl.
Vegan Kimchi

Kimchi is a hot, salty, and flavorful condiment that is a staple in all Korean kitchens. This 100% vegan kimchi is simple and delicious. See the section above for 6 ways to enjoy kimchi.
- Prep Time: 15 minutes
- Total Time: 15 minutes
- Yield: 3 quarts 1x
- Category: Condiment
- Method: Fermented
- Cuisine: Korean
- Diet: Vegan
Ingredients
- 4 Tbsp non-iodized salt
- 8 cups of water
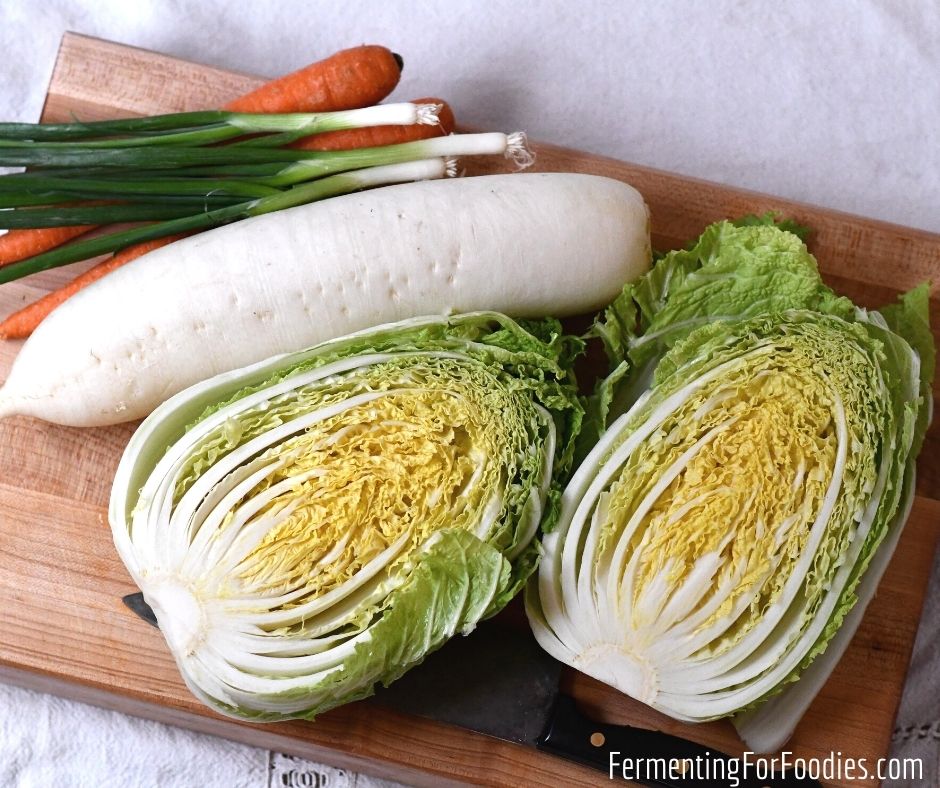
- 1 large head of napa cabbage
- 1 daikon radish (6″ to 8″ in length)
- 3 carrots
- 4 green onions
- 1 medium yellow onion, peeled and quartered
- 4 garlic cloves, peeled
- 2-inch knob of ginger, peeled and diced
- 1 – 4 Tbsp red chili pepper flakes (using gochugaru is traditional)
- Optional: 4 Tbsp of wakame
Instructions
- Dissolve the salt in the water to make a brine.
- Roughly chop the cabbage, and submerge it in the brine for at least 5 hours, up to 24 hours. If there isn’t enough brine to cover the cabbage, wait 30 minutes for the cabbage to start softening. It should all fit under the brine.
- Use a weight to keep the cabbage below the surface of the brine. I soak my cabbage in a large bowl and use a dinner plate to keep it below the surface.
- After soaking, drain the cabbage reserving 6 cups of the brine.
- Dice the radish, carrots, and green onions into bite-sized sticks.
- Place the yellow onion, garlic, ginger, and chili pepper flakes into a food processor and chop until it becomes a paste.
- Mix all the vegetables and the paste in a large bowl. Wakame isn’t traditional, but it is a nice replacement for the usual fish sauce. Add it at this point, if you are using it.
- Pack the vegetables into several glass mason jars. This vegan kimchi recipe should make around 3 quarts depending on the size of the cabbage.
- Pour the reserved brine over the vegetables, using as much as needed to keep them submerged. Cap the jars with a loose lid that will allow CO2 to escape as it ferments. Kimchi will bubble vigorously for the first few days, so make sure the jars have headroom to prevent them from overflowing.
- Place the jars of kimchi to ferment in a dark location for up to 3 days. It is traditional to eat kimchi while it is still in the sparkling stages of fermentation (3-7 days.)
- After 3 days, place the kimchi in the refrigerator to slow the fermentation.
Notes
- If raw garlic, onions, and spices aren’t your thing, here’s my recipe for kid-friendly kimchi. It avoids the stronger flavors while keeping the delicious kimchi-ness.
- If you can’t find napa cabbage then use savoy. You can also use a regular cannonball cabbage, but it won’t have the same texture or flavor.
- You can find gochugaru (Korean red pepper flakes) in Asian grocery stores or online
.
Hello! Will I need to unscrew the lid and allow it to vent each day? Or is it okay to keep it sealed the entire time. Thank you in advance.
It will bubble. Either don’t screw the lid on tightly or open it to burp it every day.
The first time I found it too spicy, so I ended up cooking it to make it less strong. This time I only used 1 clover of garlic and skipped the onion, and it was perfect.
How long can you allow this recipe to ferment and what is the shelf life? If this recipe isn’t suited for longer fermenting and storage….can you recommend one? Thank you.
Traditionally kimchi is eaten fresh and sparkling. So after 3-5 days of fermenting. However, it is just a variation of sauerkraut, so it will continue to ferment for up to 8 weeks. The flavour will become more sour and sauerkraut-like. Here’s a post I wrote on the shelf-life of various fermented foods: https://www.fermentingforfoodies.com/what-is-the-shelf-life-of-fermented-foods/ Cheers!
Thanks for sharing! I make this a lot… so I guess the onion and spice suit my taste! But I will make a note to increase the gochugaru from 1 to 4 tbsp. Cheers, Emillie
I’ve made this recipe twice. First time I found the garlic and onions to be too strong, so this time I only did 1 clove of garlic and skipped the onions. It was perfect!
Glad you found your happy medium! Enjoy!
Hi Emillie,
Can I use regular radishes if I can’t get the daikon radishes?
Yes, daikon tends to be a bit milder, but they will taste similar. Enjoy!
If I wanted to use fish sauce, how much would I add. I like the looks of your recipe, but want to try it both ways.
This recipe would work with 1 to 2 Tbsp of fish sauce. Enjoy!