

Looking for a way to make sauerkraut a bit less salty? Here is what you can do with too-salty kraut along with a few ways to make low-sodium sauerkraut that is still fermented and packed with probiotics!
Why does sauerkraut need salt?
Traditional sauerkraut is preserved so that it can be eaten all winter long. Fermented kraut is packed with vitamin C, making it a particularly important storage vegetable.
A brine-based ferment of at least 2.2% salt is the best way to ensure that a jarful of sauerkraut will last in the root cellar for several months. This is why most fermented vegetables and pickles are particularly salty.
If salty foods aren’t your favorite (whether for health or flavor) there are two options:
- Make sauerkraut with a typical brine ratio, then serve it in a way that reduces the impact of the salt.
- Ferment a low-sodium sauekraut.
1. What to do with sauerkraut that is too salty?
It’s pretty easy to end up with sauerkraut that is too salty. Whether you find 2.2% salt to be too much, or you accidentally added too much salt, don’t worry! As long as the salt isn’t above 5% of the total ferment, it will still result in probiotic kraut.
Here are a few ways to reduce the impact of overly salty sauerkraut:
- Seasoning: Use the sauerkraut to season a dish. For example, sauerkraut can provide the salt for a potato salad.
- Rinse: Rinsing sauerkraut right before serving will remove some of the salt. It will also remove some of the beneficial bacteria. So I only recommend rinsing commercial, non-fermented kraut.
- Add more cabbage: Adding more cabbage after the initial fermentation is finished is my FAVORITE option. Simply add more cabbage (up to double the original amount of cabbage). Let it ferment for 3 more days before popping it in the fridge. It will be packed with probiotics, slightly sweeter than a usual batch of sauerkraut, and way less salty.
- Add more water: Alternatively, adding more water after the initial fermentation is finished is an easy option. This is a cross between rinsing and adding more cabbage. Simply add more water (up to double the original volume) before popping the kraut in the fridge.
Options for fermenting with little or no salt.
As a gluten-free person, I have to admit that gluten-free sourdough is not the same as typical sourdough. Likewise, low-sodium sauerkraut really isn’t the same as sauerkraut. However, that doesn’t mean it isn’t probiotic and delicious!
There are a few ways to make low-sodium sauerkraut:
- Seedy kraut: Paul Bragg (of the Braggs liquid aminos and other products) came up with a method of using seeds (1 Tbsp each of caraway, dill, and celery) to flavor and keep salt-free sauerkraut crunchy. Most recipes for salt-free kraut are based on this method. Just be sure to move the kraut to the fridge within 7 days.
- Sweet kraut: A sweet fermented sauerkraut uses a sugar-based culture to ferment the vegetables, instead of the natural lactic bacteria cultures. Sweet krauts can be made with kombucha, ACV, homemade wine, or other fermented beverages. If you want to try this style of kraut, feel free to try my fermented piccalilli recipe. The salt is added for flavor only, so feel free to skip it altogether.
- Vegetable starter: Using a vegetable starter is my preferred way to make low-sodium sauerkraut. I find it’s the best way to make kraut that has exactly the flavor I want. So it’s what I used for the recipe card. Again, I recommend reducing the fermentation time to less than 7 days to prevent the risk of contamination.
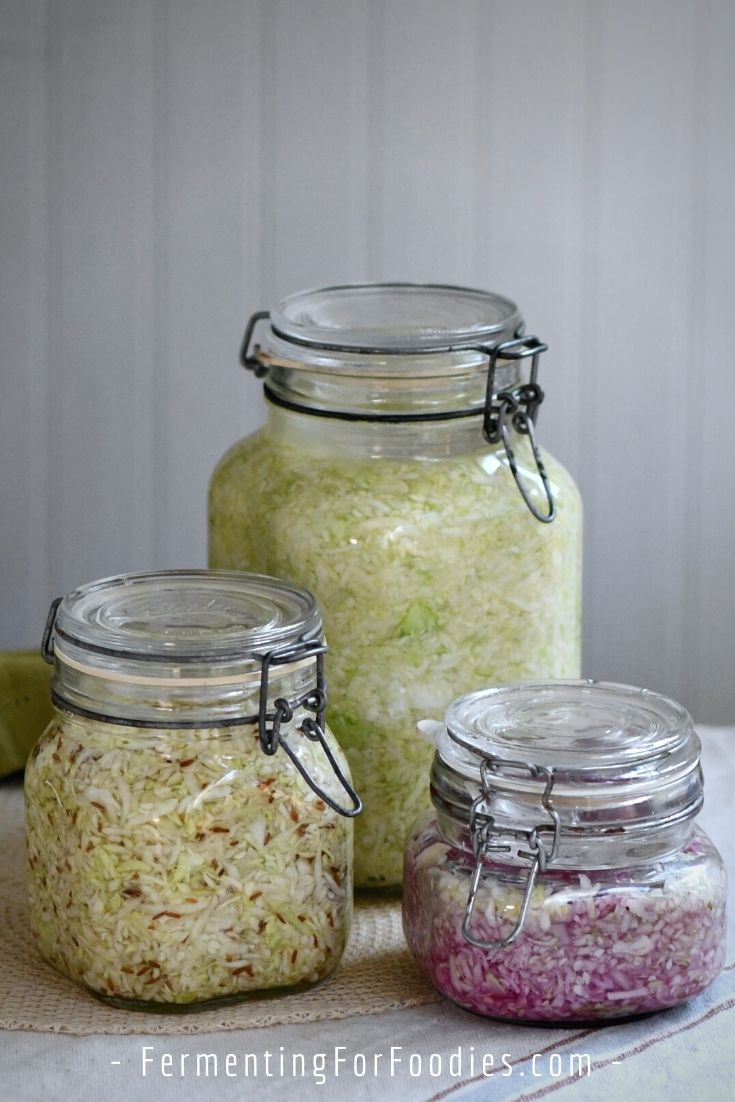
Low-Sodium Sauerkraut
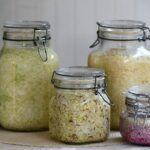
Looking for a way to make sauerkraut a bit less salty? Here is a recipe for low-sodium sauerkraut that is still fermented and packed with probiotics! See the section above for 4 ways to deal with too-salty sauerkraut.
- Prep Time: 15 minutes
- Total Time: 15 minutes
- Yield: 2 Quarts 1x
- Category: Vegetables
- Method: Fermentation
- Diet: Low Salt
Ingredients
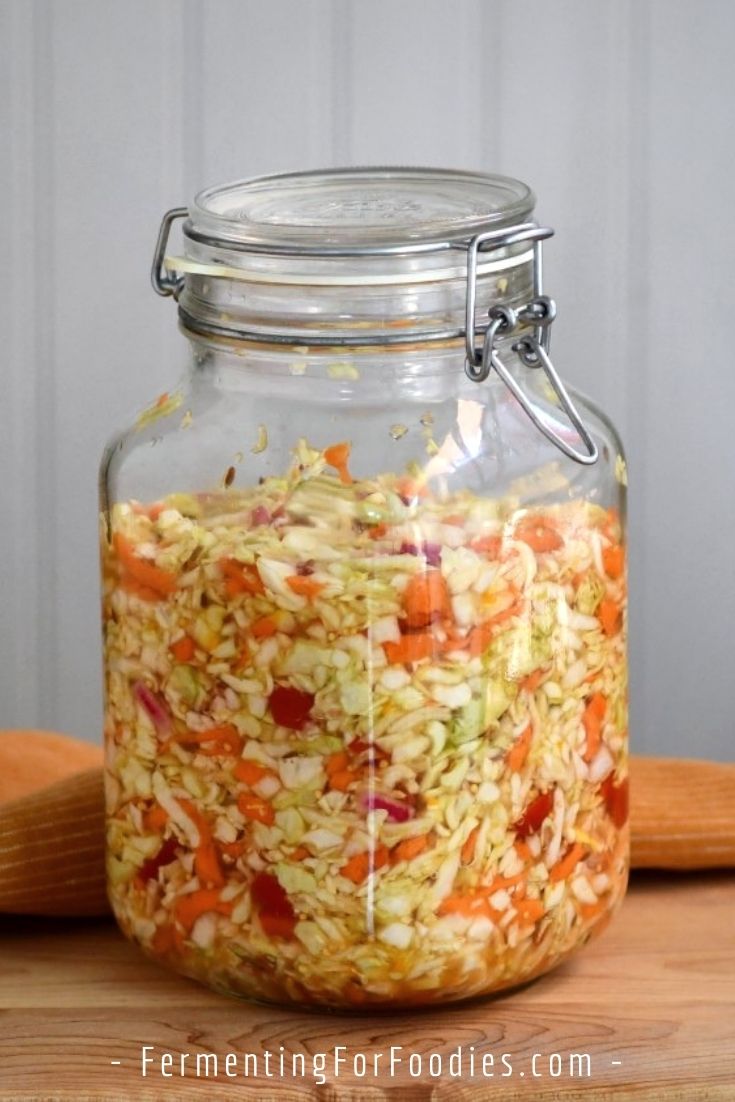
- 1 head of cabbage (approx. 2 lbs.)
- Pickling salt (to taste)
- 1 package of vegetable starter or 1/2 cup of homemade starter (see notes)
- Flavors (see notes for suggestions)
Instructions
- Wash the cabbage and remove the outer leaves. Finely chop or grate the cabbage into a large bowl. Salt is optional with this particular kraut, so feel free to skip it, or add as much as you want. I recommend slowly adding salt, then tasting it until you reach the desired level of saltiness. If you’re using a packaged powdered vegetable starter, then add it at this point. Give everything a good stir.
- A large head of cabbage with make 2 quarts (2 L) of kraut. Feel free to pack in one large jar or divide it among several smaller jars. After filling the jar halfway, add either a 1/2 cup of water or 1/2 cup of homemade vegetable starter. Without the usual amount of salt, the cabbage will take longer to release its liquid. So the additional liquid is necessary to ensure a good ferment.
- Use a wooden spoon to press the cabbage down into the jar. Continue packing the cabbage into the jar, leaving at least 1 inch (2.5 cm) of room at the top.
- Since this is a low-sodium ferment, it’s important to prevent contamination. Cap the kraut with a lid that will allow CO2 to escape while preventing unwanted mold and yeast contamination. Fido jars or pickle pipes are perfect.
- Place the jar(s) somewhere dark to ferment. It will start to bubble within 24 hours and remain very active for 2 to 3 days. I recommend moving it to the fridge after 3 days when it’s at peak fermentation. If you want to let it go for longer, keep a close eye on it, and don’t let ferment for more than 7 days before moving it to the fridge. It will taste sweeter than typical sauerkraut, and be packed with lots of probiotic cultures!
Notes
- A vegetable starter is any salt-based brine from another vegetable ferment. However, I recommend using a vegetable starter that you know for certain is packed with culture.
- My favorite sauerkraut flavor combination is 1 tsp each of caraway seed, mustard seed, and juniper berry. However, check out 10 of my other favorite flavor options.
Do you have any fixes for a too-salty finished sauerkraut (or, in my case, a Kimchi) AFTER it is finished? I’ve had this Kimchi for years, in a 2.5 gallon glass container, and it didn’t have a single mold or anything bad growing on it (I structured the water in the vegetables prior to making the Kimchi), just the top 2/3 dried out, which I threw out, but what is left is, I think, more salty than normal.
Thanks!
I would do one of two things: add more water to your container (to dilute it), or use the kimchi to provide the salt in noodle bowls, stir-fries, etc. 🙂
Thanks! I’ve basically accepted I can only have about 1oz at a time, and I think the easiest thing to do would be to just go along with that.
That sounds like a good plan. 🙂