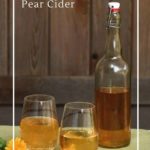
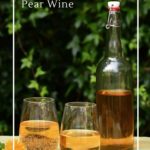

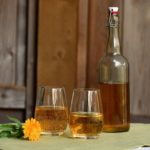
Homemade pear cider is light, sparkling, and sweet. Allowing the cider to continue fermenting will turn it into a golden sweet dessert wine. Here’s everything you need to know to make pear cider and wine at home.
This pear wine and cider recipe uses whole fruit. It’s perfect if you have a pear tree in your backyard or order fruit by the case. Here is a different recipe if you want to make pear cider from juice.
Pear Cider or Wine?
Homemade cider and wine both start with the same basic ingredients: fruit, sugar, and yeast. They follow the same fermentation process.
- Cider is bottled early before the yeast has consumed all of the sugar so that it remains sparkling and sweet.
- Wine is allowed to ferment until most of the sugars are consumed, and it is bottled after fermentation has stopped.
- Grapes are ideal for making wine. They contain all the nutrients needed to feed the yeast, and will naturally keep fermenting until all the sugar is consumed or the alcohol content kills the yeast (around 18 ABV). Sulfites are usually added to commercial cider and wine to stop the fermentation early.
- Pear doesn’t contain all the nutrients required to feed wine yeast. Yeast nutrients and energizer are needed to make wine. So it’s easy to use yeast nutrients to control the fermentation of pear cider and wine for a sulfite-free option.
- Why not make both cider and wine from the same batch of pears? Just cap a few bottles early, then let the rest ferment through to wine!
Tips For Beginners
Here is some detailed information for anyone who is new to making wine and cider. If you have experience then feel free to skip right to the recipe.
- To learn about racking, sanitation, and everything else you will need to know check out how to make cider and wine along with all of the subtopics.
- When bottling cider, use plastic pop bottles or swing-top beer bottles. Both types of bottles are able to handle the build-up of carbonation.
- Pears are lower in pectin than other fruits, so they are unlikely to produce methanol. However, it is always a risk when fermenting fruit into cider or wine. The best way to prevent methanol production is to make sure that your ferment is not contaminated with pectin-loving bacteria, so keep everything clean.
- Here is how to use a hydrometer to calculate the alcohol levels of your cider and wine.
Pear Cider and Wine
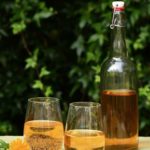
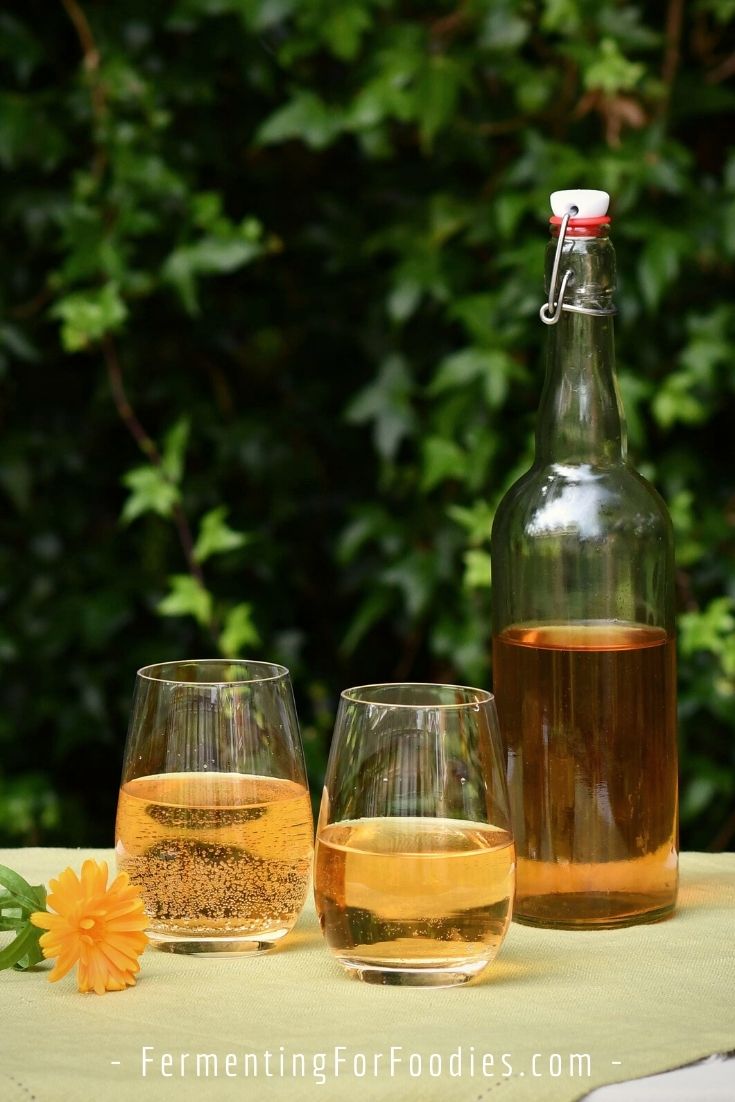
Here’s how to turn whole pears into cider and/or wine. This recipe uses yeast nutrients rather than sulfites to control the length of fermentation. The resulting pear cider is deliciously sweet and light tasting. Pear wine is a rich dessert wine.
- Yield: 5 Liters 1x
- Category: Alcohol
- Method: Fermented
- Diet: Vegetarian
Ingredients
- 5 lbs of ripe pears
- 18 cups of filtered water (chlorine-free)
- 3 lbs of sugar
- 2 1/2 tsp acid blend (or 2 lemons juiced)
- 1 tsp of fresh lemon juice (in addition to the acid blend)
- 1 tsp yeast nutrient
- 1/4 tsp tannin (optional, to add body)
- 1 packet wine yeast (LALVIN 71B-1122)
- 1 tsp yeast energizer (for wine, see notes)
Instructions
- Follow the basic wine-making steps, including sanitation of ANYTHING that is going to touch the pears. (See the section above if you are new to cider and winemaking).
- Wash the pears. Cut them in half and remove the core and any bad spots. Leave the skin on. Place the pears in a brew pot or a large stockpot.
- Boil 4 cups of water. Pour the boiling water over the pears, then use a masher to mash the pears and extract the juice.
- Bring the remaining 14 cups of water to a boil, then pour the boiling water over the mashed pears.
- Put a lid on the pot and stash it in a quiet corner of your house.
- After 24 hours, add the sugar, acid blend, yeast nutrient, tannin, and lemon juice. Stir well to mix the ingredients. Follow the instructions on your yeast package (some will require re-hydrating before use). Add the yeast to the brew pot and stir it again. Give everything another good stir after one hour to make sure it is well mixed. If you want to calculate the alcohol levels, remove some of the liquid at this point to measure the specific gravity.
- Put the lid back on the pot and leave it somewhere warm to ferment for 3-5 days. Give the mixture a good stir once or twice a day.
- After the initial ferment, strain out the solids by pouring the liquid through a mesh bag or a cheesecloth-lined strainer (sanitized). Move the liquid into carboys, top them with an airlock, and leave them to ferment in a dark location, cool for 2 weeks.
Cider
- After 2 weeks the fermenting should have slowed significantly. However, you should see some bubbling in the airlock. This is when it’s ready to bottle for cider. The exact timing will depend on temperature. The ideal temperature is 68 F / 20 C. Cooler temperatures will slow down the fermentation time. Warmer temperatures will speed it up.
- Allow the bottles to sit out at room temperature for 1 week to carbonate. Test carbonation by squeezing plastic bottles or popping the lid on glass bottles.
- Once the pear cider is carbonated store it in the fridge.
Wine
- If you’re making wine, rack the liquid to clean carboys after two weeks and add the yeast energizer. It doesn’t need to be exact. Just divide the amount between the clean carboys. The goal is to boost fermentation.
- Rack again after 3 to 4 weeks to remove any remaining dead yeast. Let the wine age for 3 to 4 months in the carboy before bottling.
- Allow bottled wine to continue aging for a few more months. The wine will taste best if it is drunk the year after the primary fermentation. (So one whole year, start to finish). I’m often tempted to sample early, but it’s always a disappointment.
Notes
- Pears are low in the nutrients and tannins needed to make a good, flavorful cider and wine. Adding tannin early in the process improves the texture and flavor, and will help preserve the wine.
- Yeast energizer helps to kick-start a sluggish ferment. Without it, the pears will only ferment into cider or a very sweet and low alcohol wine.
Does it matter what type/variety of pear I use ??
Does ripeness of pears matter ??
Thanks !!
You’ll want to use ripe pears as the sweetness will add to the flavour and sugar. However, feel free to use any variety of pear, or a mix of pears for a blend. Enjoy!
Is it ordinary white granulated sugar that you use
Yes! Any white sugar will work.
Hi. Thank you for the information.we bought a house with a pear orchard. They were left to grow wild. Too many pears. A lot of them have rotted. Umm collecting from the ground. All that is still too. I would like to try to make Hard sides.wine. or distilled alcohol. Help.
Hum… Definitely don’t use any pears that have rotten bits, which will contaminate your wine. I also don’t recommend making distilled alcohol unless you really know what you’re doing. It’s really easy to make something with toxic levels of methanol when distilling homemade alcohol.
However, you can make pear cider or wine from the whole fruit! Just follow the recipe as written. Good luck!
I have some LALVIN EC-1118 in hand. Will that work instead for the yeast?
Yes! EC-1118 works for all fruits. Enjoy!
How are would you use the energizer if making both cider and wine from the same batch?
I add the energizer to the carboy after bottling the pear cider. Then the remaining pear can ferment into wine.
Hi! Just confirming that you add 4 POUNDS of sugar, and not cups?
Yes. However, it does depend on the sweetness of your pears. If you have really ripe, sweet pears, then you could probably use 3 lbs of sugar. The amount of total sugar (from the pears and added sugar) will determine the amount of alcohol in the wine. If you are making cider, then it would be fine to reduce it even further… however, then it will impact both the sweetness of the cider and the alcohol level.
Hi. Just trying my first brew. I’ve already pressed the pears and got 9 litres. I’ve added 1 tsp of pectolase, 1 tsp of yeast nutrient and 2x Campden tabs. And put in dark room for 24 hours before adding the yeast. (This is how a guy on YouTube did it so just copied him not sure if I’ve done it right??)
But when I add the yeast tomorrow how much brewing sugar should I add? and also is it okay in the bucket with no airlock for the first 3 days? Then I should rack off into demijohns? Thanks.
Hello, There are lots of different ways to make wine. I’m very sensitive to sulfites, so I never use Campden. Also, this recipe is for whole fruit so the sugar ratio is different because of the concentration of sugars in the juice. If you’re planning on making cider, I recommend following my hard apple cider recipe, since it starts with juice. https://www.fermentingforfoodies.com/how-to-make-hard-apple-cider-from-juice/ If you’re making wine… you’ll still need to follow the juice-based recipe, just add the energizer to get it to ferment through to wine.
Good luck!
Hello, thx so much for your recipe. We’re making the cider and have finished the 3 weeks after the first rack. I’ve tasted a tsp amount and it’s DELICIOUS!!!! But first time making anything fermented and wondering if it’s ok to bottle. We’ve got swing top bottles, hydrometer reading has been steady for 6 days, but still the occasional bubble in the airlock. We wanted it to be fizzy so we were told to add dextrose, but I’m scared of bottle bombs, lol.
So is it ok to bottle with steady gravity reading? (Alcohol level is 9.7% with original reading and steady reading)
And if we add dextrose will it explode?
It probably won’t carbonate without a little boost. Here’s the ratio that should be enough to get it fizzy without exploding. For 1 gallon of cider, add 2 Tbsp of dextrose mixed into 1/4 cup water (usually I dissolve in boiling water, then let it cool). You can either mix this into the carboy before bottling or divide it among the bottles. I recommend before bottling as it’s hard to divide it evenly between bottles. Enjoy!
Thanks! So do you think with the steady hydrometer reading we could go ahead and bottle? Or should we wait a little longer until we see less bubbles in the airlock? (1 bubble every 40sec) Theres a little froth at the top of the cider but it’s not like when you could see all the bubbles rising and falling before we racked….
Thanks again for such an awesome recipe!!! We’ve wanted to try this for so long but weren’t too sure how to go about it. We have an apple, pear, cherry, plum tree and a few grape and hop’s vines so you’ve opened up a whole new journey for us. Thx!!
If you want cider, it’s definitely time to bottle. Otherwise, you can add some energizer to boost it so that it will ferment into wine. (I usually do a mix of both). Enjoy!
Hi,
Just tasted our first attempt at making wine. I am generally very good at following recipes but I must have done something very wrong here. The underlying taste is really good but it has a strong vinegary taste as well. What would be your best GUESS at where we went wrong so that we can do better next year?
Wine can be tricky. It does require a lot of specialized equipment and steps. It sounds like you might have made pear vinegar. Wine turns to vinegar when exposed to air. It is naturally colonized by acetic acid bacteria. Is there any chance that your airlocks weren’t air-tight? Did you fill them with water?
I actually had one carboy that had the airlock accidentally knocked off. So of the 7 carboys of wine, I made this year, 1 of them is going to be vinegar instead. If you don’t enjoy drinking the wine (it doesn’t sound good), then let it turn into vinegar. Put it into a container covered with a piece of cloth (to keep out fruit flies). And leave it to continue to age for 2 months. Acetic acid bacteria need oxygen to convert alcohol to acetic acid. After two months you should have some pretty delicious vinegar. Hope this helped!
I made my mash November 1st. Started fermentation on November 2nd. Strained and racked in carboy 12days later on the 14th.
I used 6lbs of sugar for 10L. The apples and pears were really sweet prior. Today is December 8th. I see the air lock bubble once every 5minutes or so. I tasted it and it has pretty strong alcohol content. Now do I back sweeten and bottle or just bottle?
I’m assuming you’re making cider? If it is still bubbling, then there’s plenty of sugar left to carbonate. You can confirm this by measuring with a hydrometer. But it’s not necessary.
If you like the flavor, then bottle right away. Or add some sugar if you want a bit more sweetness. Just keep an eye on it if you add sugar because it could carbonate really quickly.
Good luck!
Can you explain more what you mean in steps 3-4? So you pour part of your boiling water over the fruit, and mash and mix it up. Then pour the rest of the boiled/boiling water over the mash, and let it sit until cool. Is that it? Do you use a brew bag or anything similar to contain your fruit pulp? Is there any other nuance to be aware of here?
do you have any gravity readings ? I’ve just started mine and it’s starting at 1.062 wondering what would be ideal gravity to bottle as cider ?
Every year it’s a bit different (depending on the sweetness of the pears). Last year my pear wine/cider started at 1.1. We bottled at 1.019 for cider. That was after a week of fermenting, so it went fast! Then we bottled the rest a month later at 0.998 for wine. I have a notebook where I keep track of all my ferments. It’s a handy reference. Cheers!
I’ve just bottled some of this for cider and left the rest for wine. Exciting! How long will the cider last once in the fridge?
And is there a recommended time to leave the cider in the fridge before drinking too?
Thanks for all the info on your great site. I found you a few months ago, and we’ve ready made around 5 of your recipes 🙂
Good questions. If the cider is sparkling after 1 week at room temperature, then it’s ready to drink! It should last for at least a year in the fridge… though usually not that long at my house! 😉 I’m glad you’ve enjoyed my recipes. I hope you like the cider and pear wine as well! Cheers, Emillie