


Cabbage tsukemono is a flavorful fermented Japanese pickle. It’s a simple way to add umami to rice, noodles, or soup! Here’s how to make this simple side dish using a homemade pickle press.
I recently discovered tsukemono… not that I didn’t know about it before, but after reading Preserving the Japanese Way by Nancy Singleton Hachisu, I learned that really flavourful pickles are a big part of the umami in Japanese cuisine.
Japanese pickles can be made with salt brine, miso, rice bran, koji, or vinegar. Usually, they are made in a tsukemonoki, a pickle press with a heavy weight.
I decided to start with a fermented cabbage tsukemono, because my daughter loves cabbage ferments and because fermenting cabbage is so easy and reliable.
DIY Tsukemonoki
Generally, I’m a big fan of having the right equipment for homemade ferments. It just makes everything easier. However, unless you plan on making a lot of tsukemono, it’s probably fine to make your own pickle press.
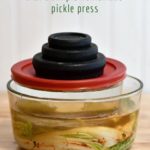
Here’s how you can set up your own pickle press:
- I used a glass baking dish with a smaller glass dish as my pickle press. The smaller container was filled with water, and I added a bit of extra weight. (See the picture below).
- You could also use a plate as a follower.
- If you have a fermentation crock, then you only need to add weight.
- Weights can be anything from a large mason jar filled with water or a large can of tomatoes placed in a plastic bag (so the tin can doesn’t come into contact with the ferment. Just make sure the jar or plastic bag is clean.
How to serve Cabbage tsukemono
Cabbage tsukemono is so simple to make and will last for a few months in the fridge. Best of all, it will add a burst of flavor to pretty much any meal.
Here are a few ways to enjoy tsukemono:
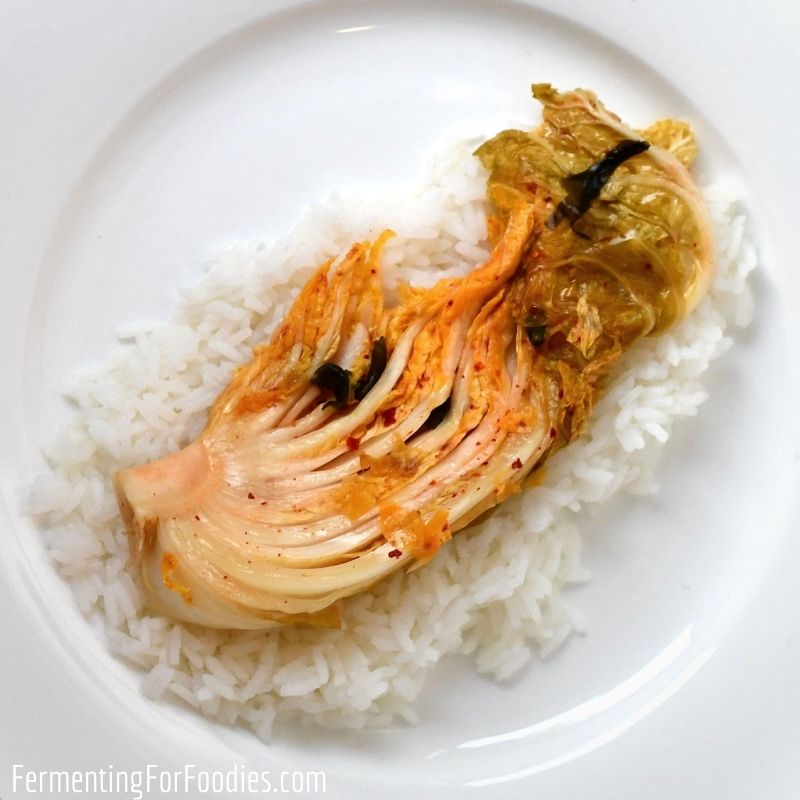
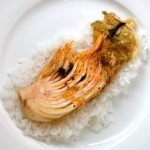
- The traditional way to enjoy tsukemono is with a bowl of plain rice.
- Add it to homemade yakisoba.
- Serve as part of a Japanese noodle soup.
- Perfect in a bento box.
Salt-Brined Cabbage Tsukemono
Cabbage tsukemono is really easy to make. It’s a delicious way to add a burst of umami to your meals. See the section above for serving suggestions.
- Prep Time: 10 minutes
- Total Time: 10 minutes
- Yield: Serves 12–16 1x
- Category: Condiment
- Method: Fermented
- Cuisine: Japanese
- Diet: Vegan
Ingredients
- 1 head of napa cabbage (about 1.25 lbs)
- 2 tsp salt (non-iodized)
- 2 cloves of garlic, sliced
- 1 tsp dried chili flakes
- 1 tsp wakame (dried seaweed)
For Serving:
- 1 tsp sesame seed oil
Instructions
- Chop the cabbage in 4 or 8 pieces length-wise. Leave the core in the center to hold the leaves in place.
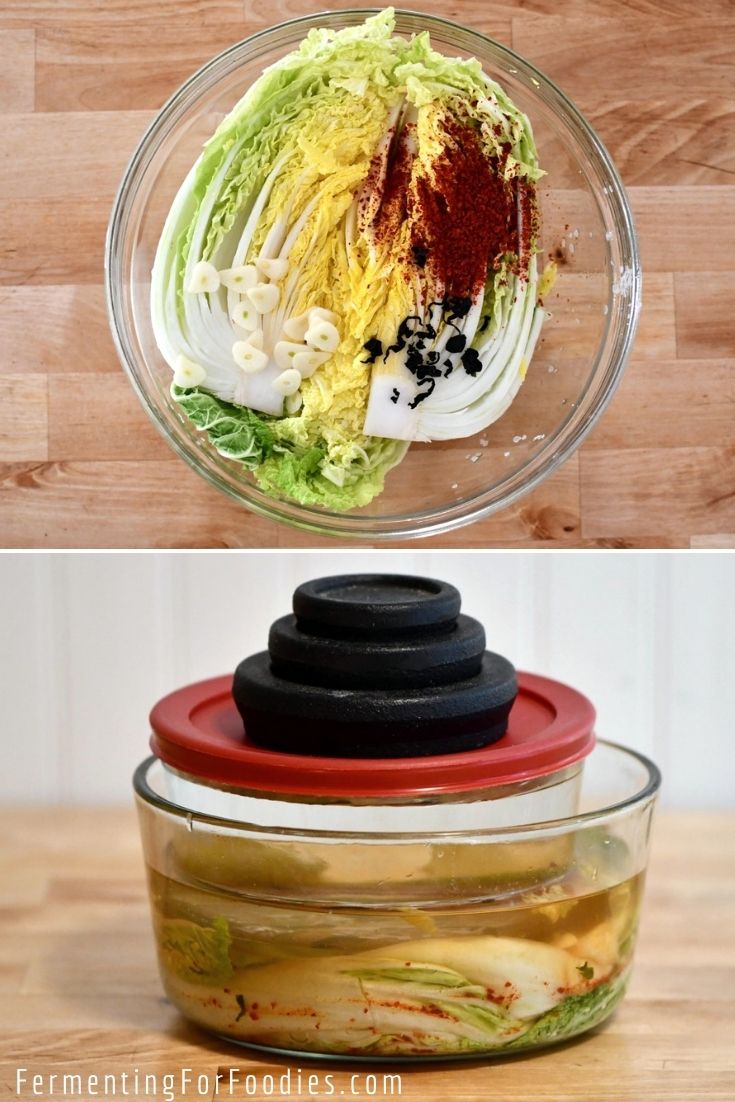
- Place the cabbage in a bowl and sprinkle with the salt. Rub the salt into the cabbage until it starts to soften.
- Add in the garlic, chili, and wakame. Toss everything by hand, then pack the cabbage into a glass container for fermenting. This can either be a bowl, serving dish, or jar. The only trick is that you need to be able to apply heavy weight to press the liquid out of the cabbage. See the section above for details on my DIY setup.
- It can take up to 24 hours for enough liquid to be pressed from the cabbage to completely submerge it. But don’t worry, it should release plenty of liquid, so you won’t need to add extra water.
- Place the cabbage in a closet to ferment for at least 2 weeks and up to 2 months.
- Serve with a drizzle of sesame seed oil.
Notes
- Feel free to leave out the chili flakes or wakame. The best part about making your own pickles is you get to flavor them however you want!
- Don’t worry if you don’t have enough liquid to submerge the cabbage right after pressing. Check it after 24 to 48 hours and it should be submerged. If it’s not, then increase the weight of your press.
Wow! This is really flavorful!
Glad you liked it! Cheers, Emillie
I want to try this! Do you put dry wakame in the mix or do you rehydrate it first? thanks.
I put it in dry. It rehydrates in the brine. 🙂 Enjoy!