Hard cheeses need to be aged for at least one month (and usually for 4-6 months) to fully develop their flavor. Here is everything the DIY cheese-maker needs to know about aging hard cheese at home.

Note: This post on aging hard cheese is part of a series of posts on cheesemaking. Check out How to make cheese at home for a complete list of topics.
The Cave
Caves are rooms or containers where wheels of hard cheese can age under the right conditions. If you plan on making a lot of cheese, you can buy a Cave. Alternatively, you can use a cold room, cellar, or garage. A bar fridge or wine cooler are both great at maintaining the correct temperature.
The trick to a good cave is to maintain the following conditions:
A temperature range between 45-55F (10-15C).
Humidity levels between 75 – 95 RH. This is a higher than average humidity, as ideal indoor humidity levels are usually in the range of 50 RH.
How to maintain proper humidity
- Humidity levels are less important when aging waxed cheeses, as the wax seals in the moisture.
- To maintain the proper humidity when aging bandaged or washed cheeses, age the cheese in a large, sterilized plastic container. Wrap the lid in a tea towel to prevent accumulated moisture from dripping off the lid onto the cheese.
- The cheese should either sit on a cheese mat, sushi mat, or a piece of wood to allow air to flow underneath the cheese. However, I recommend plastic cheese mats, as sushi or wood tends to mold with the necessary humidity.
- A $10 hygrometer/thermometer will help you gauge the right humidity.
1. Waxed Cheeses
Wax is the traditional rind for many types of cheese; including, cheddar and Gouda. Here’s how to wax your own homemade cheese.
- Be sure to keep your hands and everything else sanitized throughout the waxing process. You don’t want to accidentally get mold under the wax.
- After pressing, allow the cheese wheel to dry out at room temperature for 2-4 days. Place the wheel on a cheese mat and turn the cheese over twice a day to ensure even drying. You will know that the cheese is dry enough when it no longer feels moist. It is time to wax when the cheese is dry to the touch.
- Use cheese wax (not just beeswax) and buy a cheap metal bowl to melt it in because it will never come clean after being used for wax.
- Melt wax slowly over a double boiler. Be careful because cheese wax is highly flammable. Turn on the hood fan to pull the fumes of the melting wax away from the hot burner.
- Heat the wax to 240 F / 115 C before coating the cheese. This is hot enough to kill any mold or bacterial spores that might be on the surface of the cheese.
- Dip the cheese several times to fully coat your wheel in a nice even layer of wax. I had to rotate my wheel to get full coverage. (See picture above).
- Place the waxed cheese in the cave to age. Turn the wheel over daily for the first month, then weekly for the remaining period of aging. This will prevent any excess moisture from building up on one side of the cheese.
- Cheese wax can be reused. Simply clean the wax with soap and water then add it back to your melting pot.
2. Bandaged Cheeses
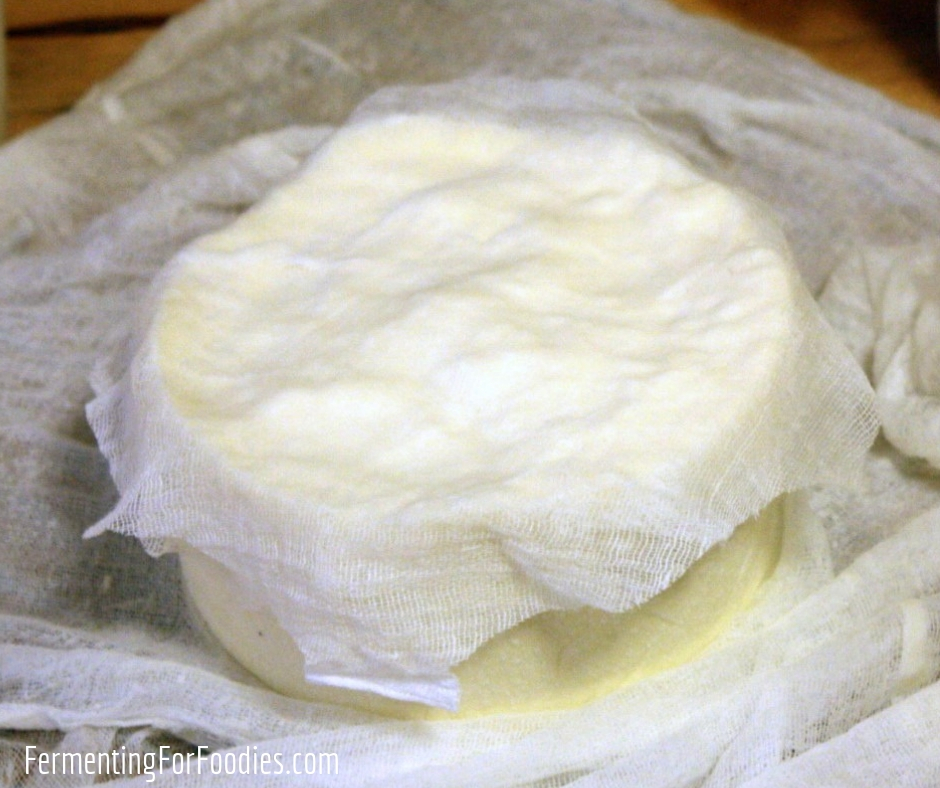
A bandaged rind is definitely my favorite. I love the way I don’t need to worry about the mold growing on it, and it is much easier than waxing cheese.
- Bandage wrap cheese wheels immediately after pressing. Don’t let the cheese dry out.
- Cut 2 long rectangular strips of butter muslin and 4 circles of butter muslin. You want them to be a bit larger than your wheel of cheese so that the bandage can completely wrap around the cheese.
- With clean hands, rub a layer of lard or butter over the cheese, then wrap the wheel in one layer of the muslin, carefully smoothing it out so that it is a nice flat layer. I find it easiest to rub lard on only one side at a time so that I don’t have to work with a whole wheel of slippery cheese.
- Once the cheese is completely covered in the first layer of muslin, rub the cheese in lard again and apply a second layer of muslin. You can repeat this process for up to 4 layers of muslin bandaging, but I usually do 2 layers.
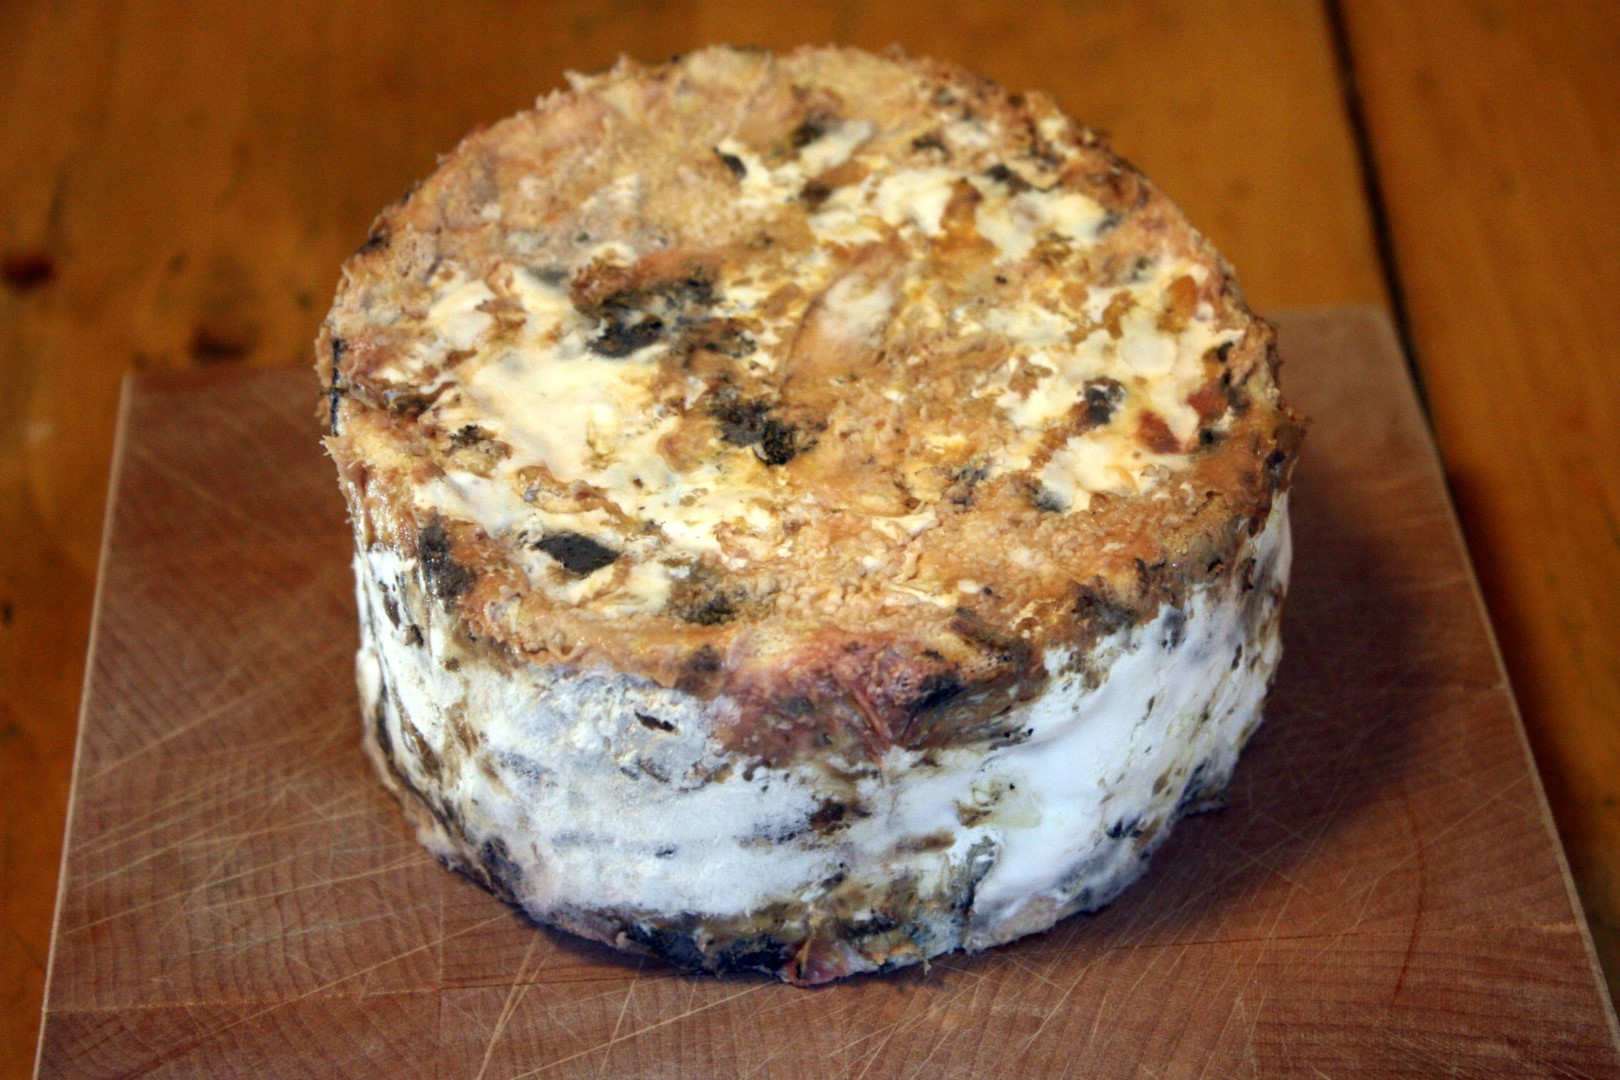
- Age the cheese on a cheese mat in your cave. Turn daily for the first month, then weekly after that point.
- Many different kinds of mold will grow on the outside of the bandage. This will add to the flavor of the cheese and protect the cheese from drying out. It will all come off when you remove the bandage.
- The cheese is finished aging when the mold has dried out. Then just peel off the bandage and enjoy!
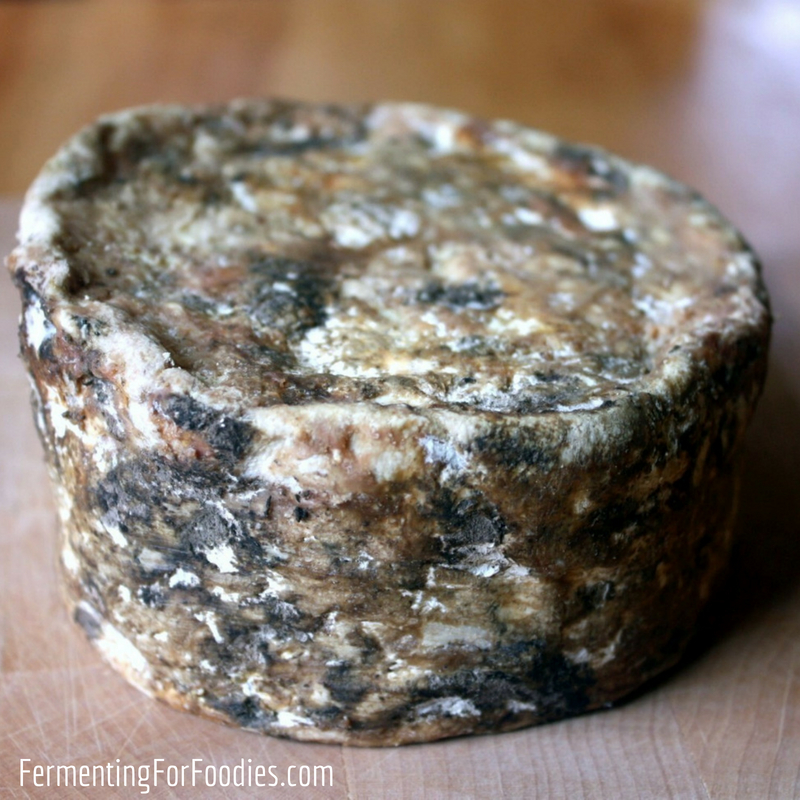
3. Washed Rind Cheeses
Washed rinds are the most difficult rind to maintain, however, many, many kinds of cheese have a washed rind. It is great for flavor development, which is why most strong-tasting cheeses have a washed rind (like Parmesan and Asiago).
- Make a salt brine of 2 lbs of cheese salt in 1 gallon of water.
- Immediately after pressing, place the wheel of cheese into the salt brine.
- After 24 hours remove the cheese from the brine (saving the brine for washing). With a clean cloth, pat the cheese dry. You can sanitize cloths by steaming them over a pot of boiling water for 15 minutes.
- Move the cheese wheel to the cave and let it age on a cheese mat.
- Turn the cheese daily for the first month, then once a week after that. Every 3 days, wipe the cheese down with the leftover brine solution. This will keep the cheese moist and encourage the right type of bacteria to grow.
- Most salt-washed cheeses develop an orange-colored mold. However, it can also grow brown, white, or green mold. None of these molds are harmful as long as they stay on the outside of the cheese.
Here is a link on surface defects. It has more information on the different types of mold that can grow on cheese.
I’m loving your series on making cheese! Definitely inspiring. Thanks for spreading the word 🙂
Thanks!