

Eastern European Lacto fermented pickles are deliciously easy to make. Just pack them in a jar and you’re done! Probiotic and full of flavor. They are perfect for picnics and barbecues.
Traditional Lacto fermented dill pickles are really simple and well worth the effort for any pickle-loving person. It’s fermentation that gives these pickles that deli-style taste. And cucumbers naturally ferment, which means they’re super easy to make, even if you’ve never fermented before.
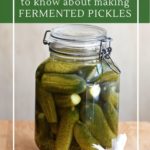
Here’s an overview of everything you need to know about Lacto-fermented pickles.
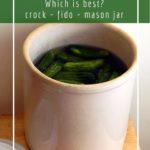
Types of Containers for Fermenting Pickles
There are two different ways to make Lacto fermented pickles: open-air fermentation or sealed fermentation. Personally, I do a mix of both, depending on what else is going on in my kitchen. We love pickles so much, that I’ll stash them in whatever container I happen to have available!
There are pros and cons to each method, so choose whatever method will work best for you.
1. Open-Air Fermenting
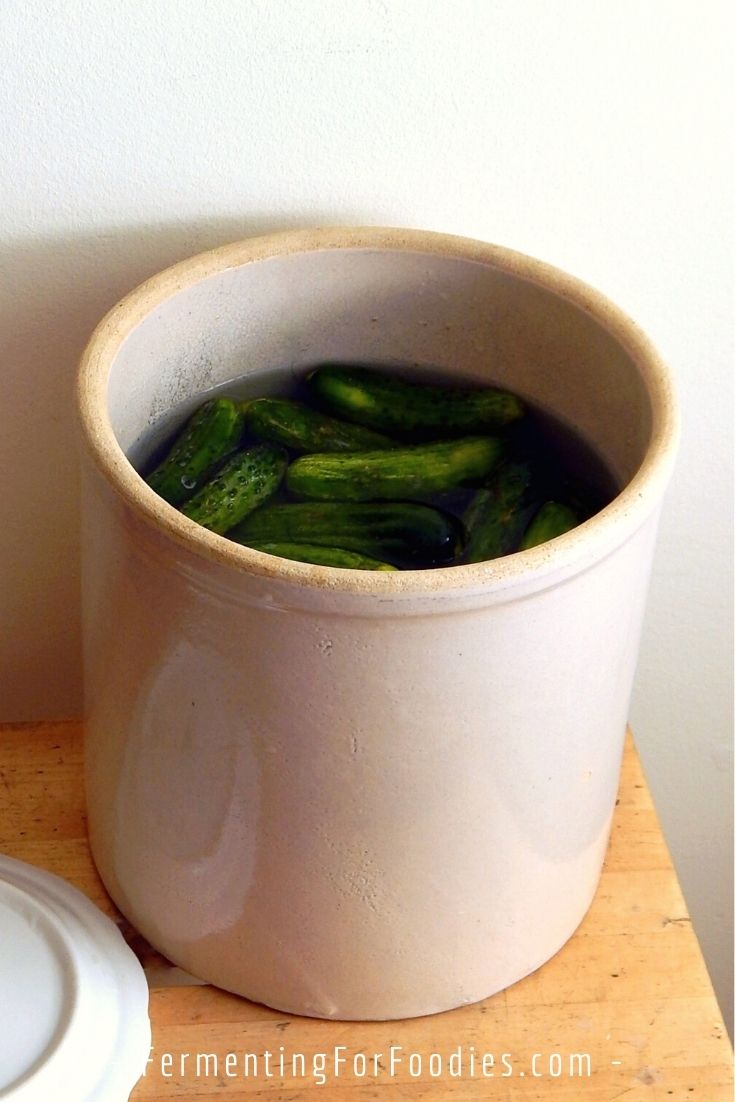
Open-air fermenting involves keeping the cucumbers submerged below a brine and simply covering the top of your fermentation container with a cloth to prevent bugs from getting in. Here are some pros and cons to open-air fermenting:
- Pro: It is easy for newbie-fermenters since no special equipment is required.
- Con: There is more risk of contamination with open-air pickles. Mold growing on the surface of your fermentation crock doesn’t necessarily mean it will have affected the pickles… but it’s definitely not something you want to have.
- Pro: Using a crock allows you to make a HUGE batch of pickles all at once.
- Con: Open-air fermenting requires a bit more work. You will need to check it every three days to skim the scum off the top of the pickles and add water as it evaporates.
Here are the common ways of open-air fermenting.
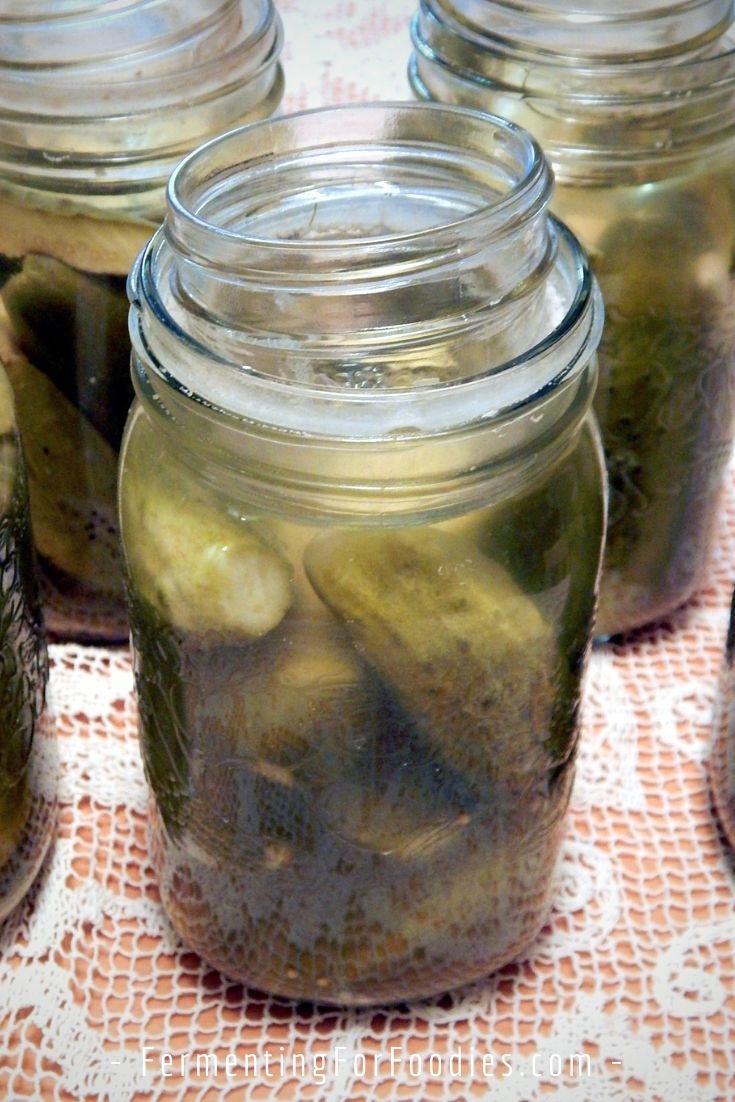
- Mason jars with a weight: This is a very low-tech way to ferment. All you need is a large wide-mouth mason jar for the pickles, and a jam jar filled with water, nested inside the larger jar as the weight. You can also buy weights that are specifically designed for wide-mouth mason jars.
- Fermenting Crock: A crock is a large stoneware container with a weight to keep the vegetables submerged. It is the most traditional way of fermenting and has the advantage of making large batches of pickles all at once. You can often find them secondhand. However, be sure to check that the crock doesn’t contain lead or heavy metals in the glaze. The long, acidic, and salty ferment could cause leaching.
- Plastic Fermenting Bucket: Food-grade plastic buckets can be used for fermented large batches of pickles. I generally don’t recommend plastic containers for fermenting, however, if you buy a fermenting bucket then the plastic ought to be able to handle the acidity. Fermenting buckets can also be used for sealed ferments.
2. Sealed Fermenting
Fermenting in sealed jars is my preferred way to ferment. If you plan on doing a lot of fermenting, then it is definitely worth investing in a few jars. Sealed jars are amazing because:
- They greatly reduce the risk of contamination. If you start with a sanitized jar, there isn’t any way for unwanted mold or bacteria to get in.
- You won’t have to remove scum. Just pack your vegetables and leave them in a cool, dark location to ferment.
- A sealed jar could last for up to a year in a cool dark location.
Here are a few common sealed fermentation containers:
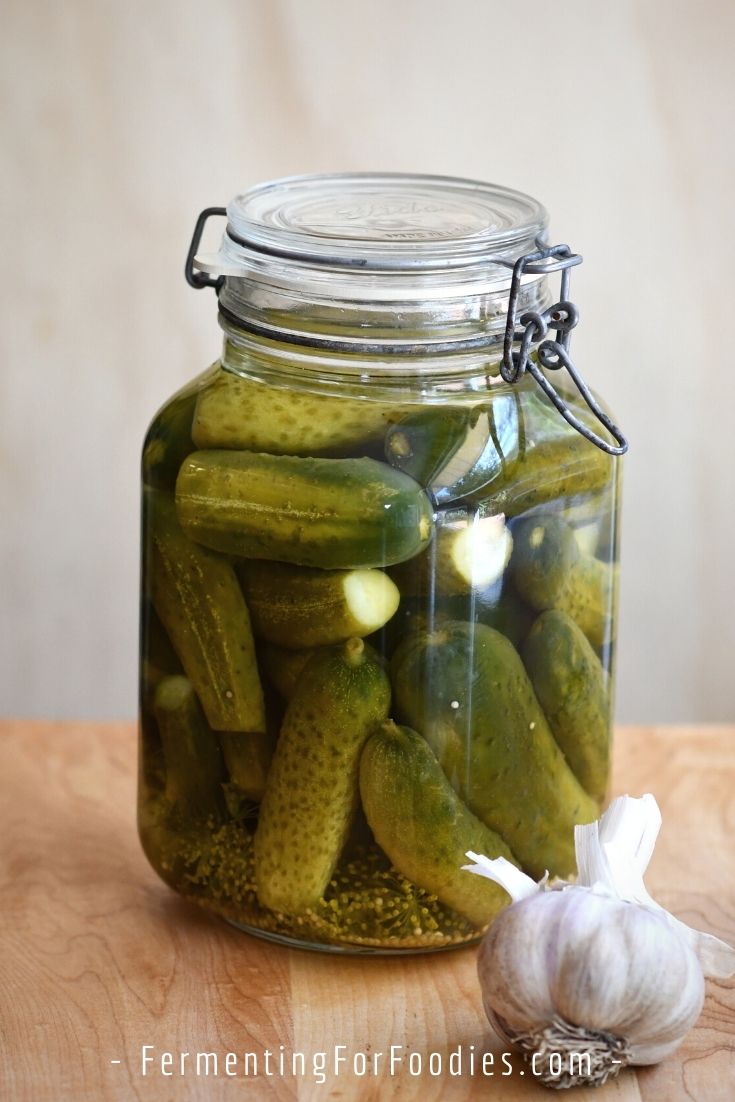
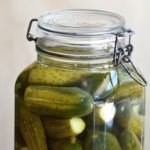
- A fido jar is a flip-top jar with a rubber seal. A good quality fido jar will be able to handle the build-up of gas during the fermentation, so you don’t have to pop them open. Don’t use low-quality fido, as they are mostly decorative and might shatter under the pressure of fermentation.
- An airlock is a way for gas to escape while keeping unwanted bacteria and oxygen out of the jar. These are usually used for homebrewing, however, you can buy mason jars fitted with airlocks.
- The pickle pipe turns any mason jar into a fermentation container. Just be cautious with inexpensive pipes, as I’ve heard from readers that they may not provide as good a seal.
Tips for Beginners:
- If you’re doing an open-air ferment, then you will need to water bath can after fermentation for long-term storage. This is a totally traditional way of making pickles. However, I recommend eating a few right after fermenting for a boost of probiotics.
- To store sealed fermented pickles without canning, start with sanitized jars. Either run them through the dishwasher on a sani-cycle or pour boiling water over the jars and the lids.
- I have been making fermented pickles since 2014. I tend to fill two 3-quart fido jars. We’ll eat through the first one in the fall, and the second jar in the spring. The jars are stored in a closet until we open them, then we move them to the fridge.
- Avoid any cucumbers with mold or slime. The best cucumbers are farm-fresh. They’ll be firm and have plenty of natural lactic acid bacteria on their skin.
- I’ve never had issues with mold, however, I have had kahm yeast. However, because these pickles are in a salt-brine, mold can’t contaminate any cucumbers that are kept under the brine. So be sure to use a weight!
Traditional Lacto-Fermented Pickles
Cucumbers have their own natural lactic bacterial culture, which makes them very easy to ferment. This traditional fermented pickle recipe will fill 2 mason jars. Feel free to scale it up if you want to make a larger batch. I usually do around 16 lbs of cucumbers each August. We really love fermented pickles!
- Prep Time: 20 minutes
- Total Time: 20 minutes
- Yield: 2 quart jars 1x
- Category: Pickles
- Method: Fermented
- Cuisine: Polish
- Diet: Gluten Free
Ingredients
- 2 lbs pickling cucumbers
- 2 dill flowers or sprigs of dill weed
- 4 cloves of garlic
- 2 tsp pickling spices (optional, see notes)
- 2 Tbsp grated horseradish root (see notes for alternatives)
- 4 cups of water (chlorine-free)
- 1/4 cup of non-iodized salt (flaked pickling salt is best)
Instructions
- Wash the cucumbers and trim 1/4 inch (1/2 cm) off the blossom ends to help prevent the cucumber from going soft.
- Cut larger cucumbers, as required, to fit in your fermentation container.
- Divide the spices, dill, garlic, and horseradish root between the fermenting container (see the section above for options). The recipe is scaled for two 1-quart mason jars with 2 cloves of garlic, 1 sprig of dill, 1 tsp of spice, and 1 Tbsp of horseradish root in each jar. Pack cucumbers on top of the garlic and spices. Pack them as tightly as possible because the cucumbers will keep the spices from floating above the brine.
- Combine the water and salt to make a brine. Stir to fully dissolve the salt. Pour the brine over the cucumbers.
- Allow the pickles to ferment somewhere cool and dark for 2-7 weeks.
- If you are doing open-air fermenting, check the pickles every 2-3 days. Skim off the foam/scum and top up with non-chlorinated water as needed.
- Long-term storage of the pickles will depend on your fermentation container, so see the sections above for details. In brief, open-air ferments need to be stored in the fridge. Closed fermentation-specific containers can remain in a dark cupboard for several months.
Notes
- Fermented pickles will become soft and mushy over time. To prevent this, add a natural source of tannins to each mason jar. For example, 1 Tbsp of grated horseradish root, a grape leaf, or a pinch of black tea.
- Pickles need to ferment for at least 2 weeks, and usually much longer to develop their flavors. That also provides more time for your ferment to turn into a weird science experiment, so keep it clean and sanitize your jars before fermenting.
- If you can’t find pickling spice, feel free to replace it with 1 tsp of other spices. Black peppercorns, mustard seeds, fennel seeds, bay leaves, allspice berries, and coriander seeds are traditionally found in pickling spice.
- If you want probiotic pickles that has the tanginess of vinegar, then I recommend my Grandma’s Fermented Pickle Recipe. It’s very similar to this recipe, except that it uses vinegar to increase the acidity of the ferment.
Hi Emillie, how would you add in the pinch of black tea for crisp pickles?
I actually just break open a tea bag. It works amazingly well! Just throw it in to the jar of pickles, and it will sink to the bottom.
Is it possible to have botulism in open air pickles? I used the weights with the silicon nipple and there was scum in the jar and one jar had a accordion looking pice of mold in it . I threw the pickles out and put the jars and nipples through my dishwasher, but I am Paranoid about botulism. Is the nipple supposed to touch the liquid in the jar ? Or only fill up enough to cover the submerged pickles? I’m so confused and don’t want white scum on top. The agriculture agent said it wasn’t enough vinegar in the mix
I completely understand your concerns around botulism (my background is in Neuroscience). Luckily mold is not botulism. Botulism is a bacteria that usually grows in garlic. So if you’re concerned, just avoid the garlic. As long as you had enough salt in your ferment, mold can be safely removed without harming the pickles. As mold cannot penetrate a salt solution. Open-air pickles typically get a white scum that needs to be skimmed off. It’s mostly just yeast.
To answer your questions: Definitely leave a bit of room at the top of the jar. They will bubble a bit and will need the space for potential bubbling and expansion. So just use enough liquid to cover the cucumbers. This recipe is not a storage-based recipe. So it doesn’t include vinegar. And likely it will have a bit of scum forming.
However, I have another recipe that can be packed and stored, especially if you’re using a pickle pipe (silicon nipple sounds similar). It includes a small amount of vinegar which kick-starts the acid fermentation. But not enough to be a vinegar pickle. There shouldn’t be any scum on top with this pickle… though there will be a bit of powdery stuff in the bottom of the jar and on the pickles, which is just spent yeast from the ferment. Here’s the recipe: https://www.fermentingforfoodies.com/grandmas-fermented-pickles/
Good luck!
Thank you !
It seems to me that you could move open air fermented pickles to sterilize jars and cover them with brine, then treat them like other ferments by screwing the top on and storing in a cool location. What do you think? I would hate to destroy the probiotics!
Sure! Personally, I pack them right into the storage jars (and skip the open-air fermentation… though I did try it a few times for this blog post). We still have a 3 L Fido jar of pickles left from last summer! Cheers!
سالهاست اسهال دارم .
به صورت تصادفی و معجزه با خیارشور تخمیری خوب شدم .
خیارشورهای تخمیری سرشار از باکتری های روده میباشد.
با تمام شدن خیارشورها بیماری برگشت.
از یک پسر پرسیدم یک خیارشوری درست کردم که فقط با آب نمک و خیار بود .
گفت به این مدل خیارشور میگویند خیارشور تخمیری.
گفت مادر بزرگم قابله (مامای قدیم) بود ،ولی فوت کرد،باید گاز را به حمام ببری و یک ظرف آب روی آن بگذاری (انکوباتور ، گرمخانه)خیارها را به حمام انتقاق دهی.دیگه اطلاعات بیشتری نداد.
دقیقان درست میگفت زمانی که خودم به صورت تصادفی و معجزه درستش کردم هوا شرجی (گرم و مرطوب)بود.
نفوذ نمک به درون خیار تحت فرآیند اسمز (گذرندگی) صورت میگیرد.
گرما در فرایند اسمز نقش اساسی دارد.
جاکوب وانت هوف به خاطر این معادله برند جایز نوبل شد .
اسمز =دما فشار غلظت pvt
طرز تهیه خیارشور تخمیری را خاستم.
I had to use google translate (and I don’t think it was perfect)… I think you’re saying that you’ve had better digestive health with fermented pickles. So glad it worked for you! Cheers, Emillie
I have had diarrhea for years.
The medical-laboratory equipment was unable to diagnose the cause of the disease.
I started studying myself.
Every chemical and herbal medicine I used was ineffective.
Hippocrates (father of medical sciences): The sweetness of one victory is worth the bitterness of a hundred defeats.
By accident and miraculously, I got better with fermented pickles.
Hippocrates: Your food should be a pharmacy.
Fermented pickles are rich in intestinal bacteria.
Gut bacteria are called probiotics.
The role of probiotics in the prevention and improvement of disease symptoms:
Probiotics help to restore and grow beneficial mucosal bacteria, especially in the intestines. If the balance of intestinal bacteria is disturbed, intestinal dysfunction occurs, which can cause acne, food allergies, extreme fatigue, depression, headaches, and the most common of all. (often) suffers from chronic diarrhea.
So I came to the conclusion that the beneficial bacteria in my gut were destroyed.
The name of this disease is dysbiosis.
When the pickles ran out, the disease returned.
I made this pickled cucumber with only salt water and cucumber.
I did not use vinegar, pepper, garlic, etc.
I learned how to prepare fermented pickled cucumbers.
Thanksایران
Thanks for providing a translation. I’m glad that you have found help with fermented pickles. They are both delicious and good for our gut bacteria. Be well, Emillie