Perry pears are a traditional fruit used to brew cider (perry) and wine. Here’s how to brew perry with heritage fruit.
This is not a recipe for brewing pear cider or wine with typical sweet pears. If you want to use sweet pears (the kind you would buy in the grocery store or grow for eating) here’s my post on pear cider and wine.
Sweet pears need a bunch of extra ingredients for flavor and fermentation, this includes tannins, acid, and yeast nutrients. It’s quite different from brewing with heritage perry pears.
What is a perry pear?
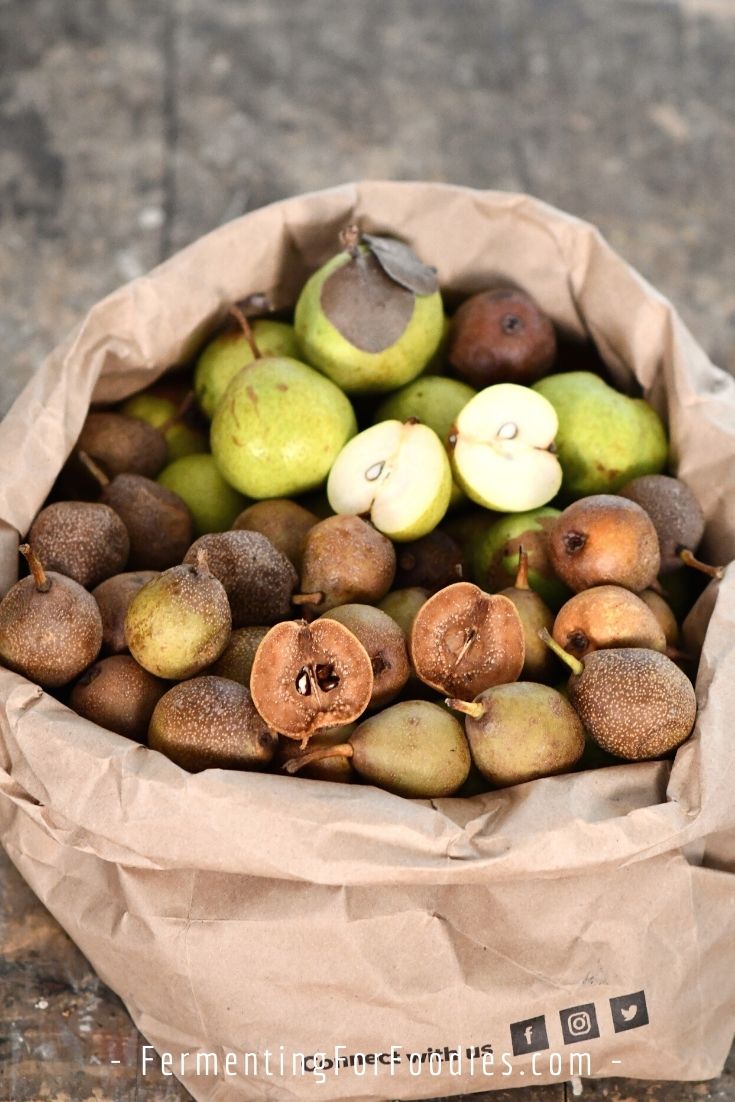
Perry pears, like cider apples, are not grown for eating. They are small, hard, and packed with tannins (so otherwise inedible). They are a heritage fruit tree, specifically grown to make perry!
The flavor of perry really depends on the variety. They are completely unlike typical pear ciders because they don’t taste like pear at all!
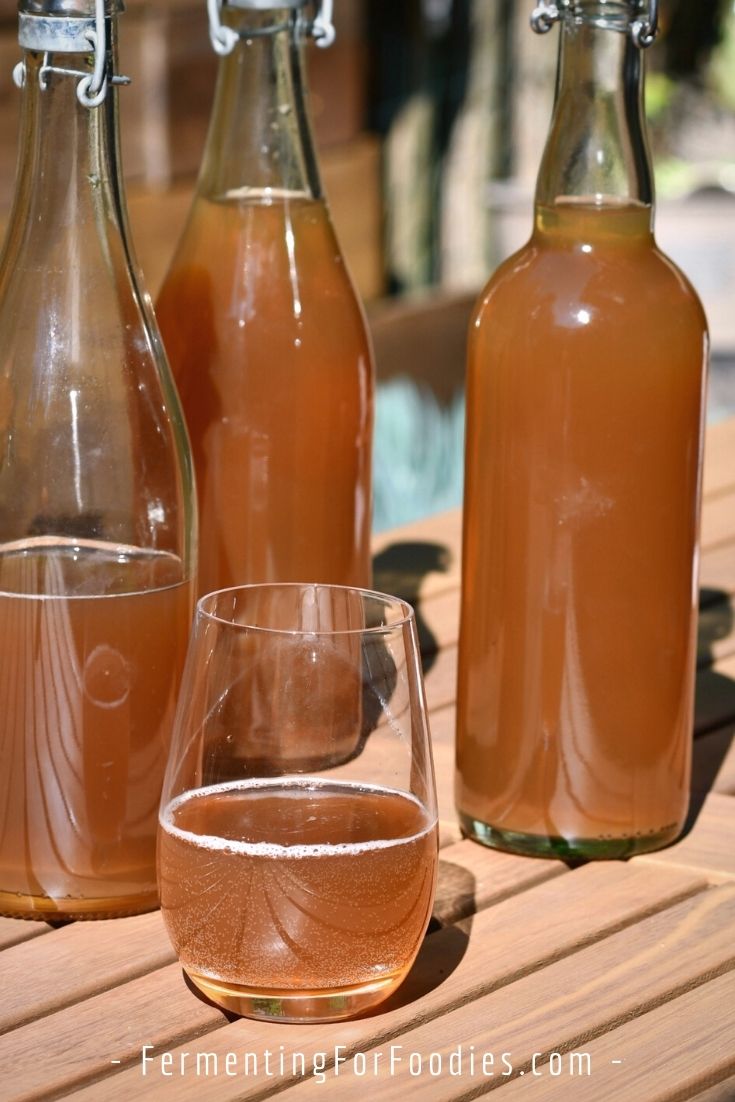
–> The flavor can be earthy with tannins like red wine, or bright with acid like white wine. However, mostly perry ends up tasting like an richly flavored champagne.
So… if you want to make traditional perry, rather than sweet pear cider, then you need to find some heritage perry pear trees. Luckily, we have a lot of heritage orchards in my city that have been turned into parks. So these perry pears were gleaned for free! Can’t complain about that!
How to Brew Perry
If you haven’t made cider or wine before, then you may want more details on each of the steps in the recipe.
Brewing wine and cider is pretty fun, once you get the hang of it. But it does take quite a bit of learning the first time. I’ve written a series of posts on how to make cider and wine that will help you brew perry.
- Sanitizing is key! It’s the only way to make sure that you avoid contamination with unwanted yeast and bacteria.
- Necessary supplies include an auto-siphon and an air-lock.
- Here’s a step-by-step guide to help you through the process.
Notes about this recipe
–> Most of my wine and cider recipes start with whole fruit rather than juice. This is because I don’t own an apple press and using a juicer with a lot of fruit is a lot of work. However, I decided to make this perry recipe with juice rather than whole fruit.
This is because perry is special. If you’re going to go through the effort of finding perry pears then it seems a waste to add water and make a fermented mash.
–> Perry pears can be quite high in tannin. I recommend brewing a small batch your first year and tasting it before committing to a large batch. High-tannin pears can be mixed with sweeter varieties for a blend. The goal of brewing perry is to make something that is wine-like. So some tannin is good, too much tannin is bad.
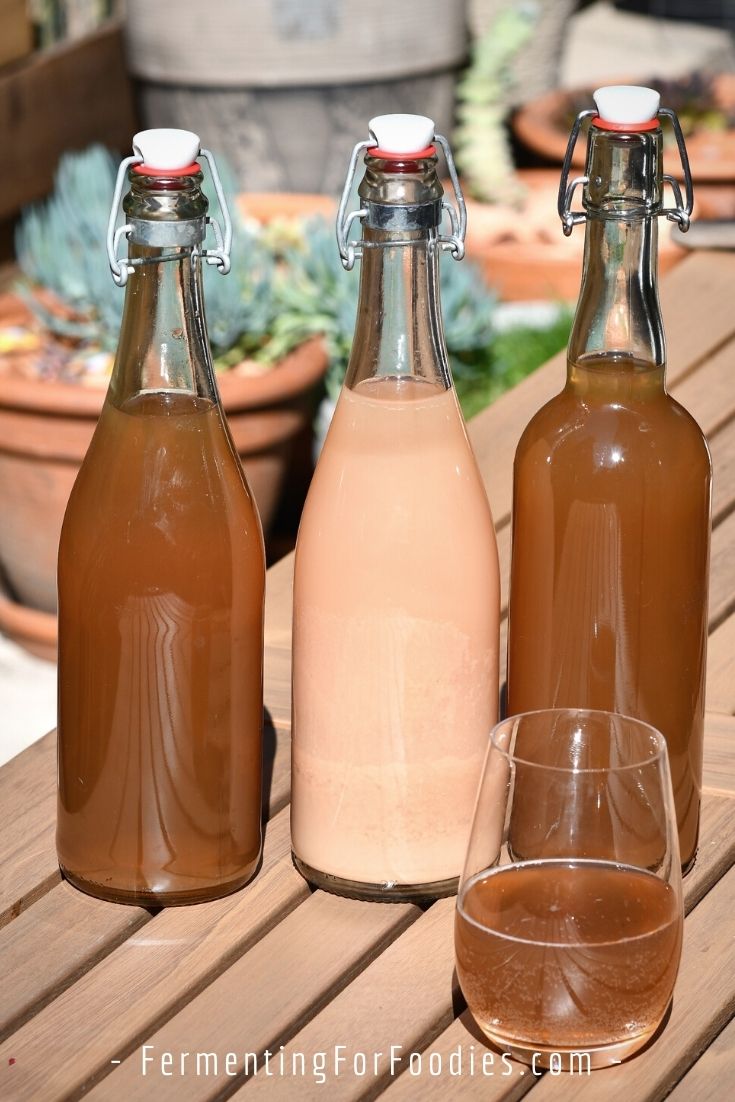
High tannin perry tends to be cloudy. (See photo below). That bottle is perfectly fine to drink, but it’s not exactly pleasant. Next time I’ll use some of that pear variety to add tannin to my other batches of perry.
–> If you end up with a high-tannin perry, you can reduce the tannins by filtering it again then letting it age for a few more years. You can also help to clear tannins with bentonite, however, I haven’t personally tried that.
Traditional Perry (Pear Cider With Perry Pears)
Perry pears are traditional varieties of pear that are used to brew cider (perry) and wine. Here is how to brew perry with this heritage fruit.
- Prep Time: 2 hours
- Total Time: 2 hours
- Yield: 3 to 4 wine bottles 1x
- Category: Wine
- Method: Brewing
- Cuisine: British
- Diet: Vegetarian
Ingredients
- 1 gallon of juice from perry pears (see notes)
- 1/4 tsp yeast nutrient
- 1/4 tsp pectin enzyme (optional)
- 1/4 packet sparkling wine yeast (LALVIN EC-1118)
- 1 cup of sugar (depending on the sugar in pears)
For priming
- 2 Tbsp sugar
- 1/4 cup of water
Instructions
- If this is your first time brewing wine or cider, see the section above for more details on each of the steps. Please note, this recipe won’t work with sweet pears (typical grocery store pears). If you want to brew with sweet pears, use my pear cider and wine recipe instead.
- Start by sanitizing anything that is going to touch the perry. Press or juice the perry pears, then pasteurize the juice. Pasteurizing the juice is optional, but it will provide a more reliable flavor. Wild yeasts can be great! They can also be not so nice. So it’s up to you, whether you want to experiment.
- When the juice is cool, test the sugar content. It needs to be at least 1.070 for perry. If necessary, add up to 1 cup of sugar, as needed to bring it to at least 1.070.
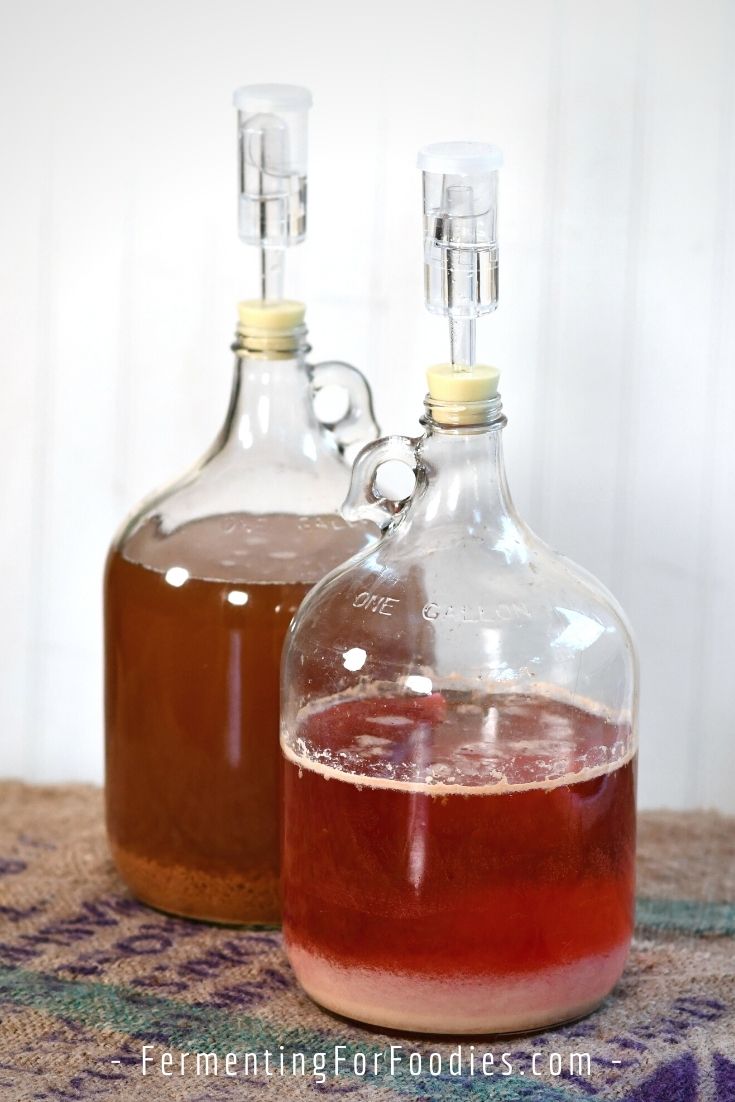
- Add the yeast and yeast nutrient. Give the carboy a good shake to ensure it is well-mixed. Cap your carboy with an airlock.
- Place the carboy in a cool, dark location. Let it ferment for 2 weeks, then rack to a clean jug. Let it ferment for 2 more weeks before bottling. You want the fermentation to have mostly stopped before the bottle. To prime the carbonation, add mix 2 Tbsp of white sugar or dextrose in 1/4 cup of boiling water. Stir to dissolve the sugar. Then mix the sugar water into the perry just before bottling.
- Leave the bottled perry to ferment at room temperature for at least 1-2 weeks, until it is carbonated. Since this recipe is a sulfite-free recipe the perry will continue to ferment, even in the fridge. So if you want a sweet perry, drink it within 1 month, otherwise it can age for several months for a more wine-like beverage.
Notes
- You will need about 5 lbs. of ripe perry pears (not sweet pears) for 1 gallon of juice.
- Perry pears were cultivated in northern climates as an alternative to wine. The flavors can vary from champagne-like to red wine. If you don’t want a sparkling beverage, don’t prime it before bottling. It’s also fine to age for several years, especially for a high-tannin perry.
Leave a Reply