

It is relatively easy to turn fruit or juice into homemade wine and hard cider. Here is a detailed step-by-step guide on how to make wine and cider at home. It covers everything from whole fruit wine to simple apple juice cider.
This is part of a series of posts on making cider and wine. Here’s a list of all the wine making topics, including links to my favorite recipes. If there’s anything in this step-by-step guide that you don’t understand, it’s probably covered in more detail in another post.
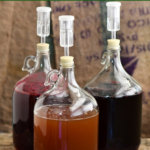
I also put together a 1-minute video of the wine-making steps. It’s from a mix of different batches of wine, however, it does cover all the major steps. (I usually make 3-4 different wines each year).
1. SANITIZING
Always start by sanitizing EVERYTHING.
This step is THE MOST IMPORTANT part of making cider and wine. Homemade wine should taste delicious. If it doesn’t, then it’s probably because it was contaminated by wild yeasts and bacteria.
Sanitize everything that is going to touch your wine:
- the carboys, airlocks, and bottles
- the auto-siphon before you use it
- every time you do anything with the wine, start by making a sink full of sanitizer
2. Primary fermentation with Fruit Mash
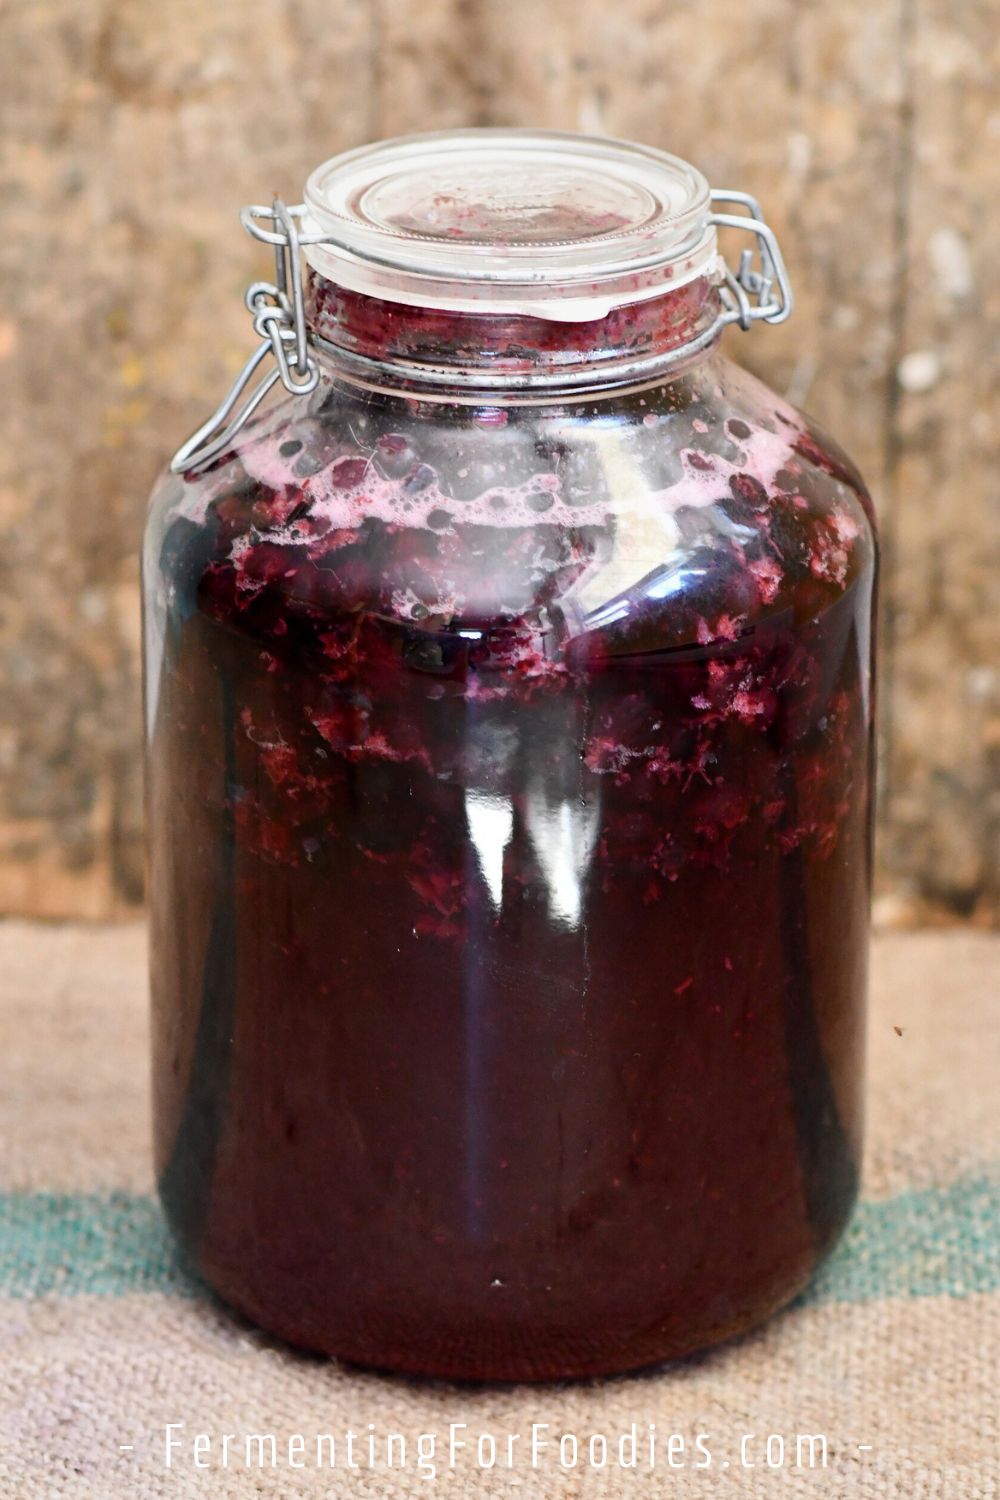
Soft fruits (including grapes) are traditionally fermented whole. In this case, the primary fermentation takes place with fruit mash. The exact process depends on the recipe, but it generally involves the following steps:
- Wash the fruit and remove the stems and pits.
- Place the fruit in a large fermenting vessel. Depending on the size of the batch, I use a 5-gallon jar (see above) or a 15-gallon brew pot.
- Pour boiling water over the fruit (or use Campden tablets) to kill any surface yeast, bacteria, and mold on the fruit.
- Gently crush the fruit into a mash.
- Mixed in sugar, yeast, and any other additives (as directed by the recipe).
- Cover the mash to keep out unwanted bugs and ferment for up to a week. The mashed fruit will float, so stir daily with a sanitized spoon. (I usually pour boiling water over the spoon right before using it, rather than mix sanitation chemicals on a daily basis).
- After 1 week, move the juice to a carboy for secondary fermentation, leaving the solids behind. This is probably the most difficult step.
- I recommend removing the floating solids with a slotted spoon.
- Then use the auto-siphon to move the majority of the liquid.
- Either discard the fruit remaining at the bottom of the pot or pour the remaining liquid through a muslin bag to strain out the solids. Remember to sanitize everything!
Making Wine with Juice
While most wines start with a primary fermentation of a fruit mash, there are certain circumstances when it’s better to start with juice.
- Hard fruits like apples are made with pressed juice because it is difficult to make a fruit mash.
- If you want to make a particular type of wine, like Merlot or Cabernet Sauvignon, then you need to start with wine-making juice.
- White wine is always made from juice. Otherwise, the grape skins will give the wine a pinot noir-like color.
Primary fermentation with juice is very simple.
- Mix the juice with sugar, yeast, and additives, according to your recipe.
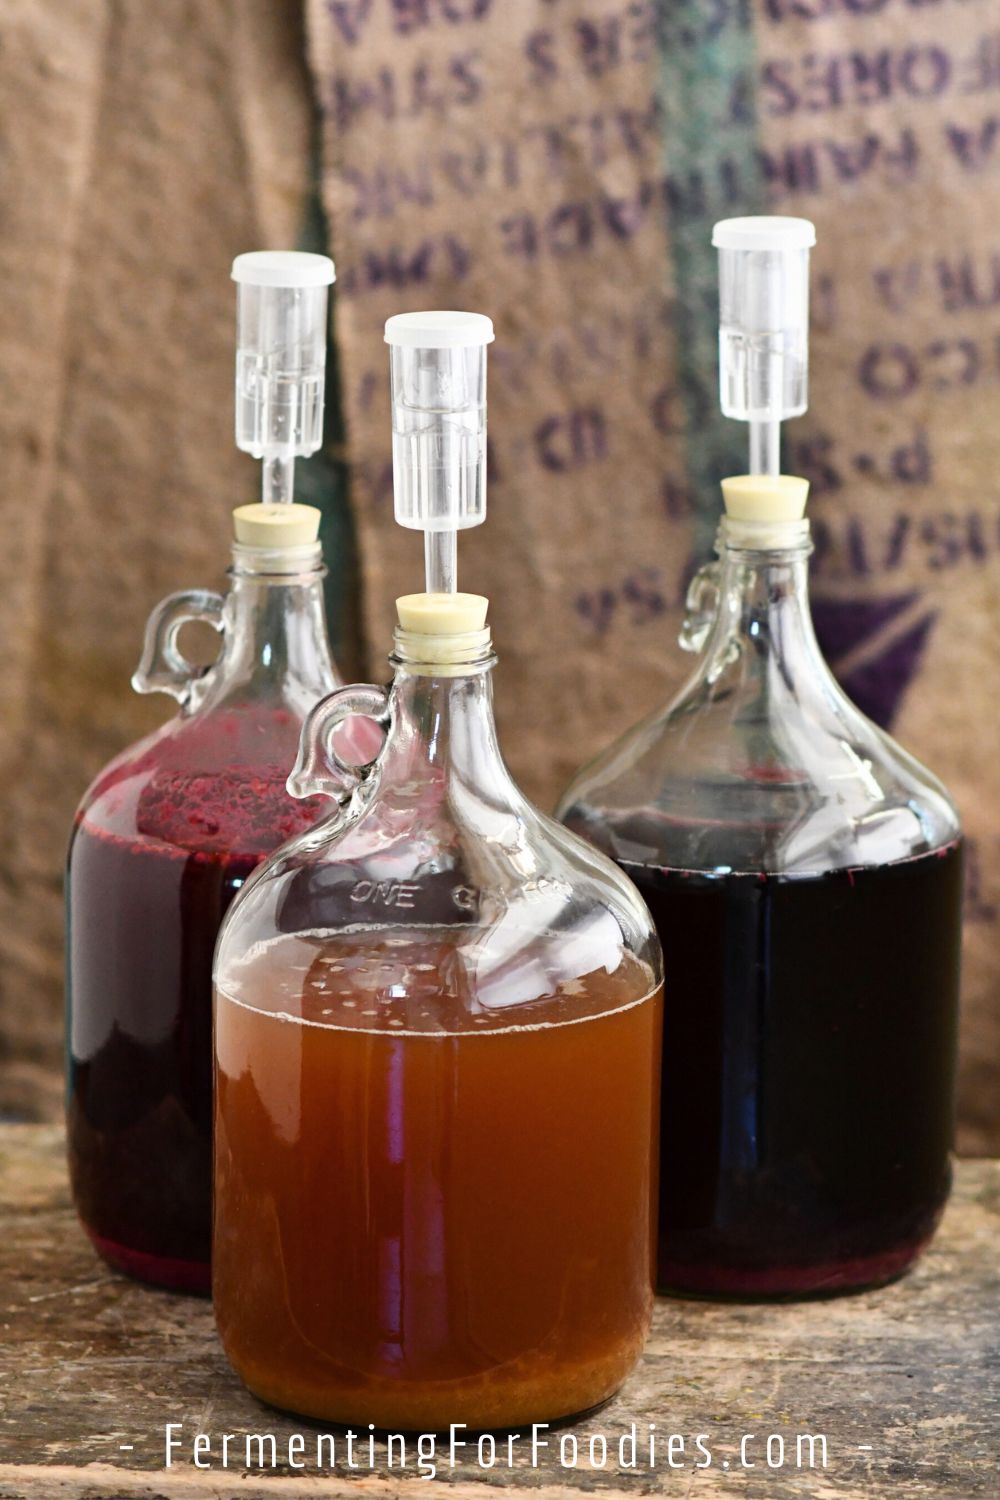
- Place the must (young wine) in a carboy.
- Leave it somewhere cool to ferment (approx. 60 to 75F / 15 to 23C). If it’s too warm, then the fermentation process will go quickly and the resulting wine won’t taste as good.
- It will actively bubble for around 2 weeks. Let it sit for one week after the bubbling has stopped before racking to a clean carboy.
3. Racking and Secondary Fermentation
Racking is when the wine is moved to a clean carboy to continue fermenting. Racking is important because:
- It helps clarify the wine by filtering out dead yeast and leftover fruit. Dead yeast tastes bad, so it’s important to remove it during the secondary fermentation.
- It allows you to test the alcohol and acidity levels to determine if you need to make adjustments. If the fermenting stalled early, then you can add yeast energizer to kick-start the fermenting process.
Wine is usually racked 2 to 4 times to get a really clear product. Cider is generally only racked once before bottling.
The only trick to racking is to prevent oxidation. So use an auto-siphon rather than pouring, to prevent splashing.
4. Ending Fermentation
As long as conditions are right, yeast will keep fermenting until all of the sugar is gone or until the wine reaches 17%-20% ABV. The exact alcohol level will depend on the strain of yeast. For example, wild yeasts usually die off at 5% alcohol, but champagne yeast will go to about 20%.
If you don’t want your wine or cider to be dry (with all the sugar having been consumed by the yeast), then you need to prematurely stop the fermentation. Here are a few ways to stop fermentation:
- Dry red wines will naturally stop fermenting when all the sugars have been used up.
- Sweet fruit wines may also prematurely stop fermenting because they don’t have enough nutrients to feed the yeast.
- Refrigeration will slow down fermentation. This is a great way to finish off cider without sulfites. Once the cider once it has carbonated, stick it in the refrigerator and consume within 6 months.
- Sweet wines may need to have the fermentation ended early through the addition of sulfites.
5. Bottling and Aging Wine

White wines and fruit wines generally age in the carboys for 3-6 months before bottling. Red wines age for 6-12 months.
–> During this process, the wine will need to be racked several times, leaving behind all the sludge at the bottom of the fermentation container. Allowing wine to age with dead yeast in the bottom of the carboy with result in a bad taste.
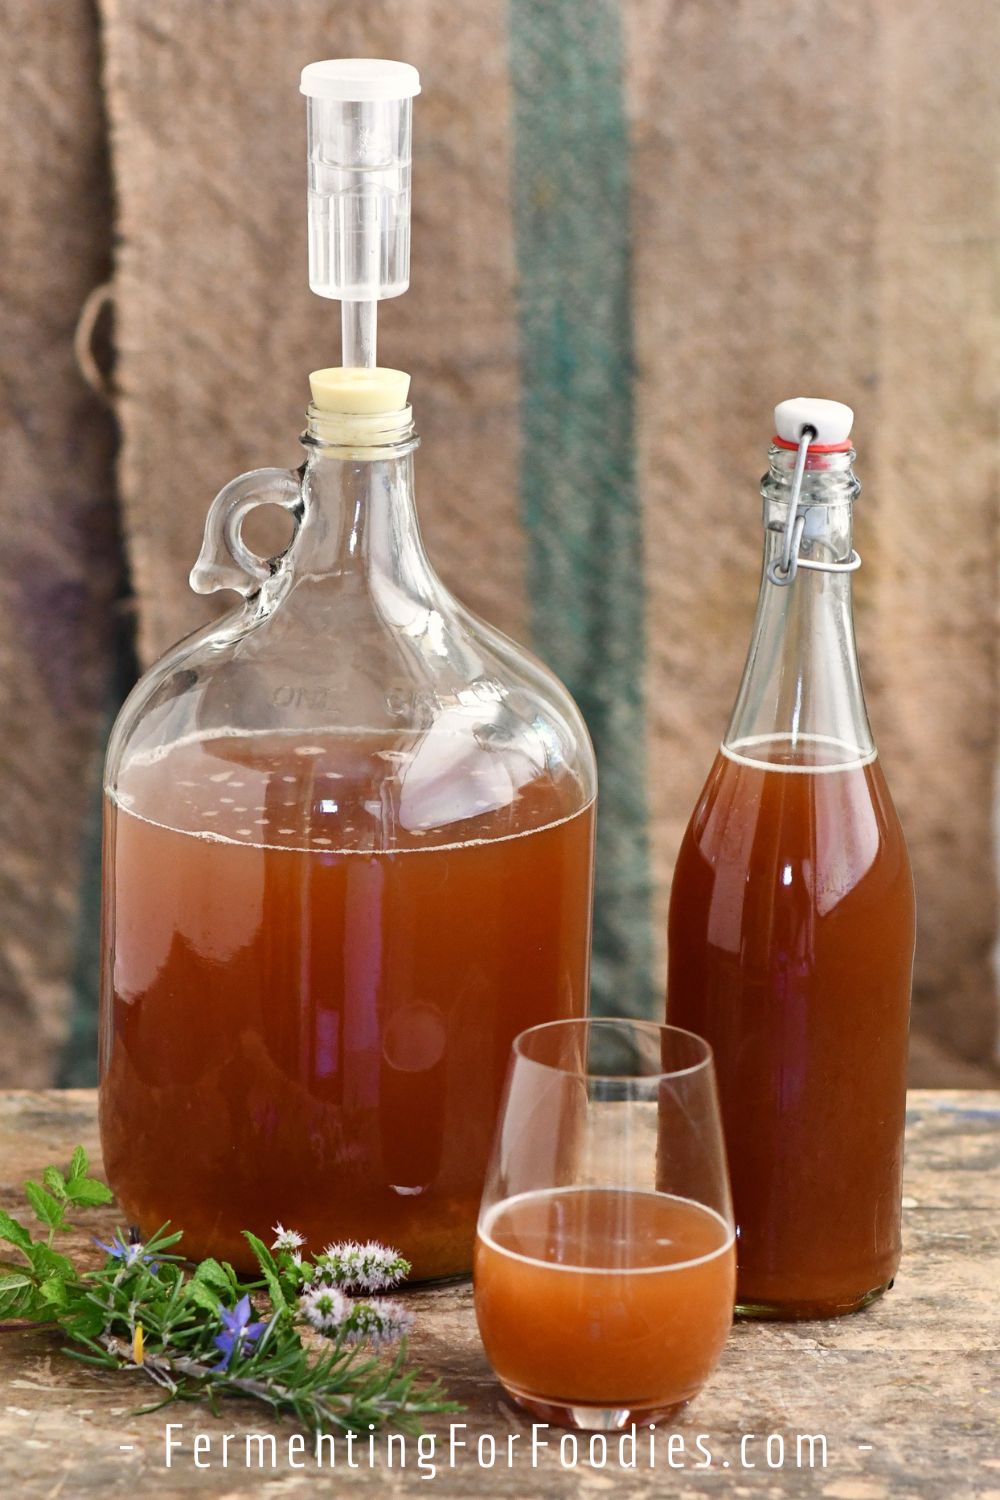
When the wine has fully finished fermenting, it is ready for bottling.
- You can bottle the wine in a traditional glass bottle with a cork or swing-top bottles.
- Aging dramatically affects the flavor of wine, so taste it when you bottle it to determine if it’s ready for drinking. If not, then leave the for another few months before tasting it again.
- It’s amazing the difference that a month or two can make for the flavor of a wine. It can go from astringent to smooth and delicious with just a little bit of aging.
Bottling Hard Cider
Cider can either be made from young wine that is bottle early (before all the sugar has been fermented). Or it can be made with a cider-specific recipe, which generally requires the addition of a little bit of sugar at bottling time for carbonation.
- Homemade cider must be stored in plastic bottles or swing-top bottles that are built to handle the buildup of carbonation.
- If you are doing a large batch of glass bottles, do at least one plastic bottle so that you can test the carbonation by squeezing the plastic bottle to see how firm it is.
- It can take between 1 day (for young wines) to 2 weeks (for sugar-primed ciders) to build up carbonation.
- Once the cider has carbonated, store it in the fridge to stop the fermentation. You don’t want your bottles of cider exploding before you get the chance to drink them!
hard cider recipe and supplies