


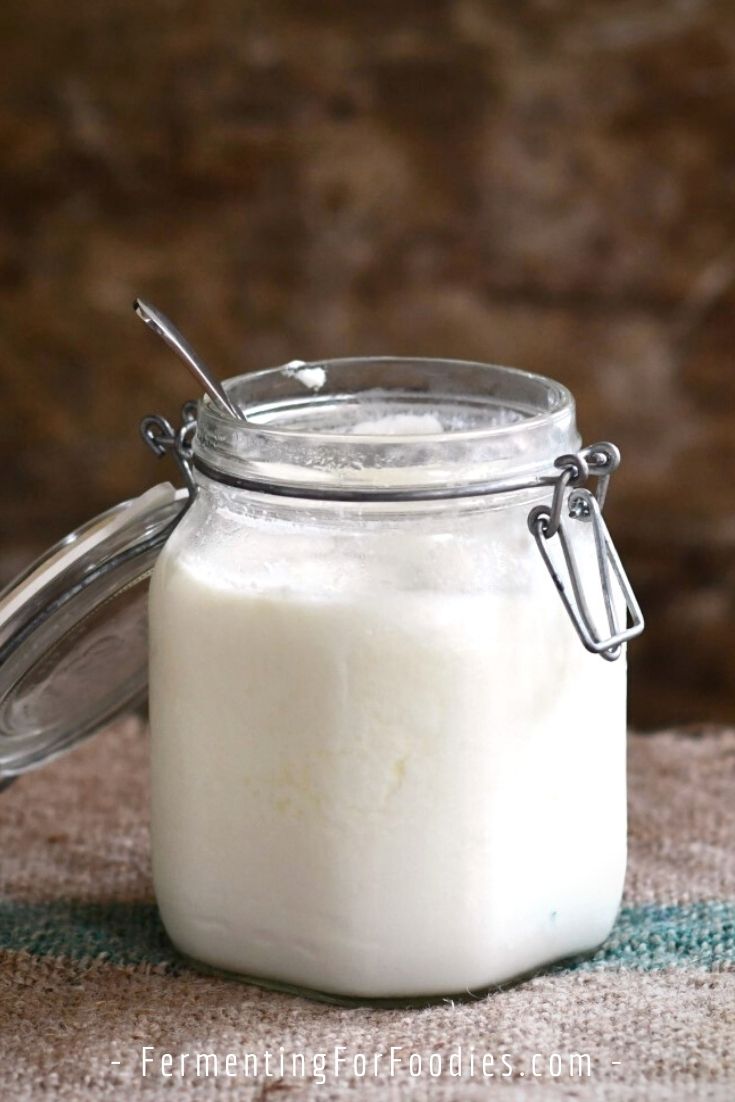
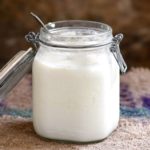
Want to learn how to make yogurt? Here is how to make thick, creamy homemade yogurt, without any of the additives (guar gum, pectin, gelatin, etc.) that are used to thicken store-bought yogurts. You don’t even need a yogurt maker!
A few reasons why you should make yogurt
- It’s delicious!
- You can make it without any special ingredients or kitchen tools.
- It can be used to make all sorts of other cultured foods.
- Yogurt is a great way to get a dose of probiotics. Calcium helps lactic bacteria survive digestion!
- Almost everyone likes it. There are even vegan options for anyone who doesn’t eat dairy.
- It is so much cheaper than store-bought. Nothing is wasted, so a gallon of homemade yogurt is literally the cost of a gallon of milk. (Perfect for people who eat a lot!)
You don’t need a yogurt maker
You don’t have to own a yogurt maker. In fact, those fiddling little cups can be pretty annoying if you want to make a larger batch.
All that is required is to keep the milk warm for at least 2 hours (and up to 24 hours depending on how sour you want it).
Here are 5 options:
- I use a folding fermentation box so that I can make a large volume at once. I also use it to proof bread, make cheese, and tempeh! So a worthwhile investment if you get into fermented foods.
- Before I had my fermentation box I wrapped jars of yogurt in warm sweaters and left them on the shelf above my hot water heater. It took a little longer to set, but it always worked!
- Stash jars in the oven with the oven light left on.
- Place jars in an insulated cooler to keep them warm. You can even add a few extra jars filled with boiling water to help hold the heat for longer.
- Use a slow cooker or Instant Pot. Put a few jars of yogurt into your slow cooker with 2-inches of water to create a warm water bath, then use the keep warm setting.
Choosing and maintaining a good starter
The best starters are purchased cultures. You can find a number of different options at Cultures For Health. Alternatively, you can also just use store-bought yogurt for culture. It’s a great way to test how probiotic (or not) a particular brand is.
A vigorous grocery store culture should be able to make thick yogurt within 4 hours without the use of additives.
Here are a few things to look for when using store-bought yogurt:
- Only use plain yogurt. You don’t need the added sugar and flavor.
- Smaller, local brands are usually better than national brands.
- Look at the date. You want the culture to be fresh, so choose a long date over a short one.
- I’ve had great success with plain Greek Gods and Astro BioBest. (These are honest recommendations, and neither of these are an affiliate link).
Maintaining culture
Fresh is best when it comes to maintaining a vigorous culture. If you find that your yogurt starts to have issues, it’s probably because you are not culturing it often enough. Like all living things, dairy cultures need to be fed regularly in order to be healthy.
Here are a few suggestions for maintaining a vigorous culture.
- If you are keeping the culture in the fridge, it needs to be re-cultured every 7 days. Obviously, that’s quite a bit of work! So unless you’re very into making yogurt, I recommend freezing culture.
- Dairy culture freezes very well, and it will last in the freezer for at least 4 weeks (often longer). Whenever I make a batch of yogurt, I always freeze enough culture to make the next batch. You can freeze it in a plastic container, zip-top bag, or straight-sized mason jar.
- Defrost the frozen culture for 24 hours in the fridge before using it.
Troubleshooting Problems
If you don’t have thick yogurt after 8 hours then it’s likely due to one of the following common problems:
- The starter didn’t have enough live bacteria in it. A definite possibility with supermarket cultures.
- It was an heirloom culture that doesn’t naturally thicken.
- You added the starter before the milk cooled to 110F (40C) and accidentally killed the bacteria.
- It wasn’t warm enough during the culturing. Though this is really rare, and unlikely if you made any effort to keep it warm.
How to Make Yogurt
Making yogurt is easier than you think! You don’t need a yogurt maker or special culture for a perfect bowl of thick, rich yogurt. Homemade yogurt is an affordable way to get a dose of probiotics!
- Prep Time: 20 minutes
- Cook Time: 4 hours
- Total Time: 4 hours 20 minutes
- Yield: 2 cups 1x
- Category: Yogurt
- Method: Fermented
- Cuisine: Probiotic
- Diet: Vegetarian
Ingredients
- 2 cups of milk (see notes)
- 2 Tbsp yogurt with live culture
- Options: 2 Tbsp skim milk powder
Instructions
- Slowly heat the milk on the stove to 180 F (80 C). Whisk occasionally to keep the milk from scalding on the bottom of the pot. (Heating the milk causes the whey proteins to denature making for thicker yogurt. You could skip this step, but your yogurt won’t be as thick).
- Skim milk powder can be whisked in at this point. It is an easy way to add protein and richness to homemade yogurt, but it’s not necessary.
- Pour the hot milk into a glass jar. Leave it to cool to 105 F (40C).
- When the milk has cooled, stir in the culture. If you are using store-bought yogurt you may want to add up to 4 Tbsp yogurt as they tend to have weaker cultures.
- Maintain at around 110F (40 C) until it is set to a pudding-like consistency (for at least 2 hours, and up to 24 hours for really sour yogurt.) Place the yogurt in the refrigerator. It will thicken as it cools.
Notes
- If you don’t have a thermometer
, then heat your yogurt until it whisks up nice and frothy, then cool it to just above room temperature. However, I recommend getting a thermometer if you want to make nice thick yogurt because accuracy in heating the milk is key.
- Feel free to use raw milk, goat’s milk, or regular cow’s milk. However, UHT milk may not thicken as expected.
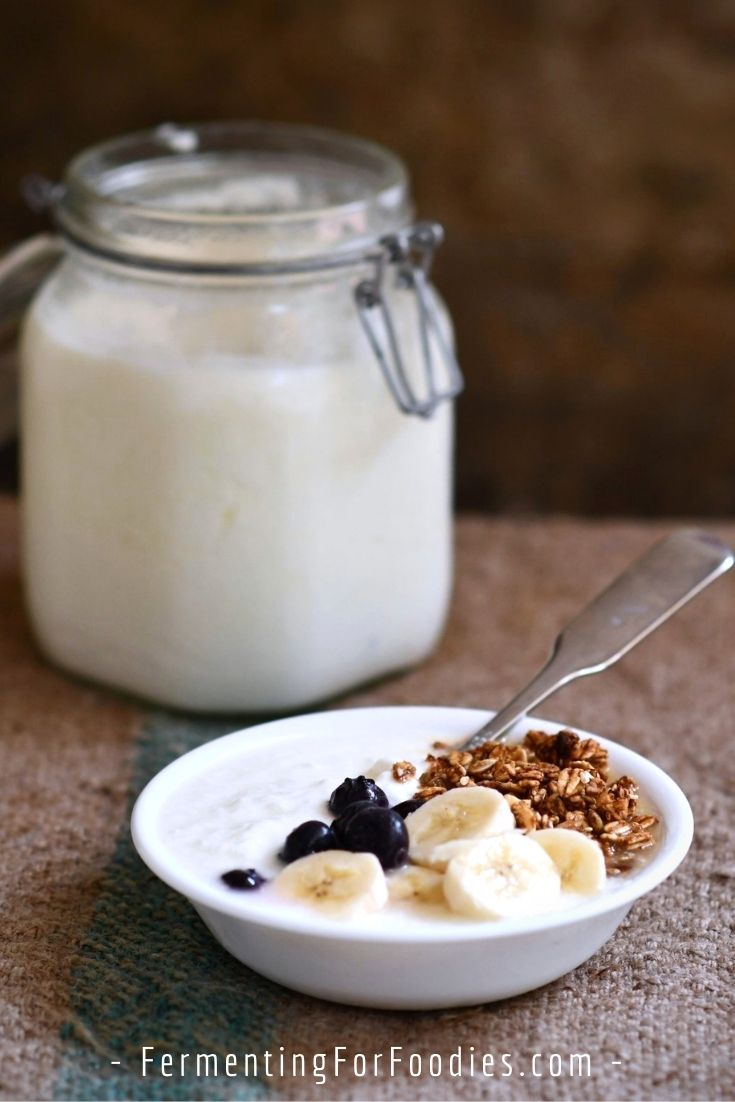
- Homemade yogurt can be flavored just like store-bought yogurt. Add jam, fresh fruit, vanilla, or cinnamon! Just don’t add the flavors before culturing, or it may interfere with properly setting the yogurt.
- If you want to make cream-top yogurt, use non-homogenized milk. If you can’t find non-homogenized milk then add a few tablespoons of cream to the top of the jar before fermenting. It won’t be the same, but it will taste good!
- Here’s how to turn your homemade yogurt into thickened Greek yogurt or yogurt cheese.
This worked well! I did the ferment in the Instant Pot using the yogurt setting (my new kitchen toy!). I did have some trouble with the milk scalding on the bottom of the pot – turns out that my thermometer wasn’t working so the milk was actually much hotter than the thermometer was reading. I see some orange bits that I scraped from the bottom of the pot which are now in the yogurt, but they don’t seem to have affected the taste so I don’t mind.
My mom has the same problem with her instant pot. Sometimes it overheats, but it seems to happen randomly. I’m glad your yogurt worked out anyway!
What kind of milk should I use to make yogurt?
Whatever kind of milk you want! This recipe will work with goat milk, raw milk, pasteurized milk. The only kind of dairy that won’t work is UHT milk. Enjoy!
Hi Emillie
Thanks for writing up a simple no nonsense recipe.
I used organic “free range” milk and organic kefir. This resulted in a lighter consistency but have just refrigerated now so it probably will firm up a touch.
Thanks again
Chris
Glad it was helpful! Be well, Emillie
If we want to add fruit or flavorings, at what step would you recommend stirring those in?
I typically flavour my yogurt after culturing. So either when you’re serving it or right before putting it in the fridge. Enjoy!
hey thanks What about almond milk or others?
Yes! You can use these warming methods for non-dairy yogurts as well. My favourite is coconut, however, almond is nice too. It just needs a thicken: https://www.fermentingforfoodies.com/homemade-almond-milk-yogurt/
Good stuff!
LOVELY
Thanks!
When do I put the lid on
Feel free to put the lid on right away. It won’t bubble as it ferments. Enjoy!
I did this with store-bought Bulgarian yogurt and successfully made 5-6 batches over the past 2 weeks, playing with different experimental conditions each time. I found that:
1. For thicker yogurt: bring milk to a gentle (not rolling) boil, simmer for 10-20 min (14-15 min seems to be a sweet spot for me)
2. For more/less sour yogurt: vary the amount of starter and culturing time. A 1/2T starter: 1 c milk ratio for 4 hours (it’s sufficient to set it) is my favorite so far.
I did each batch with starter from the previous (except the first) and fermented them in my oven with the proofing function.
I’ve read that cultures can weaken over time especially if we’re using store-bought yogurt. It hasn’t happened to me yet – just wondering if this is true?
Thank you!
Interesting… I have never tried simmering dairy for yogurt. Usually just getting it up to temperature is enough to make the proteins denature and thicken. I guess simmering results in a more cheese-like yogurt?
Cultures can shift over time (weaken or pick up other strains of yeast and bacteria). The best way to prevent it is to culture regularly. Which you definitely seem to be doing! Once a week is sufficient to maintain a healthy culture. 🙂 I also freeze batches of yogurt right after culturing (if I like how it came out). Frozen cultures will stay vigorous for at least a month (though I often keep my backup cultures for up to 4 months). Cheers!
Thanks Emillie! Good to know cultures freeze well.
I picked up the tip for simmering from other sites – it’s to reduce the moisture content in the milk. 20 min of simmering for me creates texture like softened cream cheese without whey separating from it at all (though the volume did reduce substantially).
The feedback from my taste testers have been positive so far. Looking forward to trying this with soy milk next! 🙂
Nice! I’ve found soy milk yogurt quality to be a bit brand dependent (eg. depending on the quality of the soy milk). However, simmering off a bit of extra liquid will probably help it thicken. Cheers!
Hi,
Have you heard of mesophilic yogurt culture, there is no need to preheat the milk. The culture is simply added to cold milk and cultured at room temperature to produce beautiful homemade yogurt, without the use of a yogurt maker.
It is so easy.
I have a post on mesophilic yogurts and have tried (and regularly make several varieties). My personal favorite is kefir, but I also enjoy Matsoni yogurt. https://www.fermentingforfoodies.com/matsoni-mesophilic-yogurt/ Cheers!
Hi Emillie,
One curiosity that I’ve had but I cannot seem to find the answer to anywhere.. is that every recipe on making yogurt seems to include a starter of yogurt with live cultures.
However, how do you make yogurt just based on milk without having to buy or use a previously made supermarket yogurt?
Just like with making sauerkraut, sourdough, etc, I’d like to find a way to make it completely autonomously.
Considering that it’s a lacto-fermentation, would it work if you add the liquid from, for example, sauerkraut as a starter?
Thanks!!
William
Hi William, Good question! The original yogurt cultures likely came from raw milk. It’s one of the reasons why there are so many varieties of yogurt… the cultures in raw milk will depend on the cow’s microbiome (which would be impacted by season, food source, health, etc.). For a wild-fermented yogurt, you would probably need to start with raw milk. It naturally sours quite quickly.
You could probably get yogurt to culture with sauerkraut, but it won’t have the same taste or texture as regular yogurt. A good yogurt culture has a wide variety of different bacteria, whereas yogurt tends to only contain one dominate strain of Lactic Bacteria (after the initial bubbly ferment is over).
Cheers, Emillie
Wow, thanks so much for the insightful answer Emillie! That makes a lot of sense. That also helps with what to look for when buying probiotic yogurts.
For the sake of understanding, how one one go about in creating yogurt from raw milk then? Assuming that if all milk is heated, the bacteria cultures would probably die? So instead, would this be done by heating the milk as per usual, and when cooled down to ~40 again, adding raw uncooked milk in order to introduce these bacteria cultures?
Or alternatively, could it even be done by simply heating all milk up to 40 degrees and letting it set?
Actually I feel it is a pity then that nowadays we mostly only get a single bacteria culture from yogurt (or even none, in case of the yogurt having been heat-treated), which at the same time presents even more potential for our health by cultivating it ourselves from raw milk if available.
William
Hi William, I don’t have access to raw milk, so I’ve never used it as a culture. 🙂 However, your plan of inoculating the milk after heating sounds like a good one. Now… to appease my lawyer, I have to tell you, that you don’t know what cultures are in your raw milk. Which is to say, if the cow has strep ag, then the milk will also have strep ag. The natural cultures in raw milk will depend on the health of the cow as well as the cleanliness of the storage facilities.
There are many good brands of yogurt out there with lots of good culture. Two that I use are Astro BioBest and goat yogurt (if you can find it). These contain a whole bunch of different cultures and remain stable if you freeze some for the next batch right after culturing. (I always recommend freezing cultures for stability as they will continue to ferment in the fridge).
Cheers, Emillie
Hi Emillie, you’ve given me the bug, pun intended!
Do you know whether I could use frozen milk as well as frozen starter? I would like to alternate vegan and dairy yogurt and don’t really drink cow’s milk as it comes from the cow.
I have to buy a litre of raw milk from the farm gate, but only culture 2 cups as per your recipe at a time.
Thanks
Sigi, again…
Hi Sigi, Love the pun .
You can definitely use frozen yogurt starter. I use that all the time… mostly because it’s the best way to save starter. Starter in the fridge starts to die off the longer it sits. But it will last much longer in the freezer. You can also use frozen milk. Just be sure that you’re using it within 4 months so that it still tastes fresh.
What type of vegan yogurt are you planning to make? You should also save the culture for your vegan yogurt in the freezer. Just freeze whatever you need for the next batch right after culturing to keep it active. I’ve found vegan yogurt propagates best in soy milk and almond milk. But coconut milk is naturally antibacterial, so while it can culture into yogurt, it’s not great for maintaining a good culture.
Cheers!
Hi Emillie!
Wow, that’s my milk for yogurt problem solved. Thanks!
I have made coconut yogurt and more recently a coconut cashew version, my favourite so far. I will definitely have a closer look at yours. You are such an inspiration and so knowledgable! And responsive!!
I am so glad I found you as I am in the process of changing my diet into a more gut microbiome friendly one.
Regarding unhulled millet. You probably have to check out the bird food section in an appropriate store;-)
Cheers Sigi
🙂 I check blog comments every morning (except weekends or when I’m traveling). I’m glad that I’ve been helpful! Best of luck with your fermentations! Cheers, Emillie
I made the yogurt with raw milk using Greek God brand of plain yogurt I heated the milk at 212 for 5 minutes at low simmer. Then followed your directions. . The best method was using your technique and leaving it in the oven for 4 hours then refrigerating it. Leaving it overnight (13 hours) loosened the consistency but it is still sweet, not sour.
Glad that worked out for you! I love the Greek God culture. 🙂