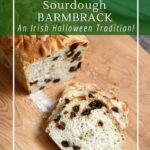
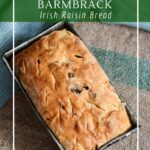
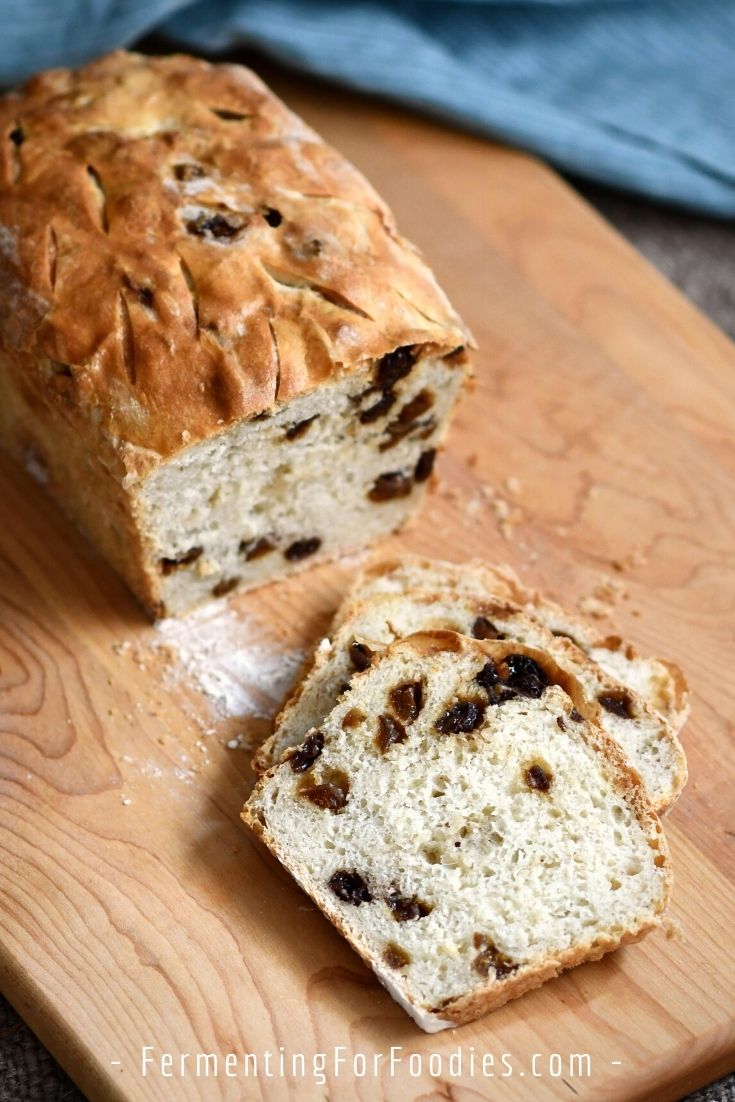
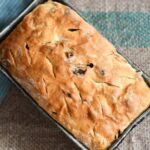
Traditional Irish barmbrack is a soft and sweet yeasted fruit bread. Using a sourdough starter adds richness for a full-flavored cinnamon and raisin bread. Sourdough barmbrack is perfect served fresh from the oven with a cup of tea. It also makes amazing toast.
This version of barmbrack is fairly different from most of the recipes being served up to North Americans, which are actually for tea brack. Tea brack is a fruit cake where the fruit is either soaked in tea or whisky (depending on who is making it)!
However, having lived for several years in Ireland, I can assure you that yeasted barmbrack is equally as popular and traditional.
A Hallowe’en Tradition
Halloween is actually a traditional Irish holiday. It arises from the Celtic calendar. Samhain is said to be when the doorways open to the Otherworld.
Here are a few Irish Hallowe’en traditions:
- My Irish friends trick-or-treated as children. Well… everyone except Deirdre, who grew up in Belfast in the ’70s (as she put it… they had enough fireworks without Halloween).
- Carving Jack O’Lanterns (a very Irish-sounding name) was also traditional. But they didn’t have pumpkins growing up. Traditional Jack O’Lanterns are carved from really large turnips. Apparently, it’s a LOT harder to carve a turnip than a pumpkin, and many spoons were ruined by the effort.
- Barmbrack is a traditional Halloween treat. It was a fortune-telling bread with several objects baked into it. Here are a few examples:
- A ring meant that you would get married that year.
- Dried peas meant you wouldn’t marry that year.
- A stick meant that you would argue with your spouse all year.
- A coin meant you would be rich.
How to add charms to barmbrack
If you’re excited to try this fortune-telling tradition, here’s some advice for adding charms to your sourdough barmbrack:
- Be sure to fully clean and scrub whatever you are going to add to the bread.
- Wrap the charm in tinfoil.
- Add the charms when forming the bread, being careful to evenly distribute them throughout the loaf.
Sourdough Barmbrack
Traditional Irish barmbrack is a soft and sweet fruit bread. It is similar to cinnamon raisin bread. It’s delicious served fresh and hot from the oven, or toasted up with butter!
- Prep Time: 30 minutes
- Cook Time: 45 minutes
- Total Time: 1 hour 15 minutes
- Yield: 2 loaves 1x
- Category: Bread
- Method: Sourdough
- Cuisine: Irish
- Diet: Vegetarian
Ingredients
Dough
- 2 3/4 cups warm milk (22 oz)
- 6 1/4 cups strong white flour (28 oz)
- 1/2 tsp instant yeast
- 1 1/4 cup sourdough starter (5 oz)
- 1 Tbsp sugar
- 2 tsp cinnamon
- 1 tsp salt
- 6 Tbsp soft butter (room temperature, not melted)
- 2 cups mixed dried fruit (raisins, currants, chopped apricots)
Finishing
- 2 Tbsp milk
Instructions
- Warm the milk to approximately 33 C / 93 F. Mix with the flour and yeast, then set it aside so the flour can hydrate for 15-30 minutes.
- Use the pincer method to mix in the remaining ingredients, including the sourdough starter, dried fruit, and butter. Don’t knead the dough, as you want a nice soft, texture.
- Allow the dough to rise in a warm location until doubled in volume (about 5 hours). Use the dough folding procedure 3-4 times during this rise.
- Place the dough on a well-floured surface and cut it into 2 equal pieces.
- Gently shape the dough, using flour as needed, but avoid kneading.
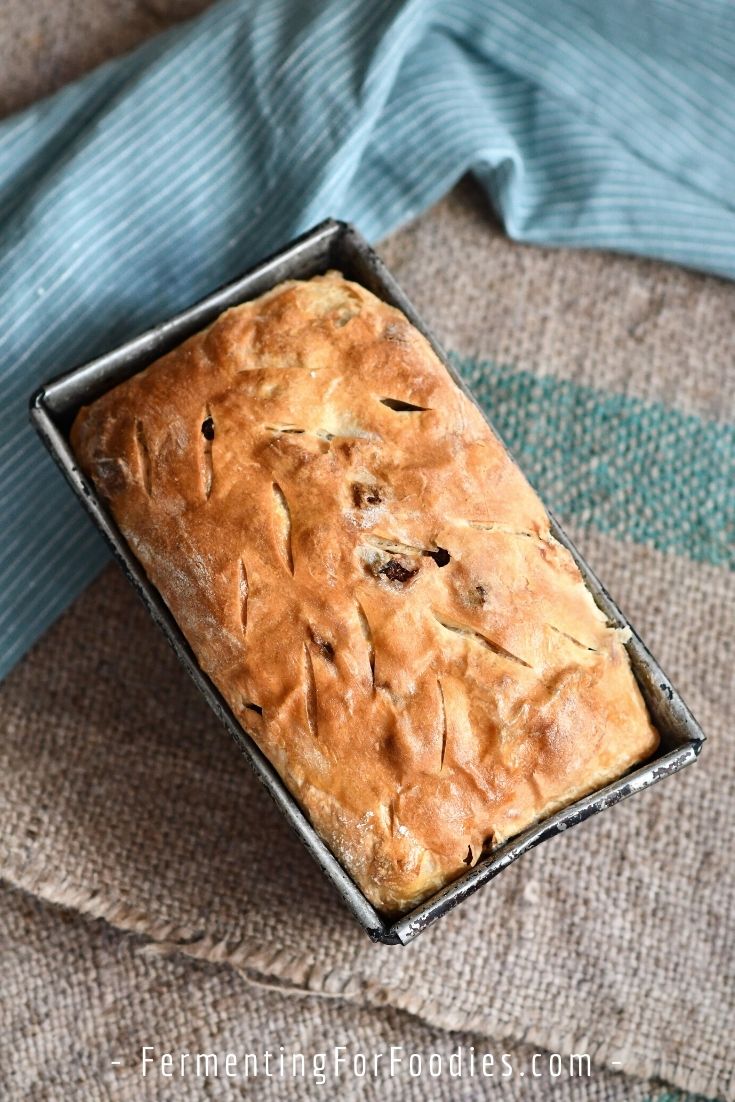
- For free-form loaves, place the dough balls in floured baskets (or bowls lined with floured tea towels). Otherwise, place the balls in greased tin loaf pans.
- Cover the loaves and leave them to rise in the refrigerator for 2-18 hours, until ready to bake.
- Preheat to 400 F (200 C).
- Brush the top of the loaves with milk.
- Bake for 25 minutes uncovered, then reduce the heat to 350 F (180 C) and bake for another 25-40 minutes until cooked. The loaves should sound hollow when tapped on the bottom.
- Cool completely before slicing.
Notes
- I recommend baking free-formed loaves in a dutch oven
which gives a nice, even heat and will help maintain the shape. Otherwise, use a metal cake pan or a pie plate
. However, the cold dough is going into a hot oven, so I don’t recommend glass dishes.
- If you don’t maintain a sourdough starter, you can make a quick starter for this recipe. The sourdough is more for flavor than loft in this recipe.
Nutrition
- Serving Size: 2 slices (1/8 loaf)
- Calories: 318
- Sugar: 15.6g
- Sodium: 222mg
- Fat: 6.7g
- Saturated Fat: 3.9g
- Carbohydrates: 57g
- Fiber: 2.2g
- Protein: 8.6
- Cholesterol: 19mg
Getting the milk warmed up just right seemed tricky, so I added boiling water to warm it up quickly.Makes brilliant toast!
Hi,
Happy Halloween from Dublin! Nice recipe. I just tried it and it turned out really well. Can I clarify re the amount of milk used? I translated 2 3/4 cups as about 410g and my dough was very dry. I’ve just realised that 22 fluid oz converts as 650g, so perhaps this was my mistake?
Also, why no kneading of the dough? I did my best to resist, but it felt so wrong to me! I was itching to knead it to a nice smooth ball.
Hi Aislinn, Happy Halloween!
I just did the math and 2 3/4 cups is more like 670 ml (so I assume 670g, since it’s a fluid.) That likely was why the dough was dry. You can knead the dough, I’m just trying for a very soft bread and kneading will build up the gluten. Folding the bread instead results in a softer loaf with nice (folded) air pockets. Cheers, Emillie
Just wow! Thank you so much, this was a very helpful to learn the science behind the no kneading as my mom used to knead her sourdough all the time. I tried this recipe yesterday and while I burned the bottom due to following the 70 min bake time it still turned out fantastic after I cut off the burned part. I will go for a 20ish min bake time at the 350 temp instead of 45. Also, I upped the cinnamon amount. Yummy!!
Nice! I chatting with my husband as he is the bread baker… and he’ll test the recipe again. Our stove is a bit on the cool side. Cheers, Emillie
Please confirm the baking times. Thanks
Agree with baking time needs reduced. I tried 25 minutes at 350F which worked. Also the pans need prepped with parchment paper or at least cornmeal or oil. I had to damage the loaves to pry them out of my cast iron Dutch oven and skillet.
Thanks for the info. I’ll test the recipe again with your baking time. Sorry the loaves stuck to the bottom of your cast iron pan. I wonder if it’s because they weren’t hot when you put the loaf in? If you preheat well-seasoned cast iron in the oven it generally doesn’t have the loaf stick. Cheers, Emillie
Needs more testing and tuning
I baked this bread per Emillie’s instructions. I transferred the dough on a sheet of parchment paper into a preheated Dutch oven; no chance of sticking to the pan. Baked 25 minutes covered, dropped temperature to 350 F and baked another 30 minutes uncovered. The bread came out perfectly. It is not overly sweet, and very moist but not dense. I plan to bake this again at Easter.
Glad you enjoyed it!
Hi, love your site. Can you make this gluten free, many thanks, Linda
Such a good request! All the gluten breads are my husband’s recipes. 🙂 It takes me a good deal of time to create a new recipe… I test all my recipes at least 3 times, but for a loaf of gf bread, it’s usually a lot more than that. So, I won’t have a recipe for you right away, but I’ll add it to my list for this fall. As an alternative, you could make cinnamon raisin soda bread: https://www.fermentingforfoodies.com/gluten-free-soda-bread/ Maybe replacing 1/2 cup of flour and 1/2 cup of buttermilk with 3/4 cup of sourdough starter? (I haven’t tested it though!)
Cheers, Emillie