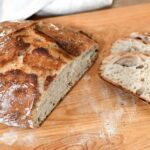
Do you have extra whey? Use it to make a rustic, flavorful whey bread. This no-knead recipe is similar in flavor and texture to sourdough.
We make a lot of cheese. Homemade cheese is affordable, simple, and fun! We mostly make soft cheese for spreading on bagels or for cheese and crackers. However, we never throw out whey. This is why I have so many whey-based recipes!
One option for leftover whey is to use it in a bread recipe. Whey adds adds richness and flavor to bread, however, it also adds acidity. This is why I don’t recommend using it to replace milk or water in your favorite recipe.
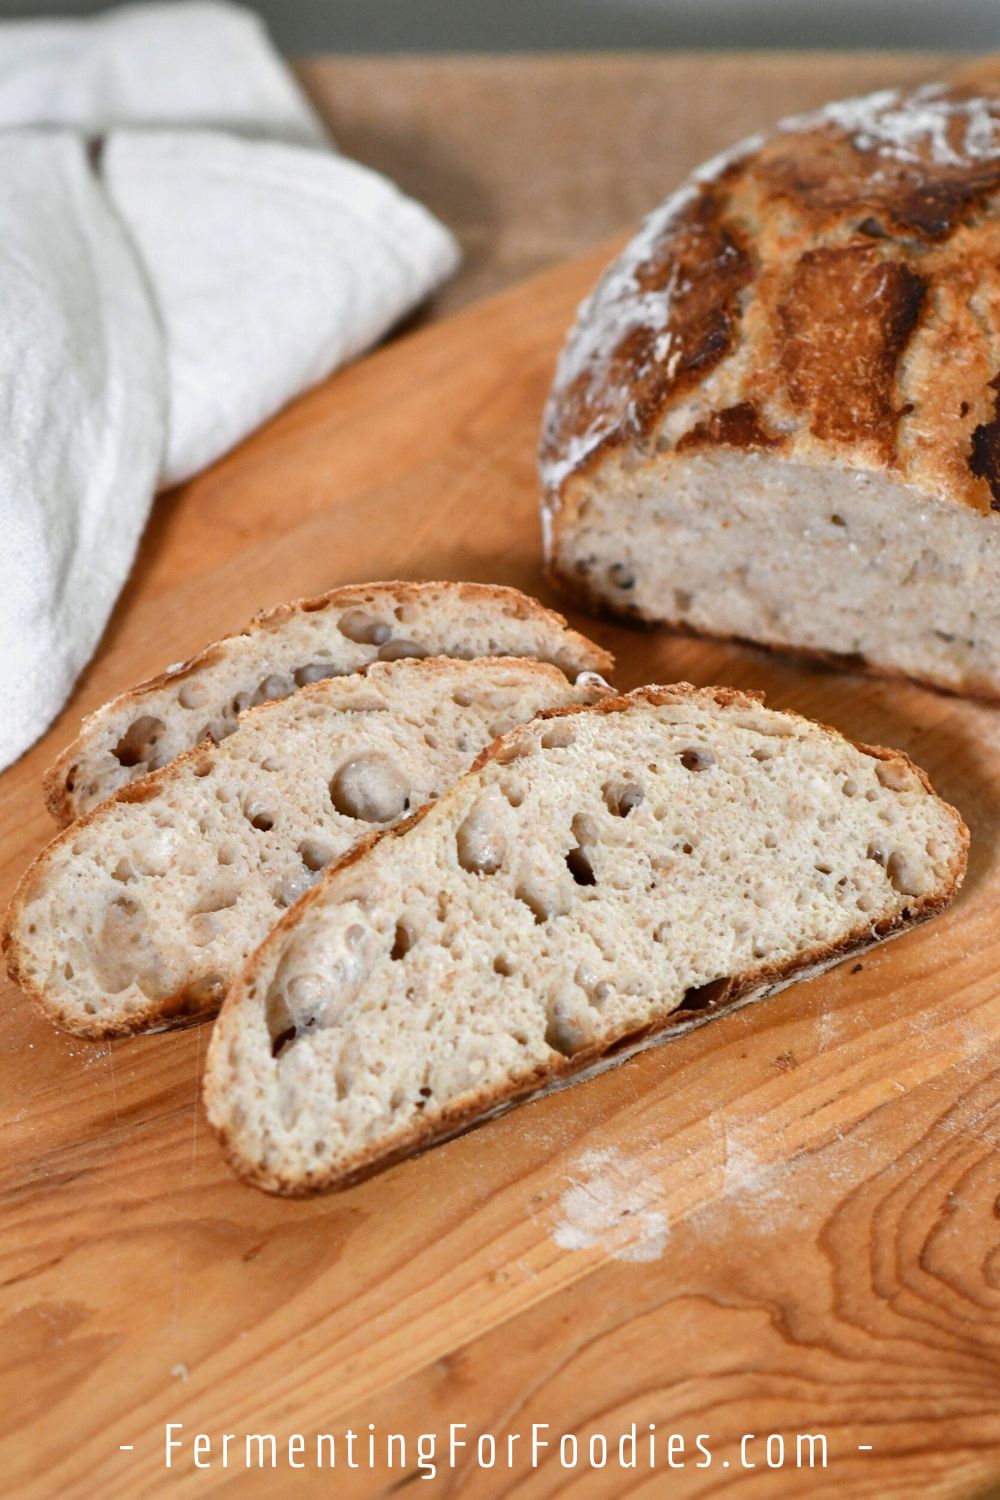
This whey bread is flavorful and delicious. The whey poolish gives the loaf a sourdough-like flavor, especially if you use whey from cultured cheese. However, unlike sourdough, it doesn’t contain any yeast. So adding dry active yeast is a must.
Types of whey and how they’ll affect your bread:
There are three main types of whey and they aren’t all the same. The acidity of the whey can negatively impact the flavor of the bread. The best way to succeed with this recipe is to taste the whey and dilute it with water if needed.
- Acid whey comes from cheeses that were curded with vinegar, lemon juice, or citric acid. They won’t add a bacterial flavor similar to sourdough. However, it does add the richness of whey protein and acidity. Depending on how acidic the whey is, you can use between 1/2 cup to 1 cup of whey (mixed with water to make 1 full cup of liquid).
- Sour whey is whey from cultured dairy that is more than 12 hours old. Cream cheese, cottage cheese, and strained yogurt are all sour whey. I don’t mind the acidity of whey from cottage cheese or cream cheese, but I find kefir way and yogurt whey to be too strong. Feel free to mix with water to taste.
- Sweet whey is delicious. It comes from cheese made from dairy that has only been cultured for a few hours. When I have sweet whey, I freeze it right away so it doesn’t keep fermenting and turn into sour whey. You can use a full 1 cup of sweet whey in this recipe.
The best way to know how much whey to use is to taste the whey. Dilute it with water until it has the acidity of yogurt.

Rustic Whey Bread (No-Knead)
Do you have extra whey? Use it to make a rustic, flavorful whey bread. This no-knead recipe is similar in flavor and texture to sourdough.
- Prep Time: 15 minutes
- Cook Time: 50 minutes
- Total Time: 1 hour 5 minutes
- Yield: 1 loaf 1x
- Category: Bread
- Method: Bake
- Cuisine: Italian
- Diet: Vegetarian
Ingredients
Poolish
- 1 cup of whey (see above for details)
- 1 cup of AP flour
- Pinch of dry active yeast
Main Dough
- 1/4 cup of water
- 2 tsp sugar
- 1 tsp of dry yeast
- 1 cup of AP flour
- 1/2 cup of whole-grain flour (see notes)
- 1 tsp salt
Instructions
- The flavor of this bread entirely depends on the flavor of your whey. Read the section above about how to adjust the amount of whey and water depending on the acidity of your whey.
- Mix 1 cup of whey with 1 cup of flour and a pinch of yeast in a large bowl. This is the poolish. It helps to develop the flavor of the bread. Leave the poolish to rest at room temperature for up to 3 hours. Alternatively, stick the poolish in the fridge for up to 2 days.
- When you’re ready to bake bread, mix the water, sugar, and yeast in a large bowl. Leave the yeast to bloom for 5 minutes. Stir in the poolish, 1/2 cup of AP flour, 1/2 cup of whole-grain flour, and salt. Stir in the remaining 1/2 cup of flour to form a dough.
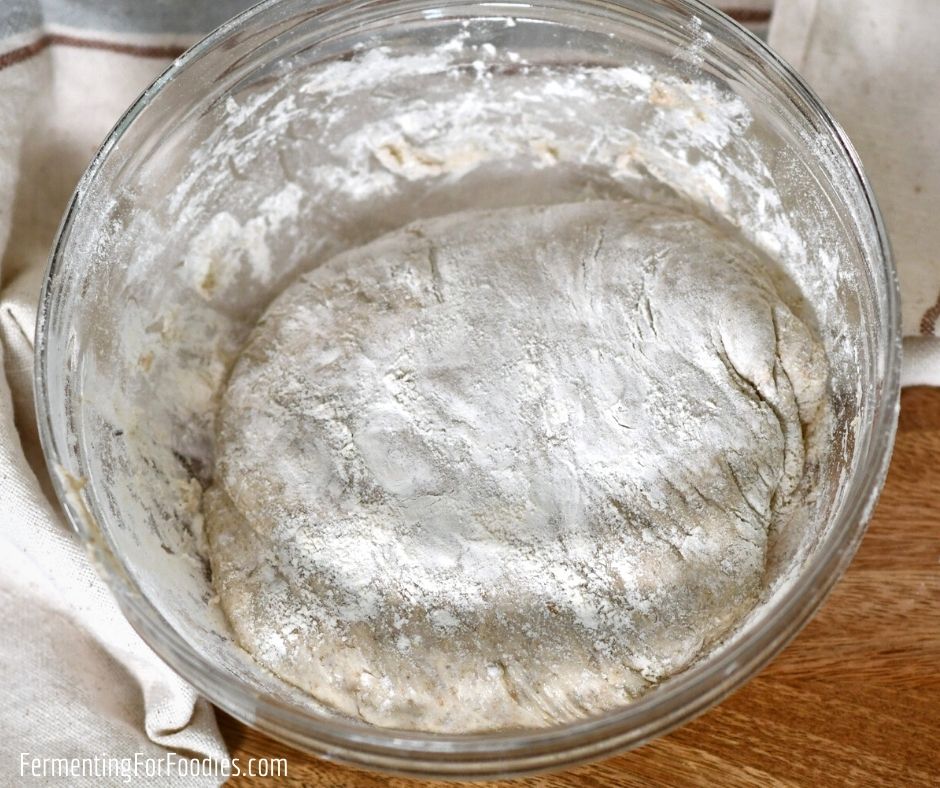
- Leave the dough in the bowl covered with a damp cloth. Allow the dough to rise for 2 to 3 hours.
- Though this is a no-knead bread, I recommend folding the dough a few times throughout the rise. Folding brings air into the loaf making beautiful bubbles. To fold the dough, wet your hand then grab a handful of dough. Pull it to the side to stretch out the dough, then fold it over top of the ball. Rotate the bowl 90 degrees, and fold it again. You can see pictures of this process in my sourdough techniques post or watch the recipe video.
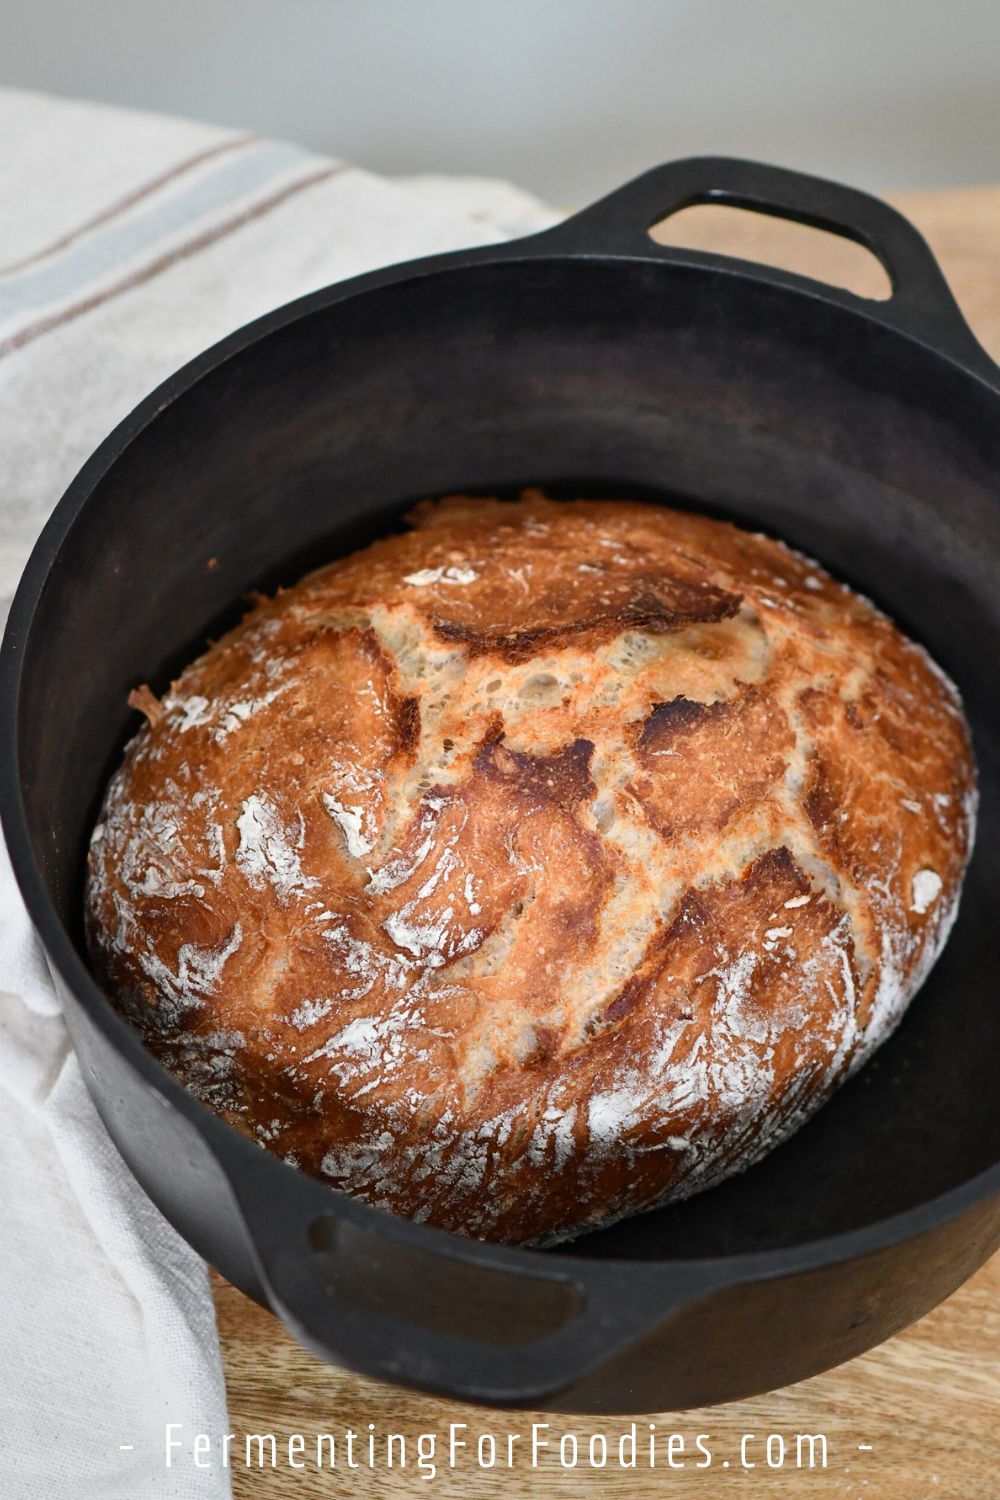
- Preheat the oven to 450 F (230 C). I recommend baking in a Dutch oven if you have one. Otherwise a baking sheet or stone is fine. Place the Dutch oven in the oven before preheating. When the oven is hot, sprinkle a large pinch of flour over the dough, and carefully scrape the dough into the hot Dutch oven. The sprinkle of flour helps to prevent the dough from sticking to everything as you move it. It is a very soft dough, which helps with bubbles. Bake with the lid on for 30 minutes. Remove the lid and bake for another 10 minutes. The loaf is done when it is nicely browned and sounds hollow on the bottom when tapped.
Notes
- This loaf can be made with 100% whole-grain flour if you want. However, if you’re using white flour, I recommend adding a bit of whole-grain flour for flavor.
- If you decide to double the recipe, then rise and fold the bread in two separate bowls. That way you won’t break the air bubbles by dividing the bread at a later point.
We made this with more whole wheat than white flour. It was a bit dry at first. Maybe that was the change in flour? Otherwise, it turned out great!
Glad you liked it! Different flours have different hydration ratios. Thanks for sharing! Cheers, Emillie