
I LOVE KIMCHI. It’s perfect for adding a burst of flavor to all sorts of dishes. However, my kids aren’t willing to eat something made with raw garlic, ginger, and onions. That’s why I created this kid-friendly kimchi!

When served fresh, kid-friendly kimchi is sweet, salty, and mild. It also happens to be my daughter’s favorite fermented food. She loves to eat it by the forkful after 3 to 5 days of fermenting, when the radish and carrots have started to ferment, but are still sweet.
That’s because she’s a salt-craving kid. But I’d rather have her eating kimchi than potato chips!
Adding a bit more flavor
The recipe below is really stripped of all the usual kimchi flavors.
Here is how to add the flavor of garlic, and ginger without overwhelming this mild kimchi.
- Peel 4 cloves of garlic. Peel a 2-inch piece of ginger, then slice it in half length-wise.
- Add the garlic and ginger piece to the mixed vegetables and pack them into the fermenting container.
- Remove the garlic and ginger before serving. They will have infused the kimchi with flavor, but won’t add the burn normally associated with raw garlic and ginger.
How to serve kimchi so your kids will eat it
In Korea, fresh kimchi is served alongside every meal. It’s eaten like a salad or pickles. And as my daughter will confirm, fresh kimchi is absolutely delicious.
Kimchi sours as it ages. The flavor will become more like sauerkraut as the lactic bacteria eat all the sugars in the fresh vegetables.
While sour kid-friendly kimchi is still a tasty condiment, it is ideal for making quick weeknight meals. A batch of kimchi provides enough pre-prepared vegetables for at least three meals for our family of four.
Here are a few quick kimchi meals:
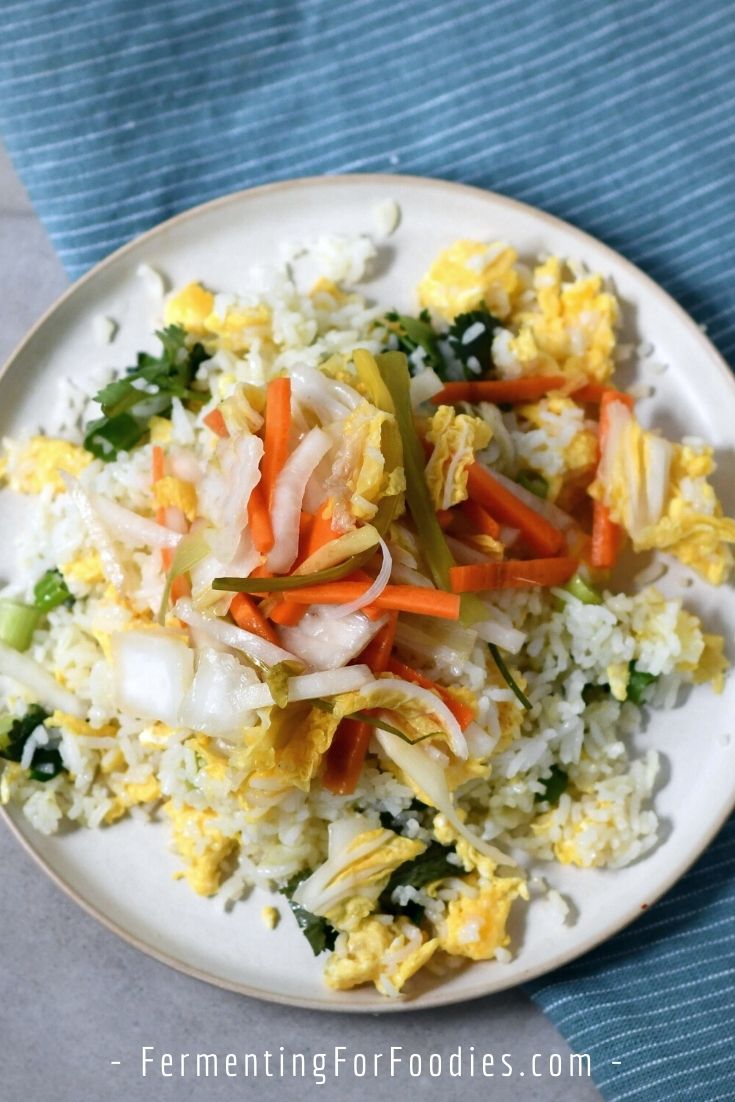
- Kimchi fried rice is our FAVORITE. If you have pre-cooked rice it’s literally ready in 15 minutes.
- A quick kimchi tofu soup is a no-fuss meal, perfect for days when you have a lot going on.
- This kimchi noodle bowl is actually one of my dinner party go-to meals. It’s impressive and delicious.
- Try kimchi and pork belly soup for a quick, yet rich-tasting meal.
- Kimchijeon (kimchi pancake) is a traditional way of serving sour kimchi.
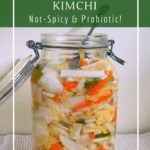
Kid-Friendly Kimchi

This kid-friendly kimchi is made without hot peppers for mild-tasting and delicious kimchi. Homemade, probiotic kimchi is perfect for adding a ton of flavor to all sorts of dishes. See the section above for a few suggestions.
- Prep Time: 15 minutes
- Total Time: 15 minutes
- Yield: 2–3 quarts 1x
- Category: Condiments
- Method: Fermented
- Cuisine: Korean
- Diet: Vegan
Ingredients
- 2 cups of water, chlorine-free
- 1 Tbsp non-iodized salt
- 1 large head of napa cabbage
- 3 carrots
- 1 daikon radish (6 to 8 inches in length)
- 4 green onions
Instructions
- Dissolve the salt in the water to make a brine.
- Roughly chop the cabbage into large 1-inch pieces. Slice the radish, carrots, and green onions into thin 1-inch-long matchsticks.
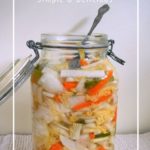
- Mix all the vegetables in a large bowl. Pack into jars for fermenting. It should fit into a 3 quart (3L) jar or several 1-quart jars.
- Pour the brine over the vegetables. Use a weight to keep the vegetables from floating. Add enough brine to make sure that all the vegetables are submerged. Two cups of brine should be enough if you’ve packed the vegetables into the jar(s).
- Kimchi will actively bubble for the first few days, so use a lid that allows gas to escape. See the notes for details.
- Allow the kimchi to ferment in a dark and cool location for up to 3 days. Stashing in a kitchen cupboard or closet is fine. Store the kimchi in the refrigerator to stop fermentation.
- Kimchi is generally eaten fresh (after 3 days of fermentation). It will be sweet and sparkling for at least a week, after which it slowly sours. Either way, it is probiotic and delicious! See the section above for five delicious ways to serve kimchi.
Notes
- Kimchi can be made in a container with a loose-fitting lid (to allow gas to escape). Otherwise use a fermentation-specific lid, like a fido jar or pickle pipe.
- Napa cabbage is the best variety to use. However, if you can’t find it in your local supermarket, use a Savoy head instead.
- If you want to add a bit of spice, follow my recipe for spicy vegan kimchi. I usually make a spicy version and a no-spice version all at once so that everyone in our house is happy. My husband has a shellfish allergy, so we don’t make our kimchi with fish sauce or shrimp.
Nutrition
- Serving Size: 1 cup
- Calories: 28
- Sugar: 3.5g (less after fermenting)
- Sodium: 415mg
- Fat: 0.1g
- Carbohydrates: 6.6g
- Fiber: 2.6g
- Protein: 1.4g
I’m trying this recipe by how I understand it. Could you specify:
I bought a bundle of what I thought were daikon radishes. They are super small. So if you call for one raffish, is that literally one or a bundle? And are you calling for 1- 16 oz mason jar? Thanks! I’m trying it now by my understanding of the recipe. 🙂
There are a lot of different Asian radishes. In my end of the world daikon is about the size of my arm. 🙂 So maybe use the bunch instead? Luckily kimchi is a forgiving ferment, and you can pretty much include whatever you want! The radish is one of my kids’ favourite parts so I always use lots.
Hi, what temperatures are considered cool and warm where you live please?
Regardless of where you live, vegetables generally like to ferment in a cool location: 18C, 64F. It’s not always possible, however, warmer temperatures will just cause the ferment to go faster. Check out my post on basic fermentation information for more details.
Hi Emilly, I am looking at the photos of Kim Chi and I cannot tell if the jar is supposed to be full to the top. I used a large container and it is only three-quarters full. I am not sure if that is sufficient but don’t more vegetables. Any suggestions on what to do so it ferments well, please. Thank you.
It doesn’t have to be full to the top. It really depends on the size of your jar and the size of your vegetables. Just make sure the vegetables are fully covered by brine and use a weight if you have one. Enjoy!
This is very great, very easy to make and good for a fast meal like a lot of this on your website.
Thanks!