Fermented foods can last for several months in a pantry. Learn about how to preserve with fermentation for long-term food storage.
One of my favorite reasons to ferment is because it is such an Easy, Reliable, and No-Fuss way to preserve food. It’s more climate-friendly than canning, freezing, or dehydrating (unless you have a solar dehydrator).
Not convinced? Here’s why you should start preserving with fermentation:
- Simple: Pack the food in a jar and you’re done.
- Sustainable: No need for electricity, which makes it the ultimate zero-waste way to preserve food.
- Seasonal: You don’t have to put up a huge batch all at once. Just fill jars with whatever produce is available.
Trust the process
Probably the biggest barrier to preserving food with fermentation is trusting the process. It’s one thing to make a jar of sauerkraut that you plan on eating in a few weeks… it’s another thing altogether to let that jar sit in your pantry for several months.
–> Fermentation is a simple way to preserve seasonal produce for the winter.
While it seems like a leap of faith, there really is no difference between storing food for 2 weeks and storing it for 2 months. Most problems with ferments occur after 5 to 7 days.
5 Tips for preserving with fermentation
1. Set up a larder
I live in a small, urban townhouse, with a shared underground parking area. I don’t have a garage, basement, or cold room. You can store fermented foods, even if you live in an apartment. A fermentation larder requires 2 things:
- Dark: Light is bad for ferments, so store them somewhere dark.
- Cool: It’s best if your fermentation larder could be between 60 to 65 F (16 to 18 C). I know that’s not always easy, so just choose a cupboard or a closet that’s not near a fridge, hot water tank, or heater.
If you want more information, check out my post on storing fermented food.
2. Sanitation
I don’t sanitize for my shorter ferments. However, if I’m packing food away for longer than a week, I always start by sanitizing. The strictness of my sanitation depends on what I’m making.
- Boiling water is fine to sanitize jars for most fruit and vegetable ferments.
- Sanitation chemicals are necessary for alcohol and cheese.
Here is a post on how to sanitize for fermentation.
3. Recommended containers
The MOST IMPORTANT part of storing fermented foods is to have good-quality containers. Unfortunately, not all fermentation products are reliable.
–> Many gasket-style lids won’t hold pressure for more than a few weeks.
–> Open-air crocks and buckets are prone to mold issues.
–> Air-locks and other water-seal jars require monitoring as the water will evaporate over a few months.
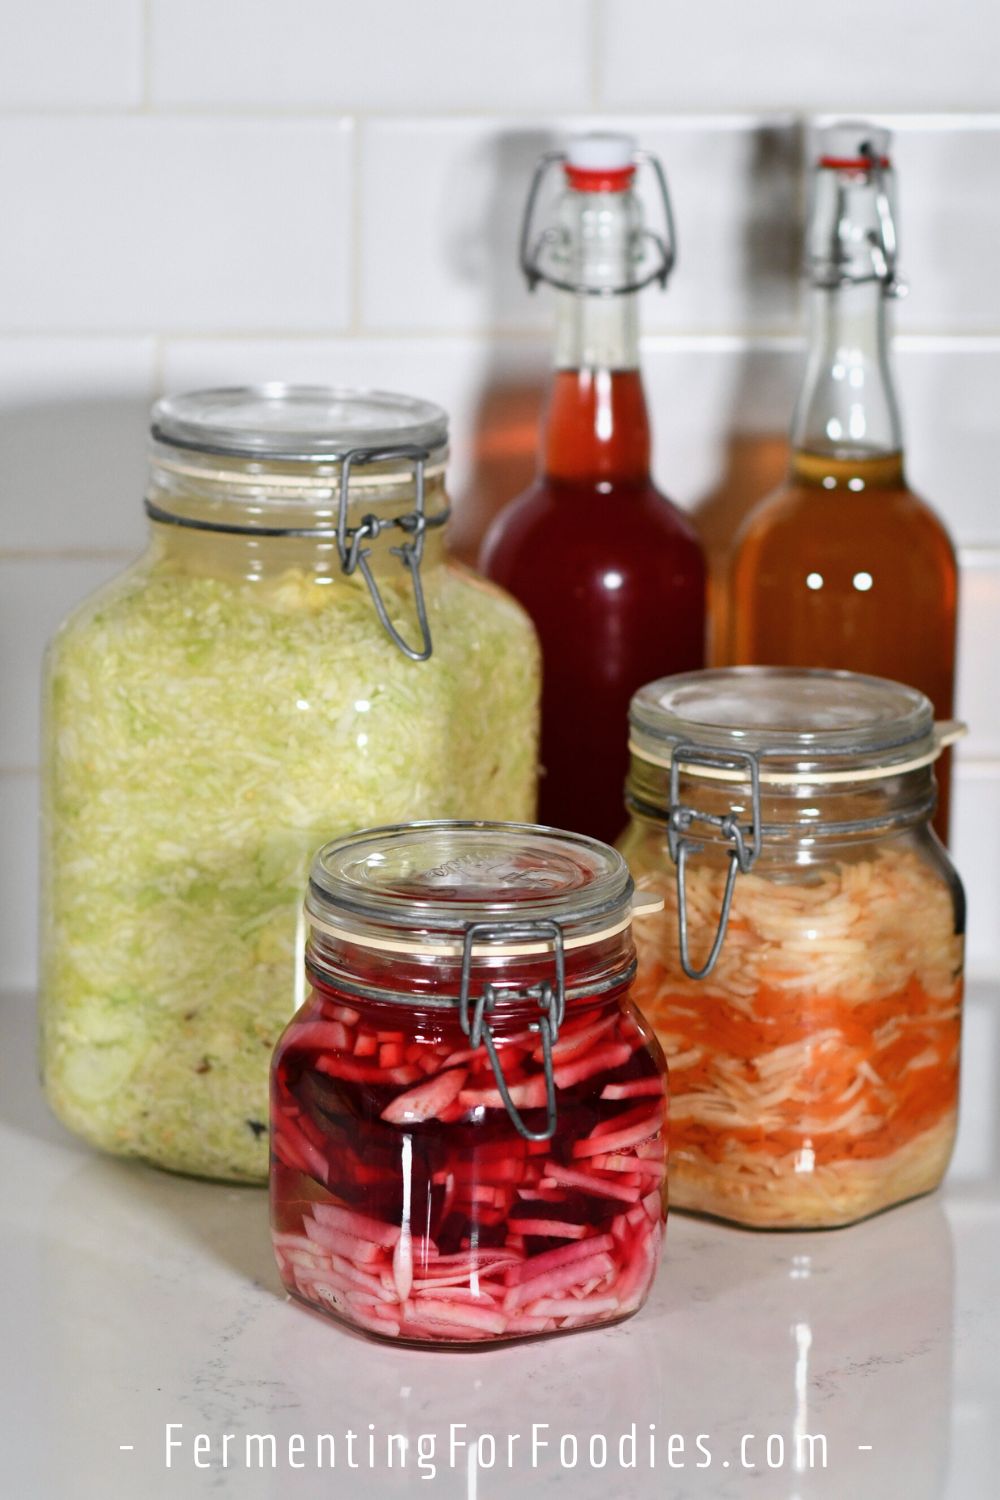
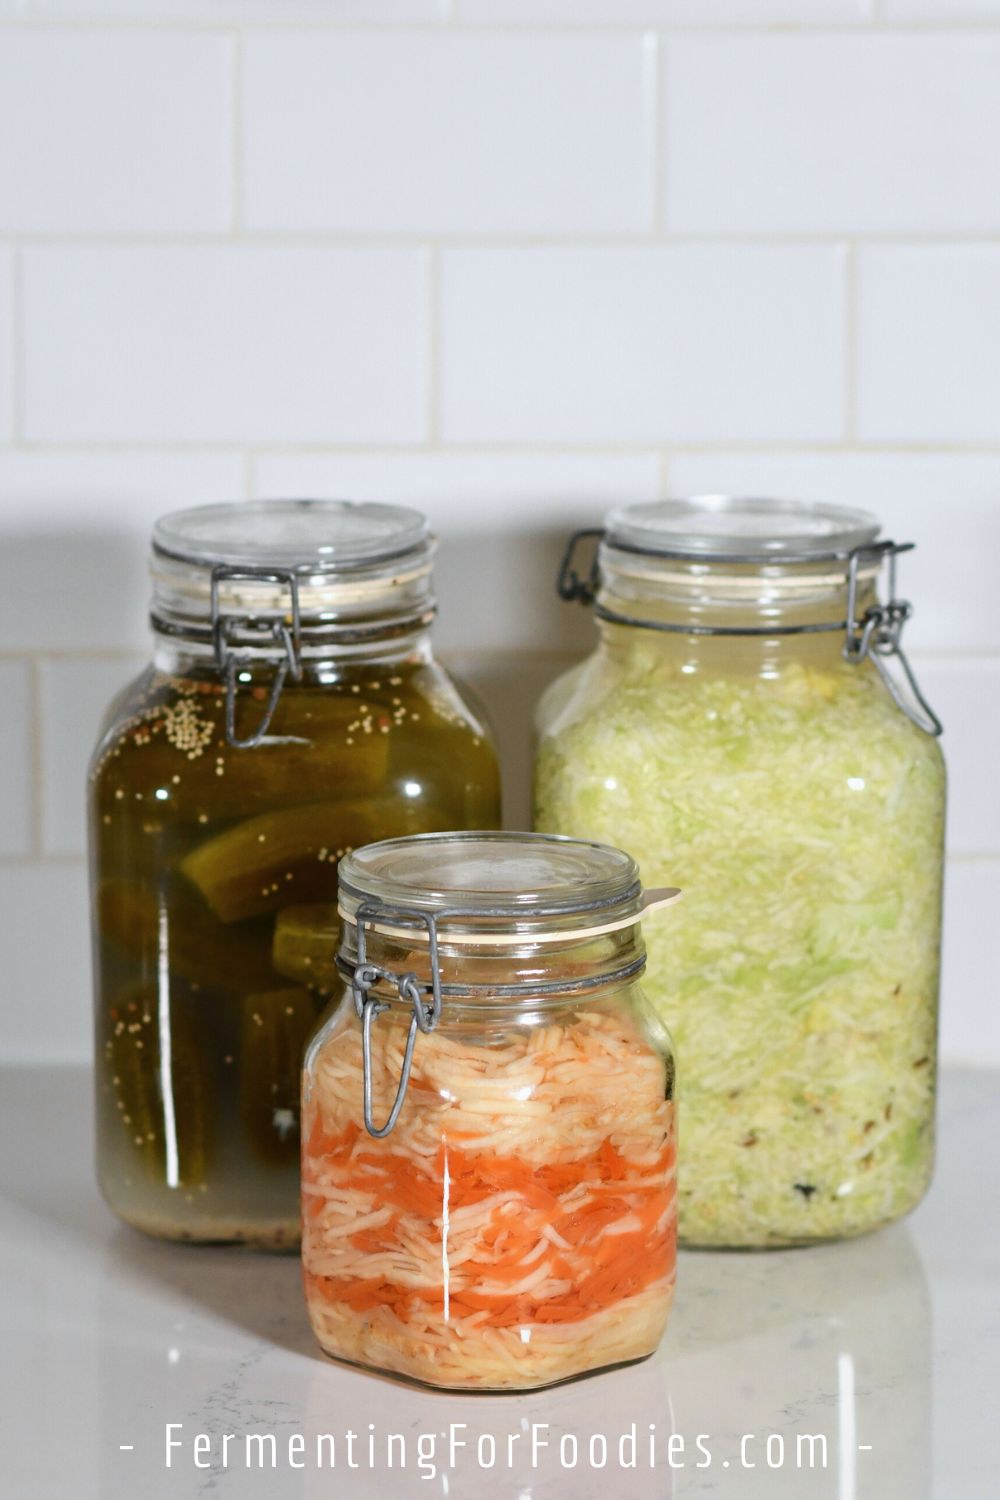
I use clip-top jars for all of my ferments. I have a mix of Fido jars, Kilner jars, and similar high-quality brands.
- There is no need to burp or open the jars. Just pack them and leave them alone.
- The rubber gaskets and the metal bales are replaceable. However, I use them for at least 5 years before they need to be replaced. (Usually, I only replace if they have signs of wear and tear).
- While they are expensive to buy in the first place… they last forever. My oldest jars were bought in 2009.
- Because clip-top jars are so reliable, you don’t have to use a weight!
Maybe other products work as well… but I haven’t tried them. However, I have heard complaints about a few different fermentation-related products, so I don’t recommend buying silicon lids.
4. Dealing with mold and kahm yeast
If a ferment looks good and smells good, AND you followed a reliable recipe, it’s perfectly safe to eat. The two biggest issues with long-term ferments are mold and kahm yeast.
- I always store my long-term ferments in an accessible location for the first two weeks. If they are fine after two weeks, I stash them in my larder and forget about them.
- Kahm yeast is perfectly safe. It usually disappears as the ferment acidifies.
- Mold can safely be removed from the top of a salt-brine ferment. However, it will keep coming back, so I usually move moldy ferments to my fridge and eat them right away.
- You cannot safely remove mold from a non-salty ferment. The mold will have penetrated the whole jar and it will need to be thrown out. While that seems dramatic… I’ve never had to do this and I ferment A LOT.
I wrote a detailed post explaining the difference between mold and kahm yeast. It includes a video. So if you don’t know what is growing on your ferment, I recommend checking it out.
5. Storage time
Ferments are ready whenever you feel like eating them. You can eat your kraut after just 3 days. It will be brimming with probiotic bacteria. However, it’s also fine to eat your kraut after 8 months.
This post is focused on ferments that will be stored for longer than 1 week and up to 1 year.
If you want to see the best before date for a particular type of ferment, here is a post I wrote on the shelf-life of fermented foods.
Ways to preserve with fermentation
There are a number of different ways to preserve with fermentation. Here are the ones that I use for long-term storage. Many of the recipes on my blog are perfect for storage ferments as long as you follow the tips stated above.
This isn’t an exhaustive list of recipes because I have more than 300 on my blog. 😎 But it will give you a good place to start.
Salt-brine
Fruits and vegetables that are packed into a brine that falls between 2% and 5% salt (based on everything in the jar… not based on the vegetables) are perfect for long-term storage. Personally, I use 2.2% salt because it’s easy and not too salty.
Here’s a few links to get you started
- How to calculate the amount of salt needed for a fermentation brine.
- Some of my favorite vegetable ferments.
- Salt brining is also a good option for vegetable pastes, salsa, and condiments.
Honey
Raw honey is a VERY reliable culture. I use it to ferment fruit and condiments. It’s also a great option for anyone who wants to avoid salt.
If you’re new to fermenting with raw honey, here’s a post on how to use honey for food preservation.
Vinegar
Fruit scraps and juice are easily turned into vinegar. However, vinegar is also a great way to preserve condiments.
- Raw vinegar and plain kombucha can be used interchangeably as a fermentation culture.
- When fermenting with vinegar, be sure to include some sugar to feed the culture.
Cider and Wine
If you have a fruit-ladened tree in your backyard, then you can make cider or wine!
Wine and cider follow the same process. While traditionalists state that cider is always made with apples, it suffices to say that any alcoholic fruit can be bottled early for a sweet and sparkling beverage, or left to ferment until it is a higher-alcohol wine.
Cider and wine can be made from pressed juice. However, for the average home fermenter, using whole fruit is easier. Most of my recipes start with whole fruit.
Here’s a post about how to get started with making cider or wine.
Other ferments
Other ferments in my larder include beer, amino sauce, and miso. These aren’t about preserving food as much as creating a fermented product. However, once you’ve set up a fermentation larder, I recommend trying them out!
My husband enjoys his homebrew experiments. And I love miso and amino sauces because they are delicious.
I’ve read that the safe lactofermentations are with a pH lower than 4.6.
I have done several fermentations with carrots, cucumbers,… with a salt brine of 2.5%, and the final pH is always about 5 to 5.3.
The only way I’ve found to reduce the pH is increasing the amount of salt in the brine. What do you think? Is it safe? Have you ever tested the pH in your fermentations?